Peanut Butter Jelly Muffins – A Familiar Favorite in a Fun, Portable Bite

Peanut butter and jelly isn’t just for sandwiches. These peanut butter jelly muffins turn that classic combo into a warm, fluffy treat you can grab for breakfast, snacks, or school lunches.
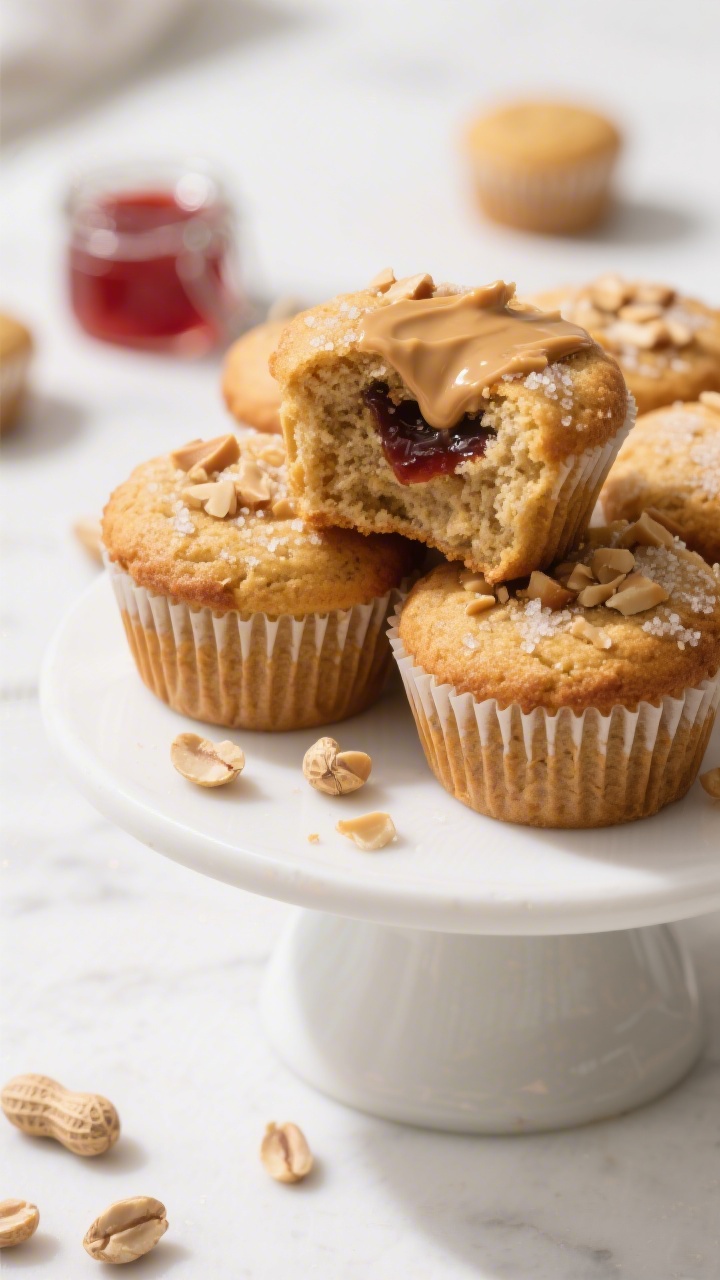
They’re soft, nutty, and just sweet enough, with a hidden pocket of jam in the center.
You’ll get bakery-level muffins without fancy steps or tools. If you love PB&J, this is an easy win that tastes nostalgic and feels fresh at the same time.
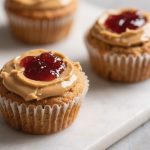
Peanut Butter Jelly Muffins
Ingredients
- All-purpose flour – 1 3/4 cups
- Baking powder – 2 teaspoons
- Baking soda – 1/2 teaspoon
- Fine salt – 1/2 teaspoon
- Granulated sugar – 1/2 cup
- Brown sugar – 1/4 cup, packed
- Creamy peanut butter – 2/3 cup (not natural drippy style if you want a fluffier crumb)
- Eggs – 2 large
- Milk – 3/4 cup (dairy or unsweetened non-dairy)
- Plain yogurt or sour cream – 1/3 cup (adds moisture)
- Neutral oil or melted butter – 1/4 cup
- Vanilla extract – 1 teaspoon
- Jam or jelly – about 1/2 cup (strawberry, grape, or your favorite)
- Optional toppings – chopped peanuts, coarse sugar, or a drizzle of warm peanut butter
Instructions
- Prep the pan and oven. Heat the oven to 375°F (190°C). Line a 12-cup muffin tin with paper liners or grease lightly.
- Mix dry ingredients. In a medium bowl, whisk flour, baking powder, baking soda, and salt until combined.
- Whisk wet ingredients. In a large bowl, whisk peanut butter, both sugars, eggs, milk, yogurt, oil, and vanilla until smooth. It will look creamy and slightly thick.
- Combine gently. Add the dry ingredients to the wet bowl. Stir with a spatula just until no dry streaks remain. The batter should be thick but scoopable. Do not overmix.
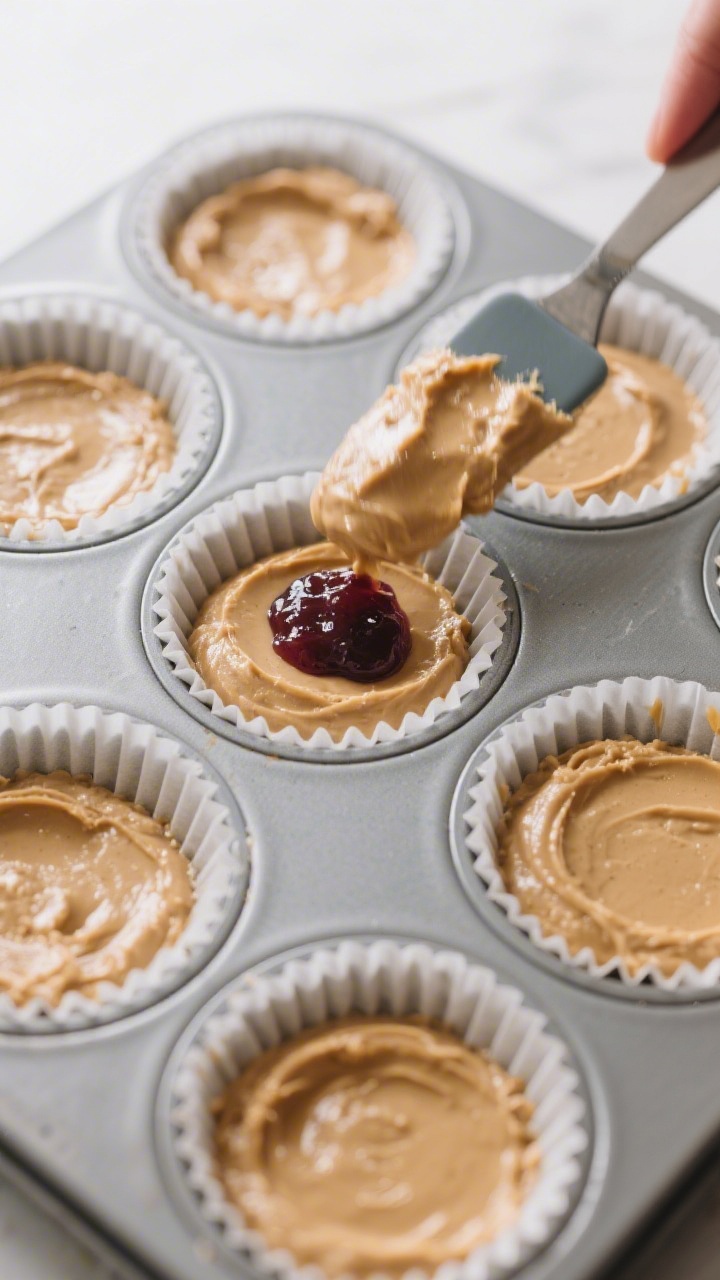
- Fill the cups, part one. Spoon about 1 tablespoon of batter into each muffin liner, just enough to cover the bottom.
- Add the jam. Place 1 to 1 1/2 teaspoons of jam in the center of each cup. Keep it toward the middle so it doesn’t leak out.
- Top with more batter. Divide the remaining batter over the jam, covering it completely. Each cup should be about 3/4 full.
- Optional crunch. Sprinkle chopped peanuts or coarse sugar on top for texture.
- Bake. Bake 16–20 minutes, until the tops are set and lightly golden. A toothpick inserted at the edge (not the jam center) should come out clean.
- Cool. Let the muffins rest in the pan for 5 minutes, then move to a rack. Cool at least 10 more minutes before eating to avoid hot jam burns.
What Makes This Special
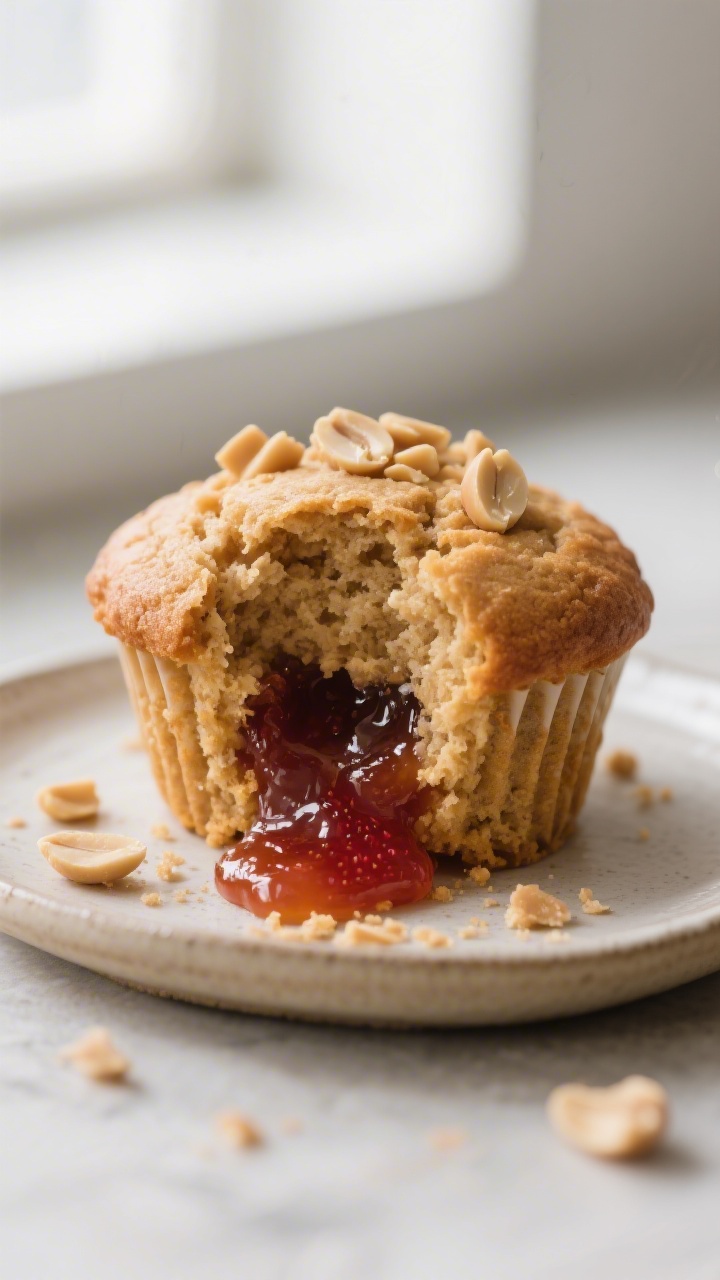
These muffins capture everything people love about a PB&J—creamy peanut butter, fruity jam, and that satisfying balance of salty and sweet. The peanut butter goes right into the batter, so the muffin itself is rich and tender.
A spoonful of jam in the middle adds a bright, juicy surprise. They’re easy to make, freezer-friendly, and perfect for kids and adults alike.
Plus, you don’t need a mixer or fancy equipment. One bowl for wet ingredients, one for dry, and you’re good to go.
The batter is forgiving, the steps are simple, and the result feels special without being fussy.
Shopping List
- All-purpose flour – 1 3/4 cups
- Baking powder – 2 teaspoons
- Baking soda – 1/2 teaspoon
- Fine salt – 1/2 teaspoon
- Granulated sugar – 1/2 cup
- Brown sugar – 1/4 cup, packed
- Creamy peanut butter – 2/3 cup (not natural drippy style if you want a fluffier crumb)
- Eggs – 2 large
- Milk – 3/4 cup (dairy or unsweetened non-dairy)
- Plain yogurt or sour cream – 1/3 cup (adds moisture)
- Neutral oil or melted butter – 1/4 cup
- Vanilla extract – 1 teaspoon
- Jam or jelly – about 1/2 cup (strawberry, grape, or your favorite)
- Optional toppings – chopped peanuts, coarse sugar, or a drizzle of warm peanut butter
Instructions
- Prep the pan and oven. Heat the oven to 375°F (190°C). Line a 12-cup muffin tin with paper liners or grease lightly.
- Mix dry ingredients. In a medium bowl, whisk flour, baking powder, baking soda, and salt until combined.
- Whisk wet ingredients. In a large bowl, whisk peanut butter, both sugars, eggs, milk, yogurt, oil, and vanilla until smooth. It will look creamy and slightly thick.
- Combine gently. Add the dry ingredients to the wet bowl.
Stir with a spatula just until no dry streaks remain. The batter should be thick but scoopable. Do not overmix.
- Fill the cups, part one. Spoon about 1 tablespoon of batter into each muffin liner, just enough to cover the bottom.
- Add the jam. Place 1 to 1 1/2 teaspoons of jam in the center of each cup. Keep it toward the middle so it doesn’t leak out.
- Top with more batter. Divide the remaining batter over the jam, covering it completely.
Each cup should be about 3/4 full.
- Optional crunch. Sprinkle chopped peanuts or coarse sugar on top for texture.
- Bake. Bake 16–20 minutes, until the tops are set and lightly golden. A toothpick inserted at the edge (not the jam center) should come out clean.
- Cool. Let the muffins rest in the pan for 5 minutes, then move to a rack. Cool at least 10 more minutes before eating to avoid hot jam burns.
Storage Instructions
Let muffins cool completely before storing.
Keep them in an airtight container at room temperature for up to 2 days. For longer storage, refrigerate for up to 5 days. Rewarm in the microwave for 10–15 seconds for that fresh-baked feel.
To freeze, wrap each muffin in plastic or place in a freezer bag with the air pressed out.
Freeze for up to 2 months. Thaw at room temperature or microwave in short bursts. They hold up well and stay moist after defrosting.
Why This is Good for You
These muffins offer a balanced snack you can feel good about. Peanut butter brings protein and healthy fats, which help keep you full.
The yogurt adds a touch of calcium and keeps the texture soft without using a ton of oil. If you use a jam that’s lower in sugar or made with real fruit, you can keep sweetness in check.
It’s still a treat, but it beats a sugary pastry with no staying power. Pair a muffin with fruit or a glass of milk, and you’ve got a quick, satisfying breakfast or snack that actually sticks with you.
Pitfalls to Watch Out For
- Overmixing the batter: This leads to tough muffins.
Mix just until combined.
- Using very drippy natural peanut butter: It can make the batter oily and dense. If using natural, stir it very well and add 1–2 tablespoons extra flour if the batter seems loose.
- Overfilling with jam: Too much jam will leak or sink. Stick to 1–1 1/2 teaspoons per muffin and keep it centered.
- Opening the oven early: This can cause sinking.
Check only near the end of the bake time.
- Skipping the liners: Jam can caramelize and stick. If you don’t use liners, grease the pan thoroughly.
Variations You Can Try
- Almond twist: Swap peanut butter for almond butter and use raspberry jam. Add a few sliced almonds on top.
- PB-banana: Fold in 1 small mashed ripe banana and reduce the milk by 2 tablespoons.
Use strawberry jam for a classic combo.
- Oatmeal version: Replace 1/2 cup of the flour with quick oats for more texture and fiber.
- Crunchy top: Mix 2 tablespoons brown sugar with 2 tablespoons chopped peanuts and sprinkle before baking.
- Gluten-free: Use a 1:1 gluten-free flour blend that includes xanthan gum. Let the batter rest 10 minutes before baking to hydrate.
- Dairy-free: Use almond or oat milk and swap yogurt for a dairy-free yogurt. Choose oil instead of butter.
- Sunflower seed school-safe: Sub sunflower seed butter and use seed-safe toppings if you need a nut-free option.
FAQ
Can I use crunchy peanut butter?
Yes.
Crunchy peanut butter works and adds a bit of texture. The crumb may be slightly less tender, but it’s still delicious.
What jam is best for these muffins?
Strawberry and grape are classic, but raspberry, blackberry, or apricot are great too. Use a thicker jam or preserves so it doesn’t run.
Jelly also works if you prefer a smooth center.
How do I keep the jam from sinking?
Add a base layer of batter first, spoon the jam right in the center, then cover it completely. Keep the jam amount modest and avoid placing it near the sides.
Can I make mini muffins?
Yes. Use a mini muffin pan and reduce the bake time to 10–12 minutes.
Add just a small dab of jam, about 1/2 teaspoon, to avoid overflow.
Do I need both sugars?
Using both granulated and brown sugar gives a better texture and flavor. If you must choose one, use all granulated for a lighter crumb or all brown for extra moisture and a hint of caramel.
How can I make them less sweet?
Reduce the granulated sugar by 2–3 tablespoons and choose a lower-sugar jam. The muffins will still bake up nicely.
Why did my muffins turn out dry?
Common causes include overbaking, overmixing, or using too much flour.
Spoon and level your flour, mix gently, and pull them from the oven as soon as the tops set and the edges test clean.
Can I add chocolate?
Absolutely. Fold in 1/2 cup mini chocolate chips or drizzle melted chocolate on top after baking. Chocolate and peanut butter never miss.
Wrapping Up
Peanut butter jelly muffins bring a childhood favorite into a cozy, grab-and-go form.
They’re easy to bake, fun to customize, and crowd-pleasing for any age. Keep a batch on the counter for the week, or freeze extras for fast snacks later.
Simple ingredients, big comfort—exactly what home baking should feel like.
Printable Recipe Card
Want just the essential recipe details without scrolling through the article? Get our printable recipe card with just the ingredients and instructions.