3 Ingredient Rice Krispie Treats – Simple, Chewy, and So Satisfying

Nothing beats a classic treat you can make in minutes with things you probably already have.
These 3 ingredient Rice Krispie treats are soft, chewy, and buttery with that perfect marshmallow pull. They’re great for last-minute bake sales, easy after-school snacks, or a quick dessert that makes everyone happy.
No special tools, no fancy steps, just a sweet reward with almost zero fuss.
3 Ingredient Rice Krispie Treats – Simple, Chewy, and So Satisfying
Ingredients
- Butter: Salted or unsalted both work. Salted butter adds a tiny boost of flavor, which many people prefer.
- Mini marshmallows: Fresh is key for the best melt and texture. You can use large marshmallows, but minis melt faster and more evenly.
- Rice Krispies cereal: Any crispy rice cereal works. Look for a fresh, crisp box so your treats don’t taste stale.
- 6 tablespoons (85 g) butter
- 10 cups (about 16 oz/454 g) mini marshmallows
- 6 cups (about 170 g) Rice Krispies cereal
Instructions
- Prep the pan. Lightly butter or spray an 8×8 or 9×9 pan. For easier removal, line it with parchment, leaving overhang on two sides.
- Melt the butter. In a large pot over low heat, melt the butter gently. Don’t rush this step; low heat keeps the marshmallows from getting tough later.
- Add most of the marshmallows. Stir in about 9 cups of the mini marshmallows, reserving 1 cup for later. Keep the heat on low and stir constantly until fully melted and smooth.
- Optional flavor boost. If using unsalted butter, add a small pinch of salt now. It makes the sweetness pop without tasting salty.
- Fold in cereal. Remove the pot from heat. Add the Rice Krispies and fold gently with a buttered spatula until everything is well coated.
- Stir in the remaining marshmallows. Quickly fold in the last 1 cup of mini marshmallows for extra gooey pockets. Work fast so they soften but don’t fully melt.
- Press into the pan. Transfer the mixture to your prepared pan. Lightly butter your hands or a spatula and press the mixture in gently. Don’t pack it down hard or the treats will be dense.
- Let set, then slice. Allow to cool at room temperature for 30–45 minutes. Use the parchment to lift out, then cut into squares with a sharp knife.
What Makes This Recipe So Good
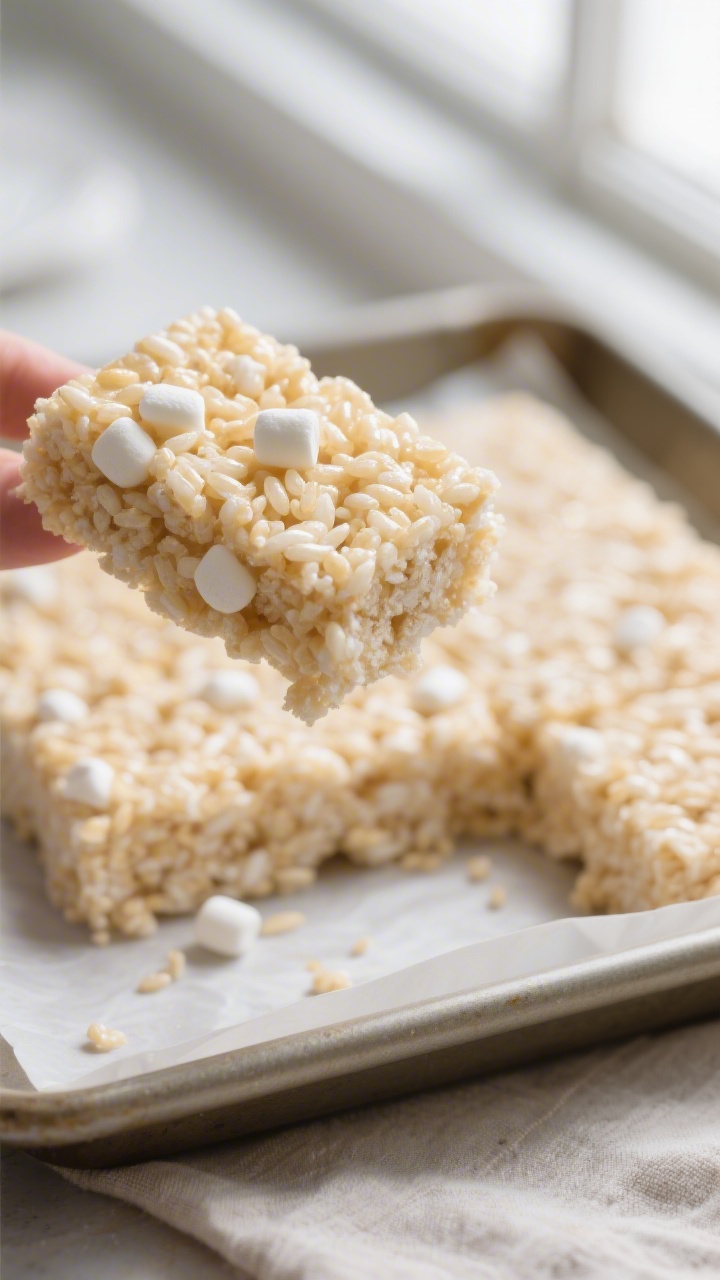
This version hits that ideal balance: soft and chewy, never dry, with enough structure to slice cleanly. It comes together on the stovetop in one pot, and you can be done in under 15 minutes.
Because it’s just three ingredients, the flavors stay classic—nothing competes with the marshmallow-butter magic.
Best of all, it’s easy to scale up for parties or down for a small pan. Whether you’re a total beginner or a seasoned baker, this recipe simply works.
What You’ll Need
- Butter: Salted or unsalted both work. Salted butter adds a tiny boost of flavor, which many people prefer.
- Mini marshmallows: Fresh is key for the best melt and texture. You can use large marshmallows, but minis melt faster and more evenly.
- Rice Krispies cereal: Any crispy rice cereal works. Look for a fresh, crisp box so your treats don’t taste stale.
Standard amounts for an 8×8-inch or 9×9-inch pan:
- 6 tablespoons (85 g) butter
- 10 cups (about 16 oz/454 g) mini marshmallows
- 6 cups (about 170 g) Rice Krispies cereal
For a classic 9×13-inch pan, increase everything by about 50%.
Instructions
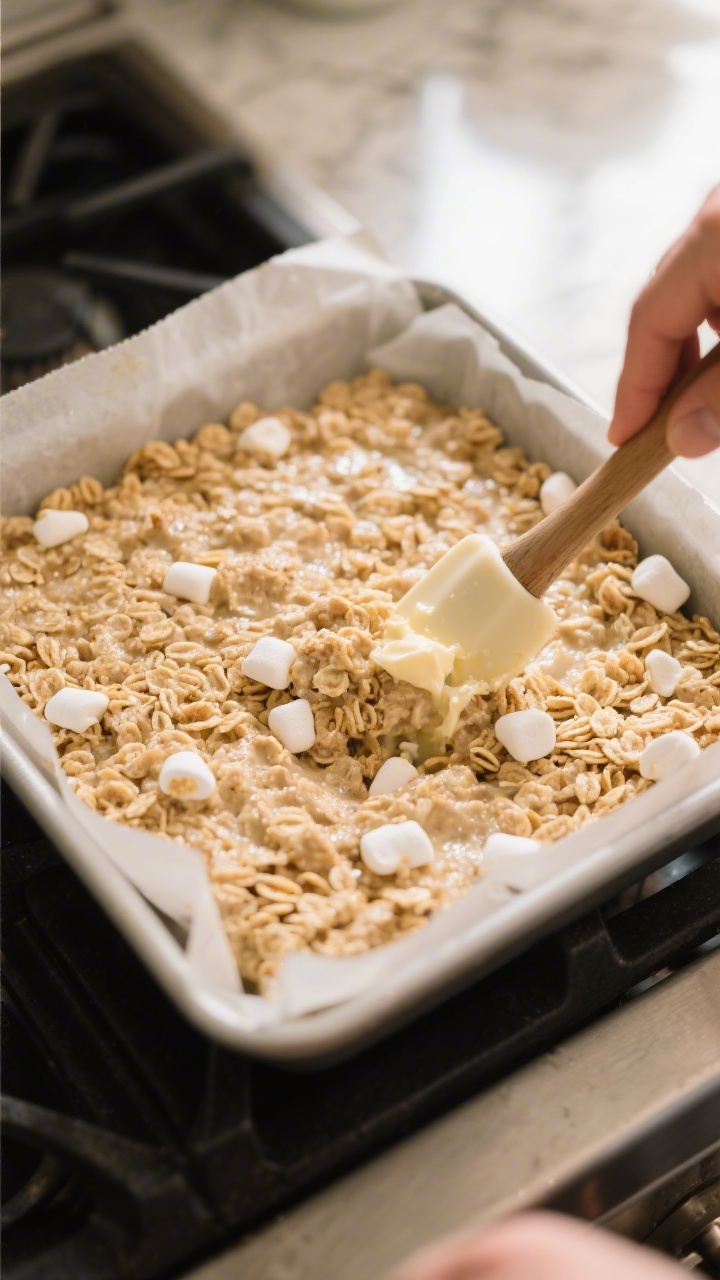
- Prep the pan. Lightly butter or spray an 8×8 or 9×9 pan. For easier removal, line it with parchment, leaving overhang on two sides.
- Melt the butter. In a large pot over low heat, melt the butter gently. Don’t rush this step; low heat keeps the marshmallows from getting tough later.
- Add most of the marshmallows. Stir in about 9 cups of the mini marshmallows, reserving 1 cup for later. Keep the heat on low and stir constantly until fully melted and smooth.
- Optional flavor boost. If using unsalted butter, add a small pinch of salt now. It makes the sweetness pop without tasting salty.
- Fold in cereal. Remove the pot from heat. Add the Rice Krispies and fold gently with a buttered spatula until everything is well coated.
- Stir in the remaining marshmallows. Quickly fold in the last 1 cup of mini marshmallows for extra gooey pockets. Work fast so they soften but don’t fully melt.
- Press into the pan. Transfer the mixture to your prepared pan. Lightly butter your hands or a spatula and press the mixture in gently. Don’t pack it down hard or the treats will be dense.
- Let set, then slice. Allow to cool at room temperature for 30–45 minutes. Use the parchment to lift out, then cut into squares with a sharp knife.
Keeping It Fresh
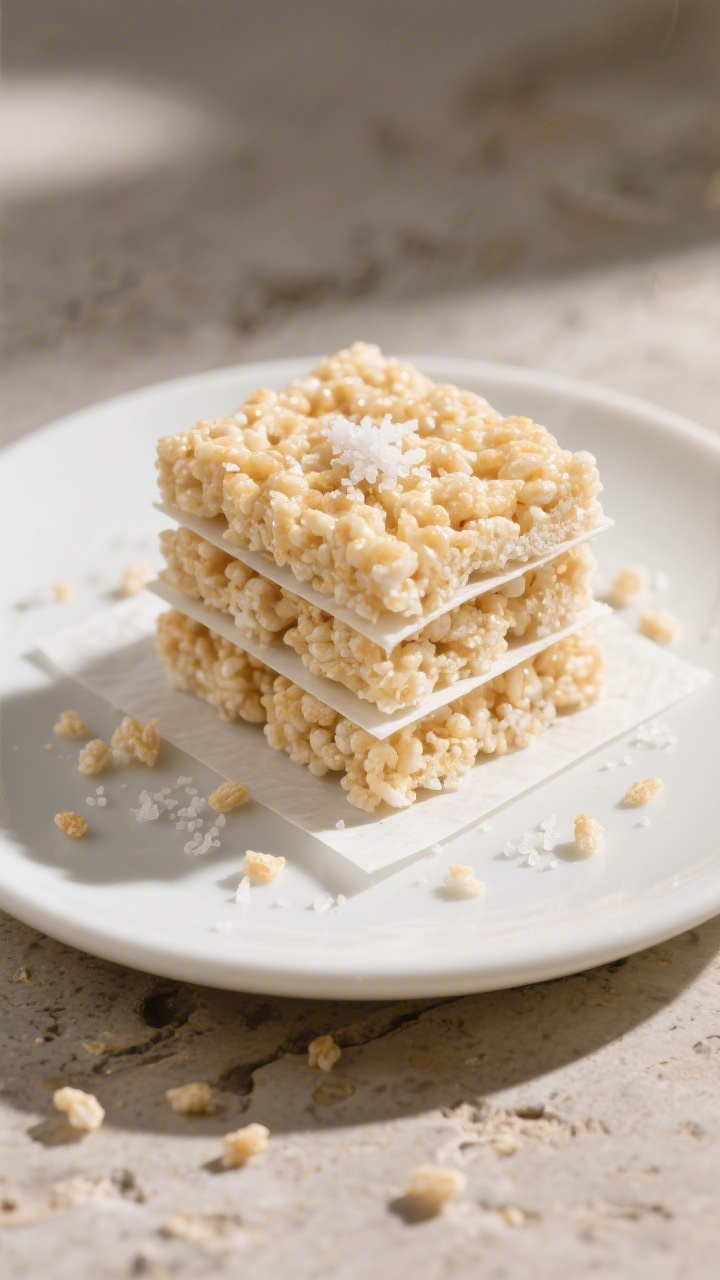
These treats are best within 1–2 days. Store them at room temperature in an airtight container, separating layers with parchment paper.
If your kitchen is warm, keep the container out of direct sunlight so the marshmallows don’t get sticky.
To keep them extra soft, tuck a small piece of bread into the container (swap it out daily).
Avoid the fridge—cold air can make them hard. If they firm up too much, 5–8 seconds in the microwave softens a square nicely.
Benefits of This Recipe
- Foolproof and fast: No oven, no mixer, ready in minutes.
- Budget-friendly: Just three pantry-friendly ingredients.
- Kid-approved and crowd-pleasing: Familiar flavors with a perfect soft-chewy bite.
- Easy to customize: Add-ins or toppings are simple if you want to dress them up.
- Great for gifting or parties: Stacks neatly and transports well.
What Not to Do
- Don’t crank the heat. High heat can scorch the butter and overcook marshmallows, leading to tough, dry treats.
- Don’t pack the mixture too firmly. Pressing hard compresses the cereal and ruins the light, chewy texture.
- Don’t use stale cereal or marshmallows. Fresh ingredients make the biggest difference in flavor and texture.
- Don’t skip the extra marshmallow stir-in. Those soft pockets are the secret to the gooey finish.
- Don’t refrigerate. Cold temperatures dry them out and make them hard.
Alternatives
- Browned butter: Cook the butter over medium heat, stirring, until golden and nutty before adding marshmallows. This adds a rich, toasty flavor.
- Vanilla or salt: A splash of vanilla or an extra pinch of flaky salt can elevate the sweetness without complicating the recipe.
- Mix-ins: Fold in mini chocolate chips (let the mixture cool 1–2 minutes first so they don’t fully melt), colorful sprinkles, crushed freeze-dried strawberries, or chopped pretzels for sweet-salty crunch.
- Different cereals: Try cocoa rice cereal for a chocolate twist or a cinnamon rice cereal for warmth.
- Shape and size: Press into muffin tins for individual rounds, or roll slightly cooled mixture into balls for bite-sized treats.
- Dairy-free: Use a dairy-free butter alternative and vegan marshmallows. Melt times may vary, so keep heat low and be patient.
- Gluten-free: Most crispy rice cereals are gluten-free, but double-check the label to be sure.
FAQ
Why are my Rice Krispie treats hard?
They likely cooked at too high a heat or were pressed too firmly into the pan. Keep the heat low when melting marshmallows and use a light hand when pressing to keep the texture soft and chewy.
Can I make them ahead of time?
Yes, but they’re best within 24–48 hours.
Store at room temperature in an airtight container. If you need them for later in the week, make them the day before for peak freshness.
How do I prevent sticking?
Lightly butter your pot, spatula, and hands. Parchment paper in the pan also makes lifting and slicing easier.
Avoid over-spraying with cooking spray as it can leave a greasy taste.
Can I use large marshmallows instead of mini?
Yes. Cut them in half for faster melting and measure by weight if possible. Keep the heat low and stir constantly to avoid clumps.
How do I double the recipe?
Use a 9×13-inch pan and increase the ingredients by 50% for thicker bars or double for very thick bars.
Make sure your pot is large enough to fold the cereal without spilling.
What if my mixture seems too dry?
Add a small handful of extra marshmallows and gently fold. If it’s already in the pan, press lightly and drizzle a quick marshmallow melt over the top, then smooth.
Can I freeze Rice Krispie treats?
It’s possible, but the texture suffers. They tend to dry out and can absorb freezer odors.
Room-temperature storage for a day or two is best.
How do I get clean slices?
Let the pan cool completely and use a sharp knife buttered or sprayed lightly. Wipe the blade between cuts for neat edges.
What’s the best butter to use?
Salted butter adds a subtle savory note that balances the sweetness. If using unsalted, consider a pinch of salt.
High-quality butter makes the flavor richer.
Can I add peanut butter or chocolate?
Absolutely. Stir 1/2 cup peanut butter into the melted marshmallows for a nutty twist, or drizzle melted chocolate over the cooled pan. Just note these make it a four-ingredient treat.
In Conclusion
These 3 ingredient Rice Krispie treats are simple, quick, and reliably delicious.
With gentle heat, fresh ingredients, and a light touch when pressing, you’ll get soft, chewy squares every time.
Keep this recipe in your back pocket for those moments when you need something sweet and shareable without a lot of effort.
One pot, a few minutes, and you’re done—classic comfort at its easiest.
Printable Recipe Card
Want just the essential recipe details without scrolling through the article? Get our printable recipe card with just the ingredients and instructions.