Dark Chocolate Peanut‑Butter Mug Pops – A Quick, Freezer-Friendly Treat

Craving something sweet, creamy, and a little bit fancy without turning on the oven? These dark‑chocolate peanut‑butter mug pops are the shortcut dessert you’ll make on repeat.
They come together in minutes, set in the freezer, and deliver that classic peanut‑butter cup flavor with a fun, popsicle twist.
No special equipment, no stovetop, and almost no cleanup. Just grab a mug, a spoon, and a few pantry staples, and you’re there.

Dark‑Chocolate Peanut‑Butter Mug Pops – A Quick, Freezer-Friendly Treat
Ingredients
- Dark chocolate chips or chopped dark chocolate (about 2/3 cup; 60–72% cacao works well)
- Creamy peanut butter (4 tablespoons; natural or conventional both work)
- Milk or cream (3–4 tablespoons; dairy or unsweetened plant milk)
- Honey, maple syrup, or powdered sugar (1–2 tablespoons, to taste)
- Vanilla extract (1/2 teaspoon)
- Pinch of salt (especially if using unsalted peanut butter)
- Optional add-ins: crushed peanuts, mini chocolate chips, cocoa nibs, flaky sea salt
- Short popsicle sticks or sturdy toothpicks (2–3 per mug, depending on size)
- Microwave-safe mug (12–16 ounces, straight sides are helpful)
Instructions
- Prep the mug: Make sure it’s clean and completely dry. If your mug is tall and narrow, lightly grease the inside with a tiny bit of neutral oil to help with release later.
- Melt the chocolate: Add the dark chocolate and 1 to 2 tablespoons of milk or cream to the mug. Microwave in 20–30 second bursts, stirring between each, until smooth and glossy. If it looks thick or grainy, stir in another splash of milk.
- Sweeten and season the chocolate: Mix in 1 teaspoon of honey or maple syrup (optional) and a tiny pinch of salt. Taste and adjust. You want it bittersweet but not harsh.
- Create the chocolate base layer: Spoon about one-third of the melted chocolate back into the bottom of the mug in an even layer. Tap the mug gently on the counter to level it. Freeze for 5–7 minutes to set slightly.
- Make the peanut-butter layer: In a small bowl, stir together peanut butter, 1–2 tablespoons of milk, 1–2 teaspoons sweetener, vanilla, and a pinch of salt until silky and spreadable. It should be thick but not stiff.
- Add the peanut-butter layer: Spread a generous layer of the peanut-butter mixture over the chilled chocolate base. Smooth the top as evenly as you can. Sprinkle in optional add-ins like crushed peanuts for crunch.
- Top with remaining chocolate: Pour or spoon the rest of the melted chocolate over the peanut butter, covering it completely. Tap the mug to remove air bubbles and level the top. If the chocolate stiffened while waiting, microwave it for 10 seconds to loosen.
- Insert sticks: Gently press popsicle sticks or sturdy toothpicks into the center, spacing them so each pop will have enough support. You can plan for 2–3 pops depending on mug width.
- Freeze until firm: Place the mug in the freezer for 1.5–2 hours, or until solid through the middle. If you’re in a rush, 60–75 minutes may be enough for smaller pops.
- Release the pops: Warm the outside of the mug with your hands for 20–30 seconds or briefly run warm water over the outside (avoid getting water inside). Gently wiggle and pull the sticks to slide the pops out.
- Finish and serve: Dust with flaky sea salt, drizzle with extra melted chocolate, or roll the edges in crushed peanuts. Enjoy right away or store for later.
What Makes This Recipe So Good
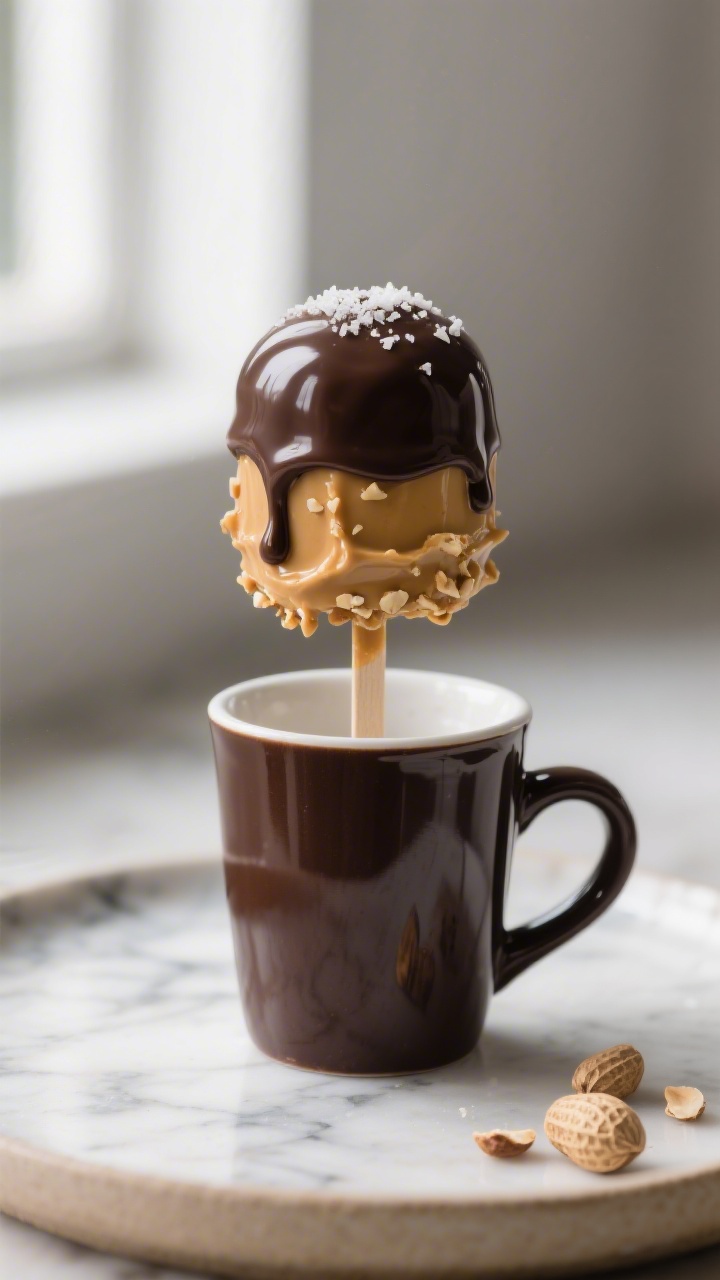
- Simple, no-bake method: Everything mixes right in a mug and sets in the freezer. It doesn’t get easier.
- Balanced sweetness: Dark chocolate keeps the pops from tasting too sugary, while peanut butter adds warm, nutty depth.
- Perfect portion control: Mug-sized pops mean you get just enough to satisfy a craving without going overboard.
- Customizable: Adjust the sweetness, swap the nut butter, or add crunch.
It’s a flexible base recipe.
- Kid-friendly and adult-approved: Fun to make, fun to eat, and surprisingly elegant for such a simple dessert.
What You’ll Need
- Dark chocolate chips or chopped dark chocolate (about 2/3 cup; 60–72% cacao works well)
- Creamy peanut butter (4 tablespoons; natural or conventional both work)
- Milk or cream (3–4 tablespoons; dairy or unsweetened plant milk)
- Honey, maple syrup, or powdered sugar (1–2 tablespoons, to taste)
- Vanilla extract (1/2 teaspoon)
- Pinch of salt (especially if using unsalted peanut butter)
- Optional add-ins: crushed peanuts, mini chocolate chips, cocoa nibs, flaky sea salt
- Short popsicle sticks or sturdy toothpicks (2–3 per mug, depending on size)
- Microwave-safe mug (12–16 ounces, straight sides are helpful)
Step-by-Step Instructions
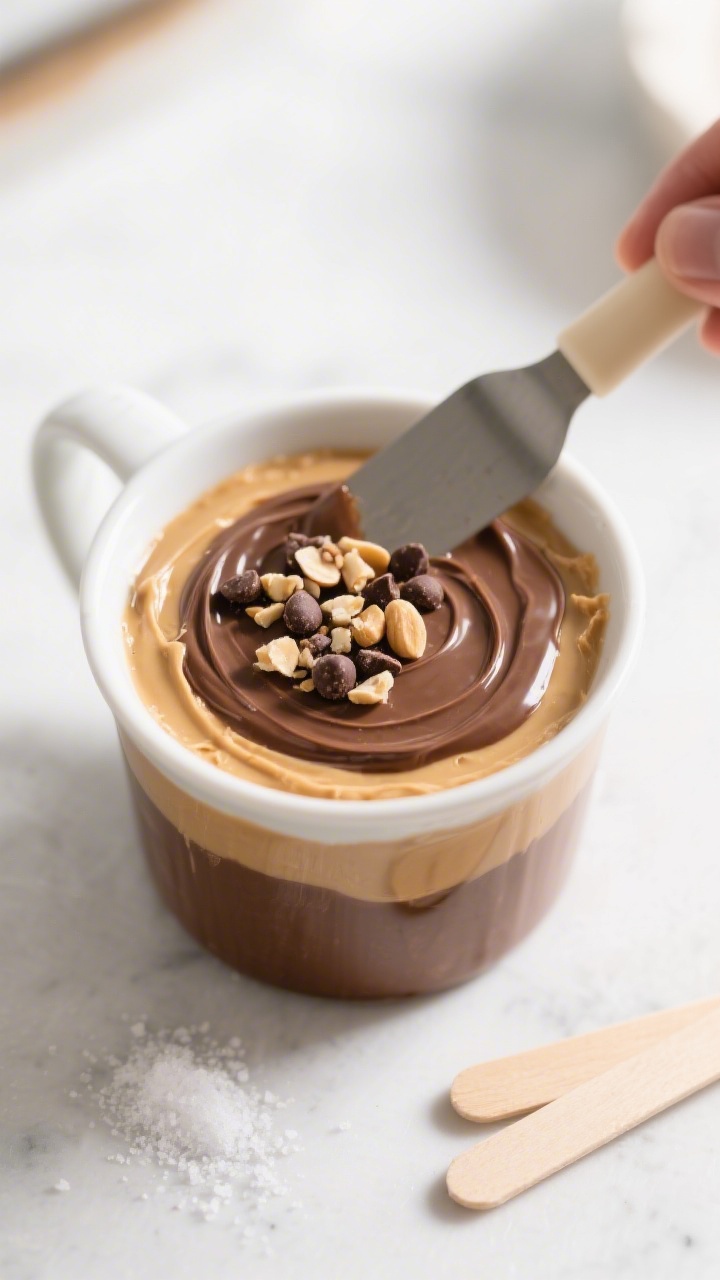
- Prep the mug: Make sure it’s clean and completely dry. If your mug is tall and narrow, lightly grease the inside with a tiny bit of neutral oil to help with release later.
- Melt the chocolate: Add the dark chocolate and 1 to 2 tablespoons of milk or cream to the mug. Microwave in 20–30 second bursts, stirring between each, until smooth and glossy.
If it looks thick or grainy, stir in another splash of milk.
- Sweeten and season the chocolate: Mix in 1 teaspoon of honey or maple syrup (optional) and a tiny pinch of salt. Taste and adjust. You want it bittersweet but not harsh.
- Create the chocolate base layer: Spoon about one-third of the melted chocolate back into the bottom of the mug in an even layer.
Tap the mug gently on the counter to level it. Freeze for 5–7 minutes to set slightly.
- Make the peanut-butter layer: In a small bowl, stir together peanut butter, 1–2 tablespoons of milk, 1–2 teaspoons sweetener, vanilla, and a pinch of salt until silky and spreadable. It should be thick but not stiff.
- Add the peanut-butter layer: Spread a generous layer of the peanut-butter mixture over the chilled chocolate base.
Smooth the top as evenly as you can. Sprinkle in optional add-ins like crushed peanuts for crunch.
- Top with remaining chocolate: Pour or spoon the rest of the melted chocolate over the peanut butter, covering it completely. Tap the mug to remove air bubbles and level the top.
If the chocolate stiffened while waiting, microwave it for 10 seconds to loosen.
- Insert sticks: Gently press popsicle sticks or sturdy toothpicks into the center, spacing them so each pop will have enough support. You can plan for 2–3 pops depending on mug width.
- Freeze until firm: Place the mug in the freezer for 1.5–2 hours, or until solid through the middle. If you’re in a rush, 60–75 minutes may be enough for smaller pops.
- Release the pops: Warm the outside of the mug with your hands for 20–30 seconds or briefly run warm water over the outside (avoid getting water inside).
Gently wiggle and pull the sticks to slide the pops out.
- Finish and serve: Dust with flaky sea salt, drizzle with extra melted chocolate, or roll the edges in crushed peanuts. Enjoy right away or store for later.
Keeping It Fresh
- Storage: Wrap each pop in parchment or wax paper, then place in a freezer-safe bag or container. They keep well for up to 2–3 weeks.
- Prevent freezer burn: Squeeze out extra air from bags and keep pops clustered together so they protect one another.
- Thawing: For the creamiest texture, let a pop sit at room temperature for 3–5 minutes before eating.
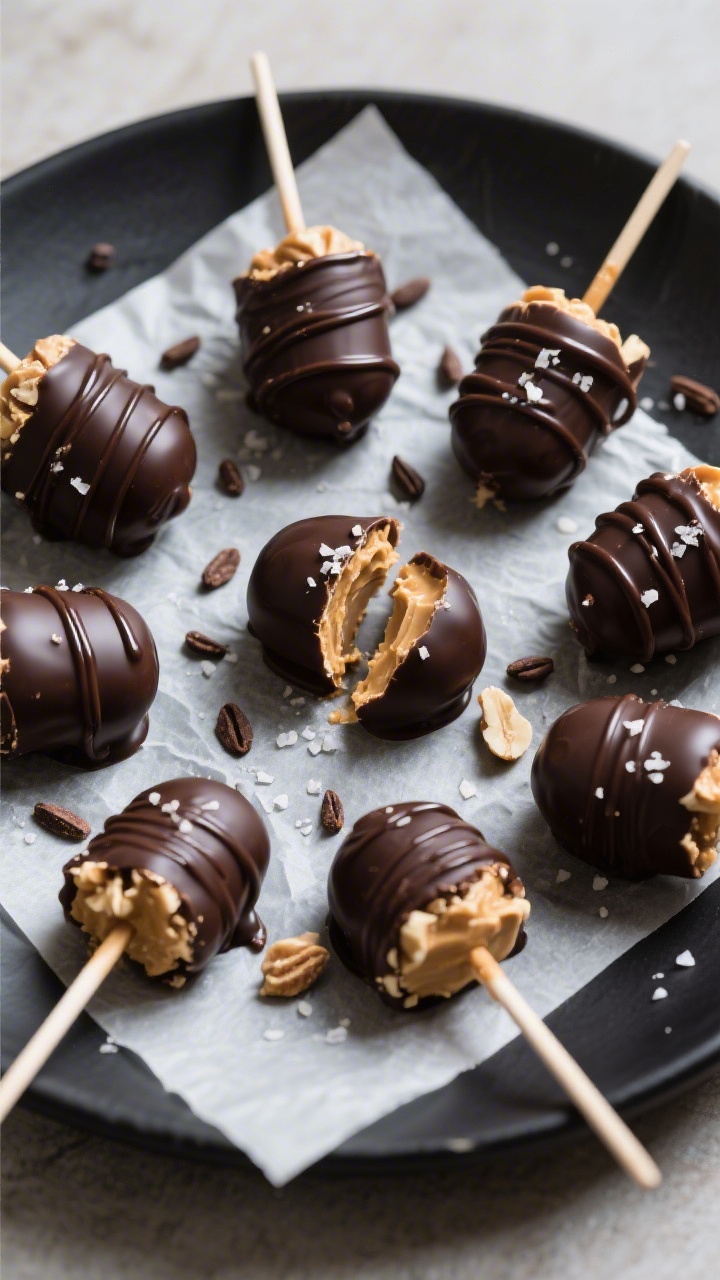
Why This is Good for You
- Dark chocolate perks: Dark chocolate offers antioxidants and a deeper flavor, so you can use less sweetener and still feel satisfied.
- Peanut-butter power: Peanut butter brings protein, healthy fats, and a creamy mouthfeel that makes a small portion feel indulgent.
- Controlled sweetness: Choosing your own sweetener and using just enough keeps the sugar content reasonable without losing dessert-worthy taste.
- Portion mindfulness: Making these in a mug naturally limits the batch size and encourages mindful snacking.
Common Mistakes to Avoid
- Overheating the chocolate: Scorched chocolate turns grainy.
Microwave in short bursts and stir well each time.
- Skipping the pinch of salt: A tiny bit of salt rounds out both the chocolate and peanut-butter layers. Don’t omit it.
- Too stiff peanut butter: If your peanut butter is thick, it won’t spread evenly. Loosen with milk a teaspoon at a time until smooth.
- Forgetting to set the base: If the chocolate base isn’t slightly set, the peanut-butter layer will sink and mix in.
- Rushing the release: Forcing the pops out of a cold mug can snap the sticks.
Warm the outside of the mug first, then ease them out.
Recipe Variations
- Almond or cashew butter: Swap peanut butter for a milder nut flavor. Add a dash of almond extract for a bakery vibe.
- Crunchy swirl: Fold crushed pretzels or toasted rice cereal into the peanut-butter layer for texture.
- Salted caramel twist: Drizzle a little caramel sauce over the peanut-butter layer before topping with chocolate. Finish with flaky sea salt.
- Mocha pops: Stir 1 teaspoon instant espresso into the melted chocolate for a coffee-kissed bite.
- Dairy-free: Use plant milk and a dairy-free dark chocolate brand.
The method stays the same.
- Protein boost: Mix a teaspoon or two of unflavored or chocolate protein powder into the peanut-butter layer and loosen with extra milk.
FAQ
Can I make these without a microwave?
Yes. Melt the chocolate gently using a double boiler or a heatproof bowl set over a pot of barely simmering water. Stir constantly and keep the heat low so the chocolate doesn’t seize.
What if my chocolate seizes or turns grainy?
Add a teaspoon of warm milk or neutral oil and stir until it smooths out.
Work slowly and keep the heat gentle. If it’s badly scorched, it’s best to start over.
How do I make them less sweet?
Use higher‑cacao chocolate (70% or more), reduce the sweetener in the peanut-butter layer, and finish with a pinch of flaky salt. The salt helps balance bitterness without extra sugar.
Can I use crunchy peanut butter?
Absolutely.
It adds texture and makes the pops more interesting. If the mixture is too thick to spread, loosen with a splash of milk.
What’s the best way to get clean layers?
Let the chocolate base set for a few minutes in the freezer before adding the peanut-butter layer, then tap the mug to level. Repeat after topping with the final chocolate layer.
My pops won’t release from the mug.
Help?
Warm the outside of the mug with your hands, or briefly run warm water over the exterior while keeping the top covered. Gently twist the sticks and pull straight up.
Can I scale this recipe?
Yes. Use multiple mugs or small paper cups as molds.
You can double or triple the ingredients and divide evenly between containers.
What if I don’t have popsicle sticks?
Use sturdy toothpicks, short skewers, or even small spoons. For mini bites, skip the sticks and cut the slab into chunks after freezing.
Can I make a sugar-free version?
Use unsweetened dark chocolate and a sugar-free sweetener you like, such as a little powdered erythritol or a few drops of liquid stevia. Adjust to taste.
How long will they keep in the freezer?
They’re best within 2–3 weeks for peak texture and flavor.
After that, they can pick up freezer odors and may develop ice crystals.
Final Thoughts
These dark‑chocolate peanut‑butter mug pops prove that great desserts don’t need a long ingredient list or a lot of time.
With a few pantry staples and a freezer, you get a creamy, crunchy, sweet‑meets‑salty treat that hits the spot any day of the week.
Keep a batch on hand for late‑night cravings, after‑school snacks, or a quick dessert for guests.
Simple, satisfying, and reliably delicious.
Printable Recipe Card
Want just the essential recipe details without scrolling through the article? Get our printable recipe card with just the ingredients and instructions.