Chocolate Easter Nests

why make this recipe
Chocolate Easter Nests are a fun and easy treat to make for Easter celebrations. They are not only delicious but also allow you to get creative with decorations.
Kids love them, and they make a great activity for the whole family. Plus, they are quick to prepare and require just a few ingredients.

Chocolate Easter Nests
Ingredients
- 200 g milk chocolate
- 100 g shredded wheat or rice cereal
- Mini chocolate eggs or candies for decoration
- Optional: desiccated coconut or edible grass for base
Instructions
- Melt the milk chocolate in a bowl over simmering water or in the microwave.
- In a separate bowl, crush the shredded wheat or rice cereal into small pieces.
- Pour the melted chocolate over the cereal and mix until well combined.
- Spoon the chocolate mixture into small cupcake cases or mold them into nest shapes on a parchment-lined tray.
- Place the mini chocolate eggs on top of each nest for decoration.
- Optional: Add desiccated coconut or edible grass at the bottom for a more festive look.
- Refrigerate the nests until the chocolate is set.
- Serve and enjoy these delightful treats during Easter celebrations!
how to make Chocolate Easter Nests
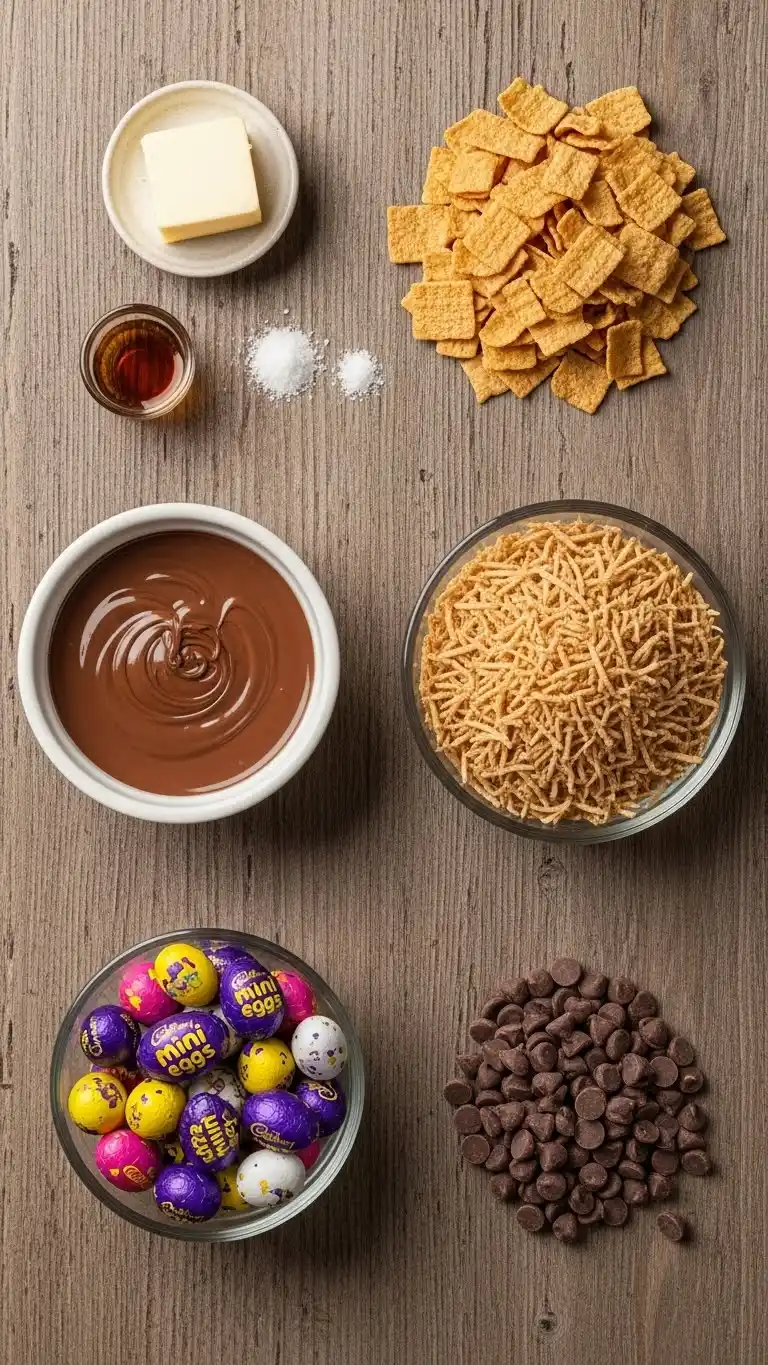
Ingredients:
- 200g milk chocolate
- 100g shredded wheat or rice cereal
- Mini chocolate eggs or candies (for decoration)
- Optional: desiccated coconut or edible grass (for base)
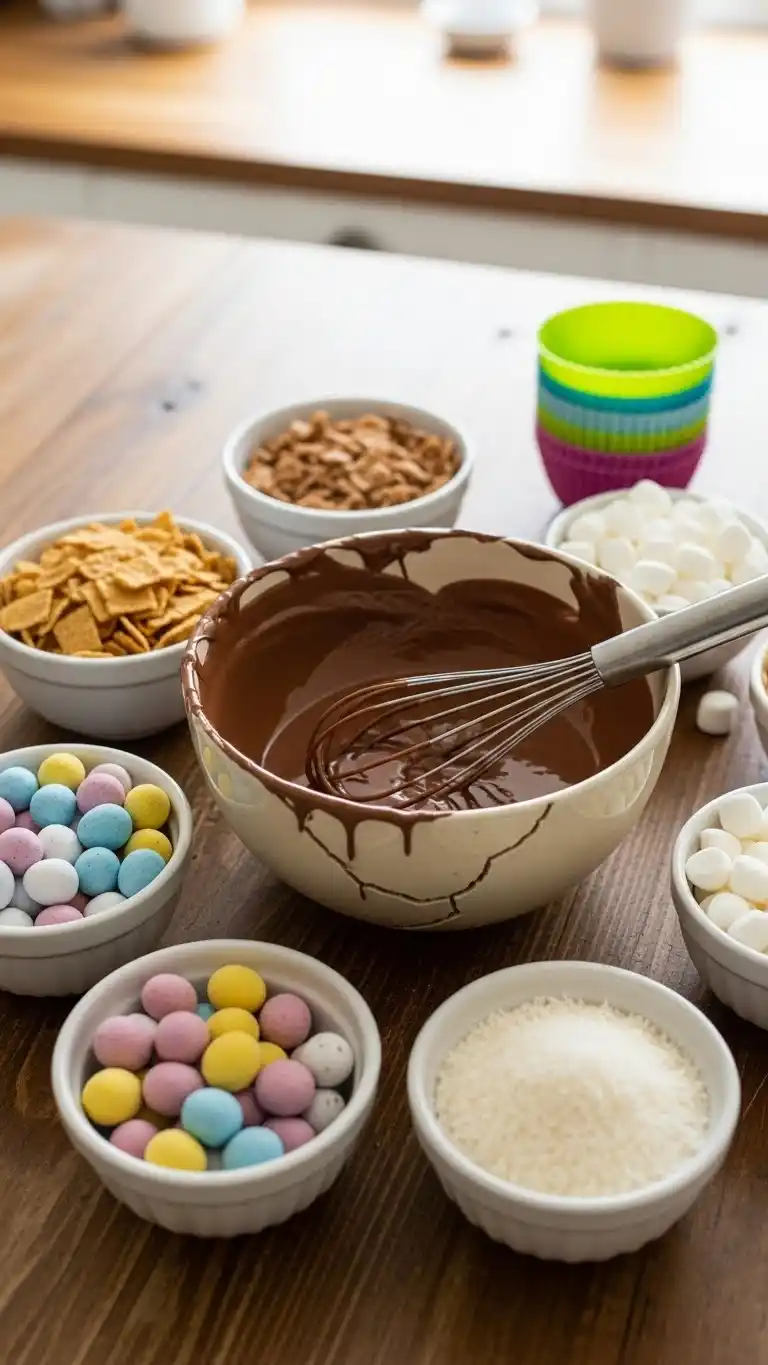
Directions:
- Melt the milk chocolate in a bowl over simmering water or in the microwave.
- In a separate bowl, crush the shredded wheat or rice cereal into small pieces.
- Pour the melted chocolate over the cereal and mix until well combined.
- Spoon the chocolate mixture into small cupcake cases or mold them into nest shapes on a parchment-lined tray.
- Place the mini chocolate eggs on top of each nest for decoration.
- Optional: Add desiccated coconut or edible grass at the bottom for a more festive look.
- Refrigerate the nests until the chocolate is set.
- Serve and enjoy these delightful treats during Easter celebrations!
how to serve Chocolate Easter Nests

Serve Chocolate Easter Nests on a nice platter or cake stand. They look great and invite people to grab one. You can also pack them in small treat bags for gifts. They are perfect for Easter brunches, family gatherings, or school parties.
how to store Chocolate Easter Nests
To store Chocolate Easter Nests, keep them in an airtight container. Place them in a cool, dry place. They can last for about a week. If it’s warm, consider putting them in the fridge to keep the chocolate firm.
tips to make Chocolate Easter Nests
- Make sure the chocolate is fully melted for easy mixing.
- If you are using shredded wheat, break it into tiny pieces for a better nest shape.
- Get creative with decorations! Use different colored candies or toppings to make them unique.
variation
You can try using dark chocolate or white chocolate if you want a different flavor. You can also add nuts or dried fruits to the mixture for added texture.
FAQs
1. Can I make these nests in advance?
Yes, you can make Chocolate Easter Nests a couple of days ahead. Just store them in an airtight container.
2. Can I use gluten-free cereal?
Yes, you can use gluten-free rice cereal as a substitute for shredded wheat.
3. What if I don’t have mini chocolate eggs?
You can use any small candy or chocolate pieces for decoration. Get creative with what you have!
Printable Recipe Card
Want just the essential recipe details without scrolling through the article? Get our printable recipe card with just the ingredients and instructions.