Chocolate Dipped Marshmallows – Simple, Fun, and Sweet

Chocolate dipped marshmallows are the kind of treat that make people smile before they even take a bite. They’re cute, quick to make, and taste like a campfire memory with a touch of elegance.
Whether you need a last-minute dessert, a party favor, or a fun kitchen project with kids, this recipe delivers.
No baking, no stress—just soft, fluffy marshmallows in a smooth, glossy coat of chocolate with your favorite crunchy toppings. Make a few, or make a big batch. Either way, they’ll go fast.

Chocolate Dipped Marshmallows – Simple, Fun, and Sweet
Ingredients
- Marshmallows: Regular-size or jumbo; choose a brand you like.
- Chocolate: Semi-sweet, dark, milk, or white. Use bars, chips, or melting wafers.
- Coconut oil or vegetable shortening (optional): 1–2 teaspoons to thin and smooth the chocolate.
- Toppings (optional): Sprinkles, crushed nuts, toasted coconut, mini chocolate chips, crushed cookies, flaky sea salt, or drizzle chocolate.
- Sticks or skewers (optional): Lollipop sticks, wooden skewers, or paper straws for easy dipping and serving.
- Parchment paper or silicone mat: For setting dipped marshmallows.
- Microwave-safe bowl or double boiler: For melting chocolate.
- Baking sheet: To line with parchment and chill the dipped marshmallows.
Instructions
- Prep your workstation. Line a baking sheet with parchment paper or a silicone mat. Set out your toppings in small bowls so you can move quickly after dipping.
- Skewer the marshmallows. If using sticks, insert one into each marshmallow about halfway through. This makes dipping easier and keeps sticky fingers to a minimum.
- Melt the chocolate. Place chocolate in a microwave-safe bowl. Microwave in 20–30 second bursts, stirring between each, until almost melted. Stir until smooth. If using a double boiler, keep the heat low and stir constantly. Add 1–2 teaspoons of coconut oil or shortening if you want a thinner, shinier coating.
- Test the consistency. Dip a spoon into the chocolate and let it drip. If it falls in a steady ribbon, you’re set. If it’s too thick, add a tiny bit more oil. If it’s too thin, add a little more chocolate.
- Dip the marshmallows. Hold the stick and submerge each marshmallow about three-quarters of the way, or all the way if you prefer a full coat. Gently tap the stick on the bowl’s edge to remove excess chocolate.
- Add toppings. Immediately sprinkle or roll the dipped marshmallow in your chosen toppings. Work quickly—the chocolate begins to set as it cools.
- Set on the tray. Place each dipped marshmallow on the lined baking sheet. If you want a neat round bottom, let the excess drip a bit longer before placing it down.
- Chill briefly. Refrigerate for 10–15 minutes, just until set. Don’t over-chill or you may get condensation later when they warm up.
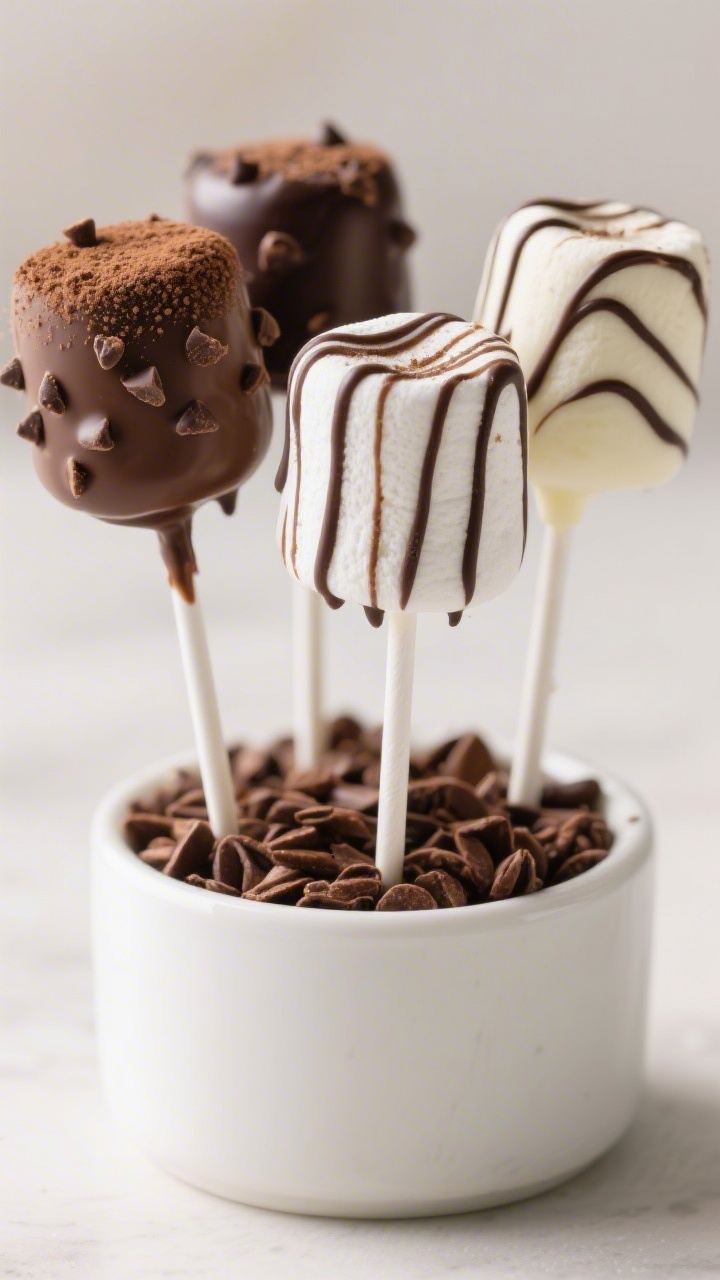
- Optional drizzle. Melt a contrasting chocolate (like white over dark) and use a spoon or piping bag to drizzle narrow lines for a bakery-style finish. Chill again for 5 minutes to set.
- Serve or store. Enjoy right away, or follow the storage tips below to keep them fresh.
Why This Recipe Works
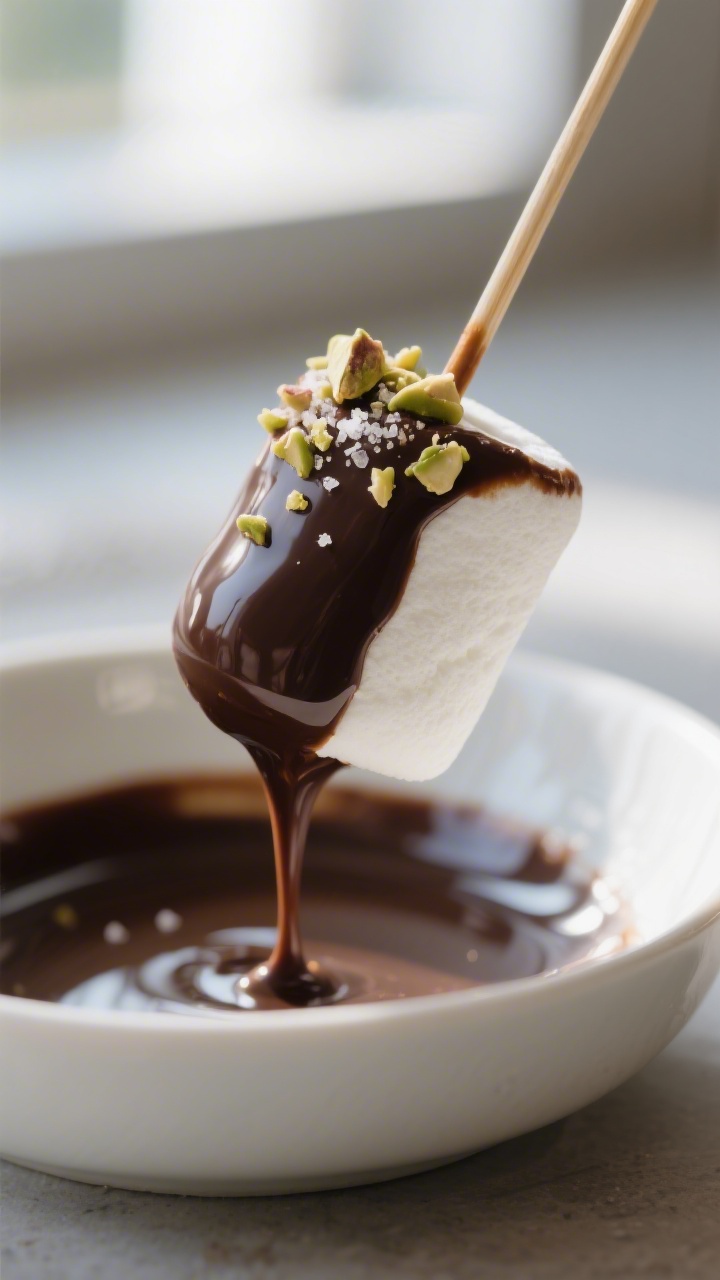
This recipe keeps things simple while still feeling special. Store-bought marshmallows are easy and consistent, and they hold up well to dipping.
Real chocolate melts into a silky coating that sets with a nice snap, especially when tempered or chilled correctly.
A few smart add-ins—like coconut oil or shortening—help the chocolate set smoothly and avoid streaks. And because the flavors are straightforward, your toppings can shine.
What You’ll Need
- Marshmallows: Regular-size or jumbo; choose a brand you like.
- Chocolate: Semi-sweet, dark, milk, or white. Use bars, chips, or melting wafers.
- Coconut oil or vegetable shortening (optional): 1–2 teaspoons to thin and smooth the chocolate.
- Toppings (optional): Sprinkles, crushed nuts, toasted coconut, mini chocolate chips, crushed cookies, flaky sea salt, or drizzle chocolate.
- Sticks or skewers (optional): Lollipop sticks, wooden skewers, or paper straws for easy dipping and serving.
- Parchment paper or silicone mat: For setting dipped marshmallows.
- Microwave-safe bowl or double boiler: For melting chocolate.
- Baking sheet: To line with parchment and chill the dipped marshmallows.
Step-by-Step Instructions
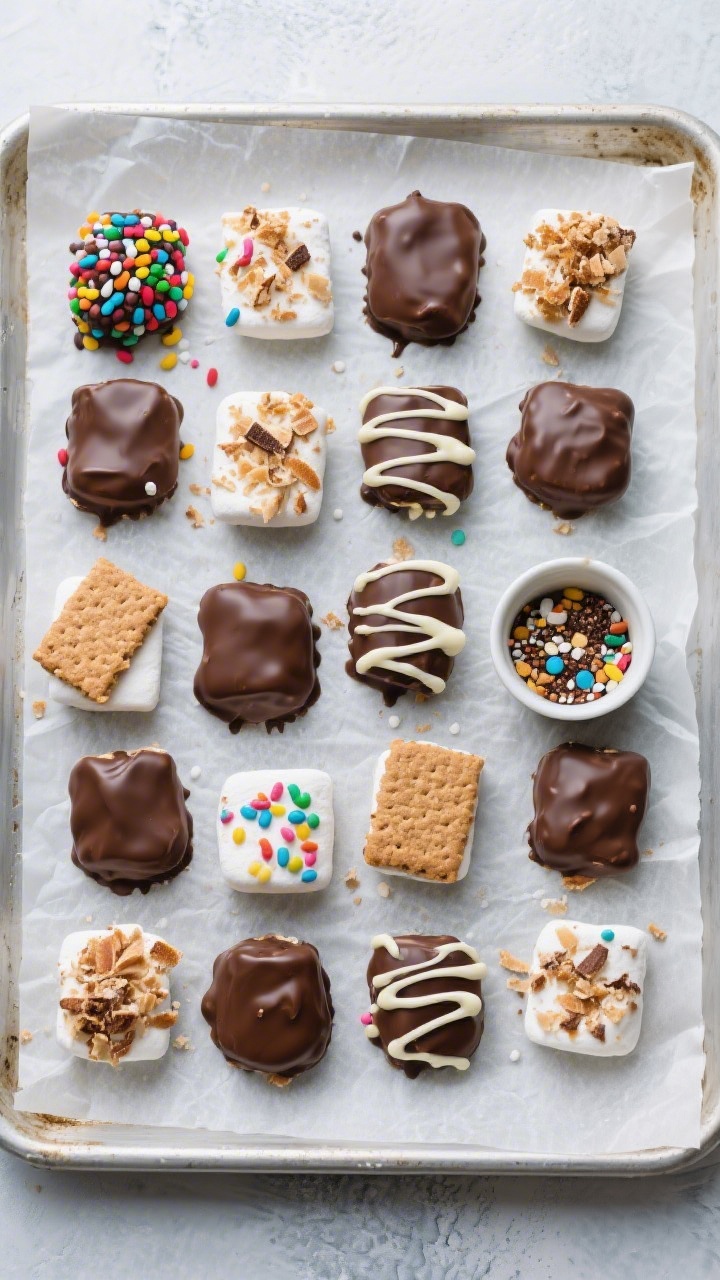
- Prep your workstation. Line a baking sheet with parchment paper or a silicone mat. Set out your toppings in small bowls so you can move quickly after dipping.
- Skewer the marshmallows. If using sticks, insert one into each marshmallow about halfway through. This makes dipping easier and keeps sticky fingers to a minimum.
- Melt the chocolate. Place chocolate in a microwave-safe bowl. Microwave in 20–30 second bursts, stirring between each, until almost melted. Stir until smooth. If using a double boiler, keep the heat low and stir constantly. Add 1–2 teaspoons of coconut oil or shortening if you want a thinner, shinier coating.
- Test the consistency. Dip a spoon into the chocolate and let it drip. If it falls in a steady ribbon, you’re set. If it’s too thick, add a tiny bit more oil. If it’s too thin, add a little more chocolate.
- Dip the marshmallows. Hold the stick and submerge each marshmallow about three-quarters of the way, or all the way if you prefer a full coat. Gently tap the stick on the bowl’s edge to remove excess chocolate.
- Add toppings. Immediately sprinkle or roll the dipped marshmallow in your chosen toppings. Work quickly—the chocolate begins to set as it cools.
- Set on the tray. Place each dipped marshmallow on the lined baking sheet. If you want a neat round bottom, let the excess drip a bit longer before placing it down.
- Chill briefly. Refrigerate for 10–15 minutes, just until set. Don’t over-chill or you may get condensation later when they warm up.
- Optional drizzle. Melt a contrasting chocolate (like white over dark) and use a spoon or piping bag to drizzle narrow lines for a bakery-style finish. Chill again for 5 minutes to set.
- Serve or store. Enjoy right away, or follow the storage tips below to keep them fresh.
Keeping It Fresh
Chocolate dipped marshmallows store well at room temperature if kept dry. Place them in an airtight container with parchment between layers so they don’t stick.
Keep the container in a cool spot away from sunlight and heat—ideally 60–70°F (15–21°C).
If your kitchen is warm, refrigerate them, but expect a little condensation after they come back to room temperature.
For best texture and flavor, enjoy within 3–5 days.
Benefits of This Recipe
- Fast and easy: Ready in under 30 minutes, even with toppings and drizzle.
- No baking required: Perfect for hot days or last-minute hosting.
- Kid-friendly: Safe, hands-on steps like dipping and decorating.
- Customizable: Endless topping and chocolate combinations to fit any theme.
- Great for gifting: Wrap in cellophane bags with ribbons for party favors or holiday treats.
- Scales well: Make a handful or a big batch with the same steps.
Common Mistakes to Avoid
- Overheating the chocolate: This causes grainy, dull coatings. Heat gently and stir often.
- Water near the chocolate: Even a drop can seize chocolate. Keep tools and bowls dry.
- Skipping the set time: If you don’t let them set fully, toppings can slide off and smudge.
- Overloading with toppings: Too much weight can pull the chocolate off the marshmallow. Use a light hand.
- Storing while warm: Traps moisture and softens the coating. Let them cool before boxing up.
- Humid environments: Humidity can make chocolate sticky. Work in a cool, dry space when possible.
Alternatives
- Different chocolates: Try dark for a richer bite, milk for a classic candy feel, or white for color drizzles. Mix chocolates for a marbled effect.
- Flavored coatings: Stir in a few drops of peppermint, orange, or almond extract. A pinch of cinnamon in dark chocolate is also great.
- Gourmet toppings: Use crushed pistachios, freeze-dried raspberries, espresso powder, or candied ginger for a grown-up twist.
- S’mores style: Dip in chocolate, then roll in crushed graham crackers, and finish with a tiny sprinkle of sea salt.
- Holiday themes: Red and green sprinkles for Christmas, pastel drizzle for spring, or orange and black nonpareils for Halloween.
- Shapes and sizes: Use jumbo marshmallows for a showy treat, or minis skewered in threes for bite-size pops.
- Vegan option: Choose gelatin-free marshmallows and dairy-free chocolate to keep it plant-based.
FAQ
Do I need to temper the chocolate?
You don’t have to, but tempering gives a shinier finish and a firmer snap at room temperature. For casual snacking, gently melted chocolate with a bit of coconut oil sets well enough.
If you’re gifting or storing at room temperature for longer, tempering helps prevent bloom.
How do I keep the chocolate from getting streaky or dull?
Heat slowly, avoid water, and don’t overwork the chocolate. Stir until smooth and let the coating set in a cool room. If it’s very warm where you are, a short chill in the fridge helps, but don’t leave them there for hours to avoid condensation.
What if my chocolate seizes?
If your chocolate turns thick and grainy due to water, it’s tough to bring back for dipping.
You can add small amounts of hot water to turn it into a sauce for drizzling, but it won’t set like a proper coating. For dipping, it’s best to start over with dry tools and fresh chocolate.
Can I make these ahead of time?
Yes. Make them up to 2–3 days in advance and store in an airtight container at a cool room temperature.
If you need to refrigerate due to heat, keep them in a sealed container to limit moisture.
What’s the best way to package them for gifts?
Let them set fully, then slip each one into a small cellophane bag. Tie with ribbon and add a label. If stacking, separate layers with parchment to keep the chocolate pristine.
Can I use candy melts instead of chocolate?
Absolutely.
Candy melts are easy to work with and set quickly. They don’t have the same rich flavor as real chocolate, but they’re great for colorful coatings and detailed decorating.
How do I add a drizzle without making a mess?
Use a small zip-top bag and snip a tiny corner, or a piping bag with a fine tip. Drizzle in quick, confident motions while the base coat is set.
Chill briefly to lock it in.
Why are my toppings falling off?
They likely went on too late. Add toppings immediately after dipping while the chocolate is still wet. Press gently to help them stick, but don’t press so hard that the coating slides.
Final Thoughts
Chocolate dipped marshmallows are proof that simple treats can feel special.
With a handful of ingredients and a few easy steps, you get a dessert that’s playful, customizable, and crowd-pleasing.
Keep the chocolate smooth, the toppings light, and the storage cool. Make a batch for your next party—or just because—and watch them disappear.
They’re sweet, charming, and exactly the kind of treat people remember.
Printable Recipe Card
Want just the essential recipe details without scrolling through the article? Get our printable recipe card with just the ingredients and instructions.