Garlic Butter Chicken Thighs Keto – Juicy, Flavorful, and Low-Carb

These Garlic Butter Chicken Thighs hit that perfect mix of rich, savory, and simple. You get crispy skin, tender meat, and a buttery garlic sauce that tastes like you cooked all day. Best part?
It’s naturally keto-friendly and made with pantry staples. Whether it’s a quick weeknight dinner or a cozy weekend meal, this one always delivers. Serve it with a veggie side and you’re set.

Garlic Butter Chicken Thighs Keto - Juicy, Flavorful, and Low-Carb
Ingredients
- Chicken thighs (bone-in, skin-on; 4–6 pieces)
- Unsalted butter (4–6 tablespoons)
- Olive oil or avocado oil (1–2 tablespoons)
- Garlic (5–6 cloves, minced)
- Chicken broth (1/2 cup; low-sodium preferred)
- Lemon (1; for juice and optional zest)
- Fresh parsley (a small handful, chopped)
- Smoked paprika (1 teaspoon)
- Onion powder (1 teaspoon)
- Dried thyme or Italian seasoning (1 teaspoon)
- Red pepper flakes (pinch, optional)
- Salt and black pepper
Instructions
- Pat dry and season well. Use paper towels to dry the chicken thighs thoroughly. Season both sides with salt, pepper, smoked paprika, onion powder, and dried thyme. Dry skin + solid seasoning equals crisp, flavorful results.
- Preheat your pan. Set a large oven-safe skillet (cast iron is ideal) over medium-high heat. Add olive oil and let it get hot but not smoking.
- Sear skin-side down first. Place thighs skin-side down and don’t move them for 6–8 minutes. You’re looking for deep golden-brown, crisp skin. If they stick, give them another minute.
- Flip and add butter. Turn thighs over and lower heat to medium. Add butter to the pan. As it melts, tilt the pan and spoon the butter over the chicken for 1–2 minutes to baste.
- Add garlic and bloom it. Push chicken to the sides and add minced garlic to the butter. Stir for 30 seconds until fragrant, not browned. This flavors the sauce without burning the garlic.
- Deglaze with broth. Pour in chicken broth and scrape up the browned bits. Add a squeeze of lemon juice (about 1–2 tablespoons) and a pinch of red pepper flakes if using.
- Finish on the stovetop or in the oven. Simmer uncovered for 6–10 minutes, spooning sauce over the thighs, until the sauce slightly reduces and the chicken hits an internal temp of 165°F/74°C. If you prefer the oven, transfer the skillet to 400°F (205°C) for 8–12 minutes after searing.
- Rest and garnish. Turn off the heat and let the chicken rest for 5 minutes. Stir chopped parsley and a little lemon zest into the sauce. Taste and adjust salt and pepper.
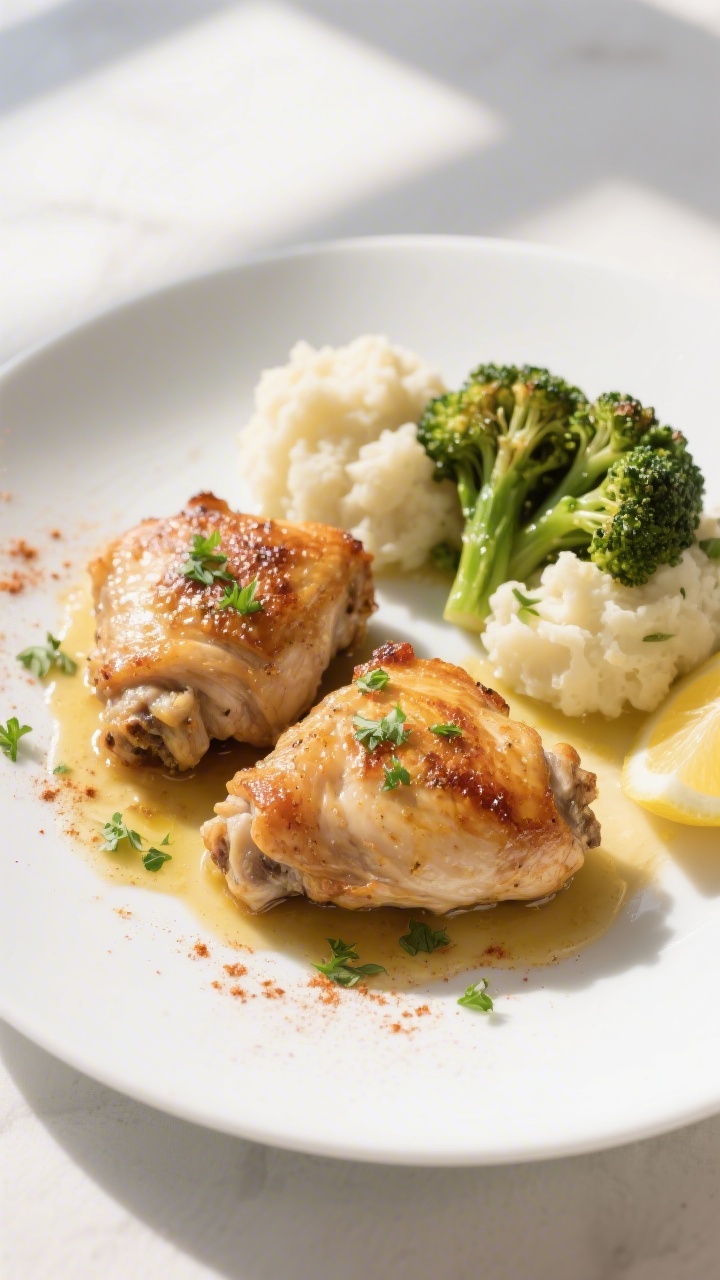
- Serve with the pan sauce. Spoon that garlicky butter over each thigh. Pair with sautéed greens, roasted broccoli, mashed cauliflower, or a simple salad.
What Makes This Special
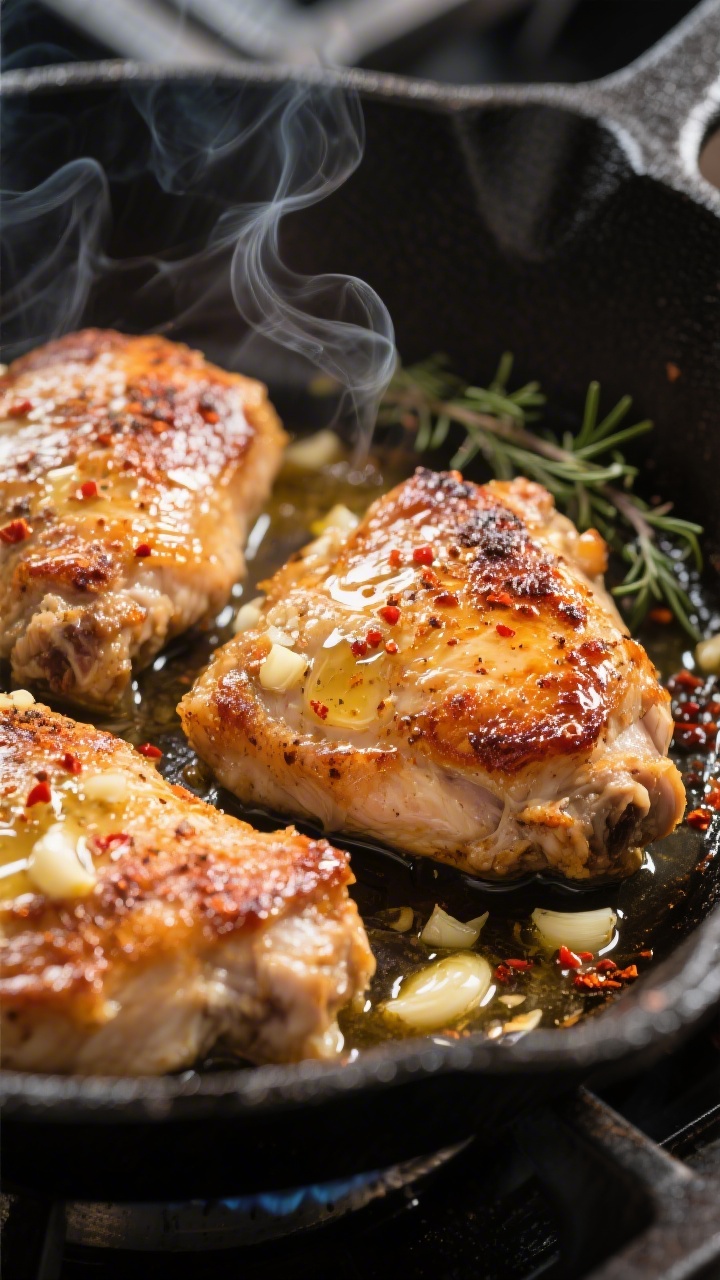
This recipe leans on chicken thighs for maximum flavor and juiciness.
The bone-in, skin-on cut stays moist, while the skin crisps up beautifully in a hot pan. A quick garlic butter baste turns the pan juices into a glossy, silky sauce. It’s straightforward, cooks in one pan, and pairs easily with low-carb sides.
You’ll feel like you’re eating something indulgent without leaving your keto goals behind.
Shopping List
- Chicken thighs (bone-in, skin-on; 4–6 pieces)
- Unsalted butter (4–6 tablespoons)
- Olive oil or avocado oil (1–2 tablespoons)
- Garlic (5–6 cloves, minced)
- Chicken broth (1/2 cup; low-sodium preferred)
- Lemon (1; for juice and optional zest)
- Fresh parsley (a small handful, chopped)
- Smoked paprika (1 teaspoon)
- Onion powder (1 teaspoon)
- Dried thyme or Italian seasoning (1 teaspoon)
- Red pepper flakes (pinch, optional)
- Salt and black pepper
How to Make It
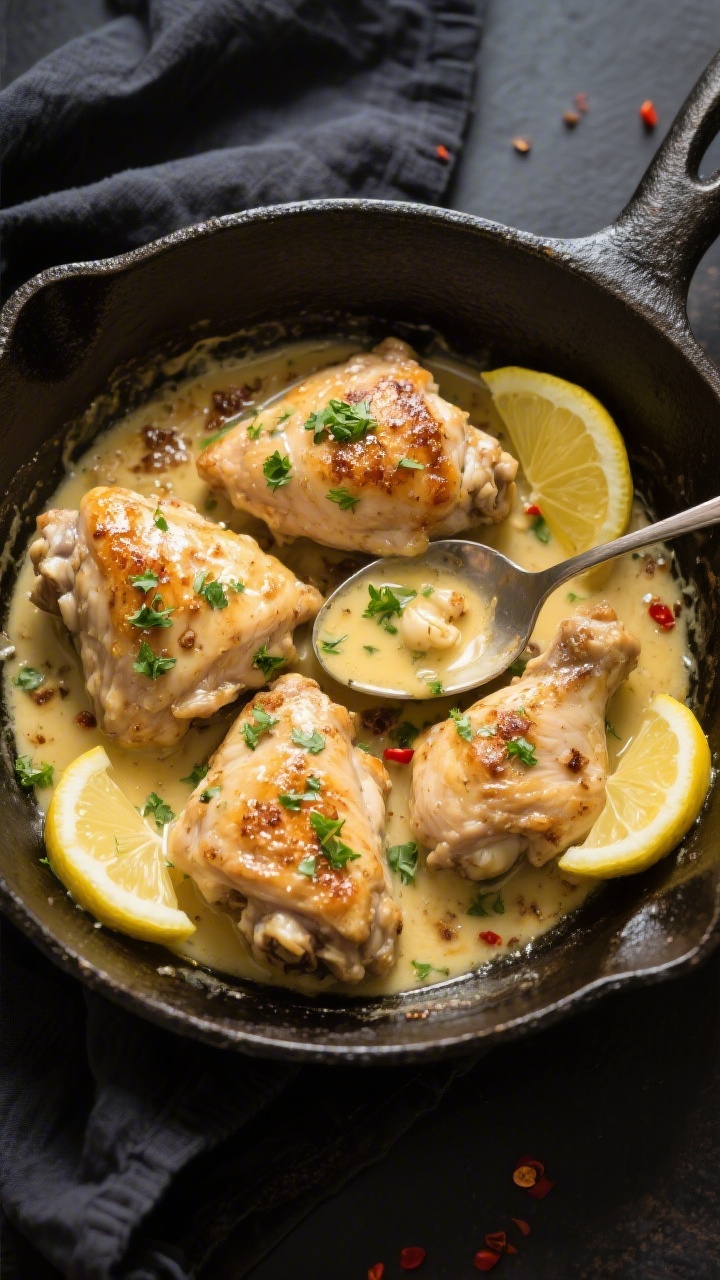
- Pat dry and season well. Use paper towels to dry the chicken thighs thoroughly. Season both sides with salt, pepper, smoked paprika, onion powder, and dried thyme. Dry skin + solid seasoning equals crisp, flavorful results.
- Preheat your pan. Set a large oven-safe skillet (cast iron is ideal) over medium-high heat.
Add olive oil and let it get hot but not smoking.
- Sear skin-side down first. Place thighs skin-side down and don’t move them for 6–8 minutes. You’re looking for deep golden-brown, crisp skin. If they stick, give them another minute.
- Flip and add butter. Turn thighs over and lower heat to medium.
Add butter to the pan. As it melts, tilt the pan and spoon the butter over the chicken for 1–2 minutes to baste.
- Add garlic and bloom it. Push chicken to the sides and add minced garlic to the butter. Stir for 30 seconds until fragrant, not browned.
This flavors the sauce without burning the garlic.
- Deglaze with broth. Pour in chicken broth and scrape up the browned bits. Add a squeeze of lemon juice (about 1–2 tablespoons) and a pinch of red pepper flakes if using.
- Finish on the stovetop or in the oven. Simmer uncovered for 6–10 minutes, spooning sauce over the thighs, until the sauce slightly reduces and the chicken hits an internal temp of 165°F/74°C. If you prefer the oven, transfer the skillet to 400°F (205°C) for 8–12 minutes after searing.
- Rest and garnish. Turn off the heat and let the chicken rest for 5 minutes.
Stir chopped parsley and a little lemon zest into the sauce. Taste and adjust salt and pepper.
- Serve with the pan sauce. Spoon that garlicky butter over each thigh. Pair with sautéed greens, roasted broccoli, mashed cauliflower, or a simple salad.
Keeping It Fresh
Store leftovers in an airtight container with the pan sauce.
The sauce helps keep the chicken moist. It keeps well in the fridge for 3–4 days. Reheat gently on the stovetop over low heat, adding a splash of broth if needed.
You can also rewarm in the oven at 300°F (150°C) until heated through.
Benefits of This Recipe
- Keto-friendly and low-carb. Butter, chicken thighs, and a no-flour sauce keep carbs near zero while packing in flavor.
- High satiety. Protein and fat keep you full and steady, which helps with cravings and meal planning.
- One-pan simplicity. Less cleanup, faster dinner, and still restaurant-quality taste.
- Easy to customize. Change the herbs, add heat, or swap in ghee to suit your diet and taste.
- Meal-prep friendly. Reheats well and stays juicy, which is rare for many chicken recipes.
What Not to Do
- Don’t skip drying the skin. Moisture is the enemy of crispness. Pat thoroughly before seasoning.
- Don’t rush the sear. Moving the chicken too soon rips the skin and kills that golden crust. Give it time.
- Don’t burn the garlic. Add it after the butter melts and lower the heat.
Bitter garlic will overpower everything.
- Don’t drown it in liquid. You want a glossy, reduced sauce, not soup. Add just enough broth to deglaze.
- Don’t forget to rest the chicken. A few minutes off heat keeps it juicy and lets flavors settle.
Variations You Can Try
- Lemon Herb Twist: Add fresh thyme and rosemary, extra lemon zest, and finish with a squeeze of lemon for a bright, zippy sauce.
- Creamy Spinach Upgrade: Stir in a splash of heavy cream and a few handfuls of baby spinach during the last 2–3 minutes until wilted.
- Garlic Parmesan: Whisk in 1/4 cup finely grated Parmesan off heat for a nutty, cheesy finish.
- Spicy Kick: Add cayenne or more red pepper flakes, or a drizzle of chili crisp for heat and crunch.
- Dijon Butter: Whisk in 1–2 teaspoons Dijon mustard to the sauce for a tangy depth that plays well with garlic.
- Ghee and Herbs: Swap butter for ghee for higher smoke point and a toasty aroma, then finish with cilantro or chives.
FAQ
Can I use boneless, skinless chicken thighs?
Yes. They cook faster and stay tender, but you’ll miss the crispy skin.
Sear 3–4 minutes per side, then simmer in the sauce until done. Watch closely so they don’t dry out.
What’s the best skillet to use?
Cast iron is ideal for even heat and great browning. A stainless steel skillet works too.
Avoid nonstick at high heat, as it won’t brown as deeply and can degrade with high temperatures.
Is this recipe freezer-friendly?
Yes, though the skin won’t stay crisp after thawing. Freeze in sauce for up to 2 months. Thaw overnight in the fridge, then reheat gently and finish with fresh parsley and lemon.
How do I know the chicken is done?
Use a meat thermometer in the thickest part without touching the bone.
You’re aiming for 165°F (74°C). Juices should run clear, and the meat will feel firm but not tough.
Can I make it dairy-free and still keto?
Use ghee if tolerated, or a dairy-free butter alternative with a high smoke point. You’ll keep the richness while avoiding milk solids.
Adjust salt since some substitutes are salted.
What sides go well with this?
Think low-carb and simple: garlic sautéed green beans, roasted asparagus, zucchini noodles, mashed cauliflower, or a crunchy cabbage slaw with a lemony dressing.
Can I add mushrooms or onions?
Absolutely. After searing the chicken, remove it briefly, sauté sliced mushrooms or onions in the butter until browned, then add garlic and proceed. Keep an eye on carbs if tracking strictly.
How can I make the sauce thicker?
Reduce it longer over medium heat while basting.
For extra body, whisk in a tablespoon of cold butter off heat. Avoid flour or cornstarch to keep it keto.
Why is my chicken skin not crispy?
The pan wasn’t hot enough, the skin wasn’t dry, or you moved it too soon. Next time, pat dry thoroughly, preheat the pan well, and leave the chicken undisturbed until it releases easily.
Is this spicy?
Only if you add red pepper flakes or cayenne.
Otherwise, it’s rich, garlicky, and savory without heat. Adjust spice to your taste.
In Conclusion
Garlic Butter Chicken Thighs Keto is the kind of recipe you keep in your weeknight rotation. It’s fast, rich, and flexible, with minimal fuss and maximum flavor.
With crisp skin, juicy meat, and a bright, garlicky pan sauce, it checks all the boxes. Keep the ingredients on hand and you’ll have a reliable, crowd-pleasing dinner ready anytime.
Printable Recipe Card
Want just the essential recipe details without scrolling through the article? Get our printable recipe card with just the ingredients and instructions.