Baked Pears With Honey and Walnuts – A Cozy, Simple Dessert

Sweet pears, warm from the oven, topped with honey and toasted walnuts—it’s the kind of dessert that makes the whole kitchen smell like comfort.
This recipe is easy enough for a weeknight but special enough for guests. You don’t need any fancy tools or baking skills, just a few good ingredients and a baking dish.
It’s naturally sweet, lightly spiced, and surprisingly satisfying after a meal. Serve it with a spoonful of yogurt or a small scoop of ice cream, and you’re set.
Baked Pears With Honey and Walnuts – A Cozy, Simple Dessert
Ingredients
- 4 ripe but firm pears (Bosc, Anjou, or Bartlett work well)
- 3–4 tablespoons honey (plus extra for drizzling)
- 1/2 cup walnuts, roughly chopped
- 2 tablespoons butter, cut into small pieces (optional but recommended)
- 1 teaspoon ground cinnamon
- 1/4 teaspoon ground nutmeg (optional)
- 1 teaspoon vanilla extract (optional but lovely)
- Pinch of salt
- 1/4 cup water or apple cider (for the baking dish)
- To serve: plain Greek yogurt, whipped cream, or vanilla ice cream (optional)
Instructions
- Preheat the oven. Set it to 375°F (190°C). Lightly butter a baking dish large enough to hold the pears in a single layer.
- Prep the pears. Wash and dry them. Slice each pear in half lengthwise. Use a spoon or melon baller to scoop out the core and seeds, creating a small hollow for the filling. Trim the bottoms slightly if they wobble so they sit flat.
- Mix the filling. In a small bowl, combine the chopped walnuts, cinnamon, nutmeg, a pinch of salt, and 2 tablespoons of honey. If using vanilla, add it here. Stir to coat the nuts.
- Assemble. Place the pear halves cut-side up in the baking dish. Divide the walnut mixture among the hollows. Dot the pears with small pieces of butter. Drizzle the remaining honey over the tops.
- Add liquid to the dish. Pour the water or apple cider into the baking dish around the pears. This helps them steam and stay tender, and it creates a light syrup.
- Bake. Cover the dish loosely with foil and bake for 15 minutes. Remove the foil and bake another 15–20 minutes, until the pears are tender when pierced with a knife and the walnuts are toasty. Total time is 30–35 minutes, depending on the ripeness and variety of your pears.
- Finish and rest. Spoon some of the pan juices over the pears. Let them rest for 5 minutes to settle. If you like extra sweetness, drizzle a little more honey on top.
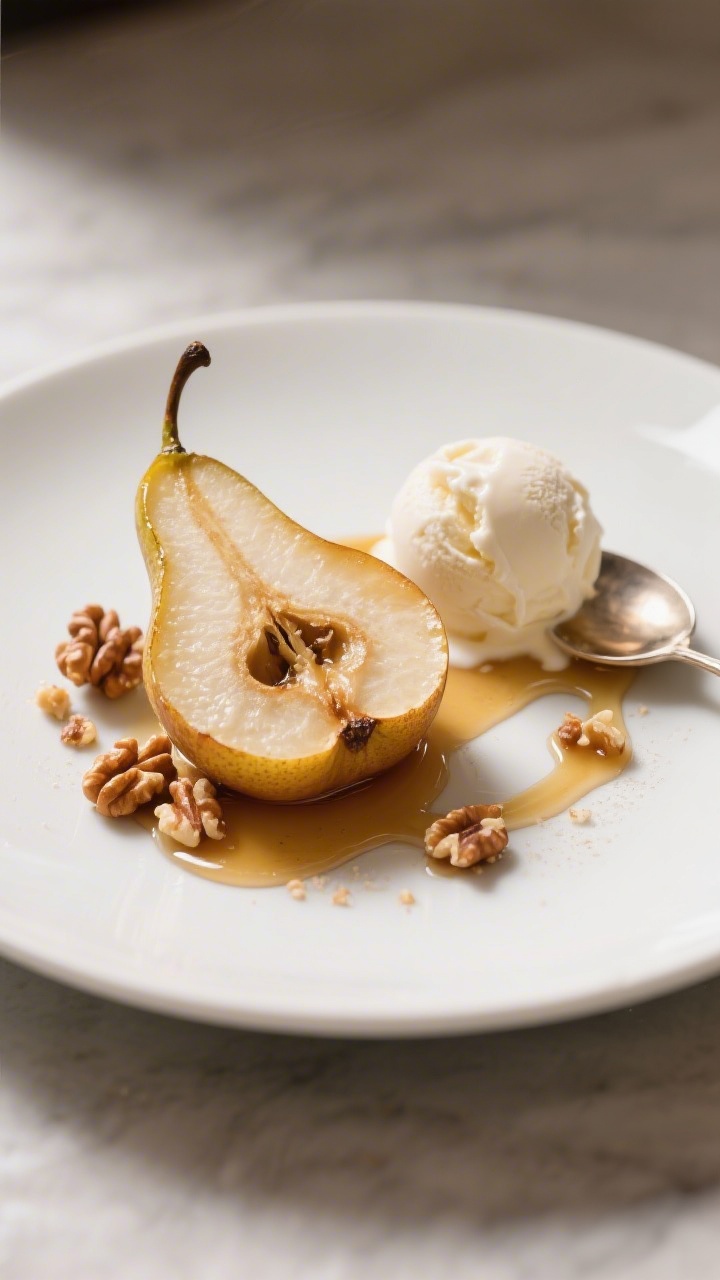
- Serve. Enjoy warm, either on their own or with a dollop of Greek yogurt for tang, a cloud of whipped cream for softness, or a small scoop of vanilla ice cream for a classic touch.
What Makes This Special
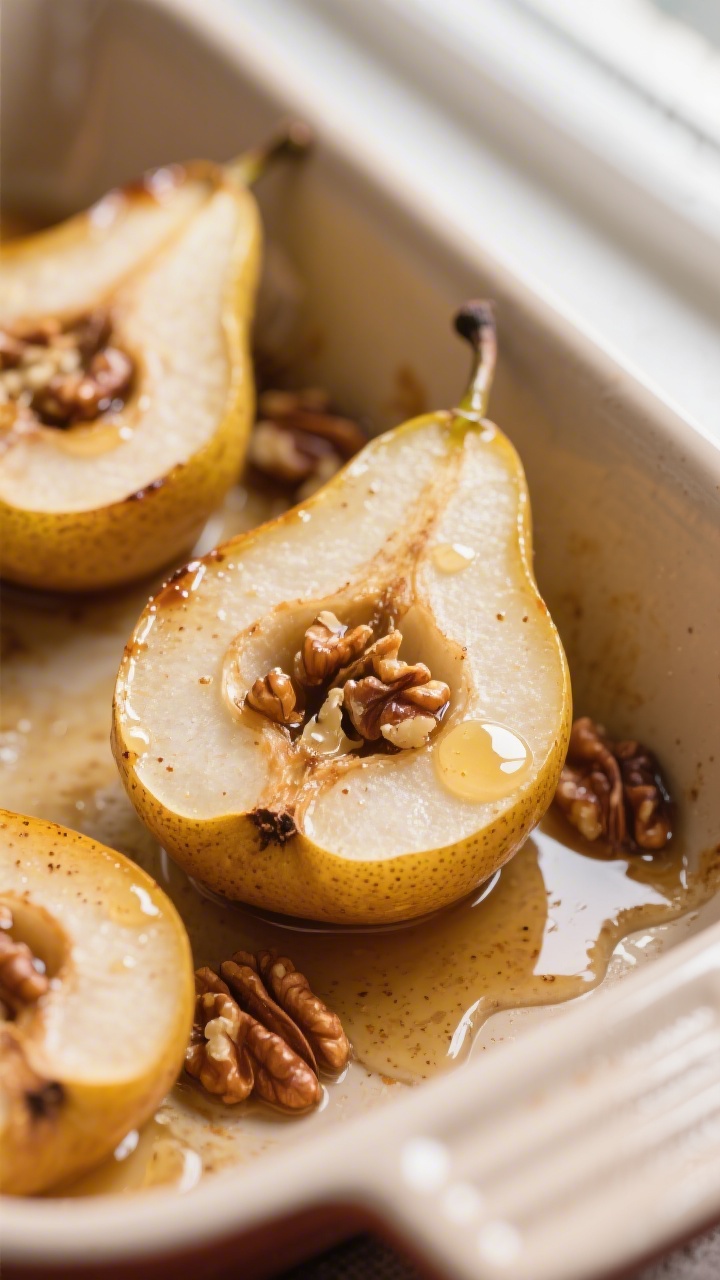
Pears are an underrated baking fruit, and they shine here. When baked, they turn tender and juicy, with a silky texture.
The honey adds gentle sweetness without overpowering the fruit, while walnuts bring crunch and a nutty depth. This dessert also leans flexible. You can adjust the sweetness, swap spices, and choose your favorite toppings.
It tastes luxurious but takes minimal effort, which is exactly what you want at the end of a long day.
Shopping List
- 4 ripe but firm pears (Bosc, Anjou, or Bartlett work well)
- 3–4 tablespoons honey (plus extra for drizzling)
- 1/2 cup walnuts, roughly chopped
- 2 tablespoons butter, cut into small pieces (optional but recommended)
- 1 teaspoon ground cinnamon
- 1/4 teaspoon ground nutmeg (optional)
- 1 teaspoon vanilla extract (optional but lovely)
- Pinch of salt
- 1/4 cup water or apple cider (for the baking dish)
- To serve: plain Greek yogurt, whipped cream, or vanilla ice cream (optional)
Step-by-Step Instructions
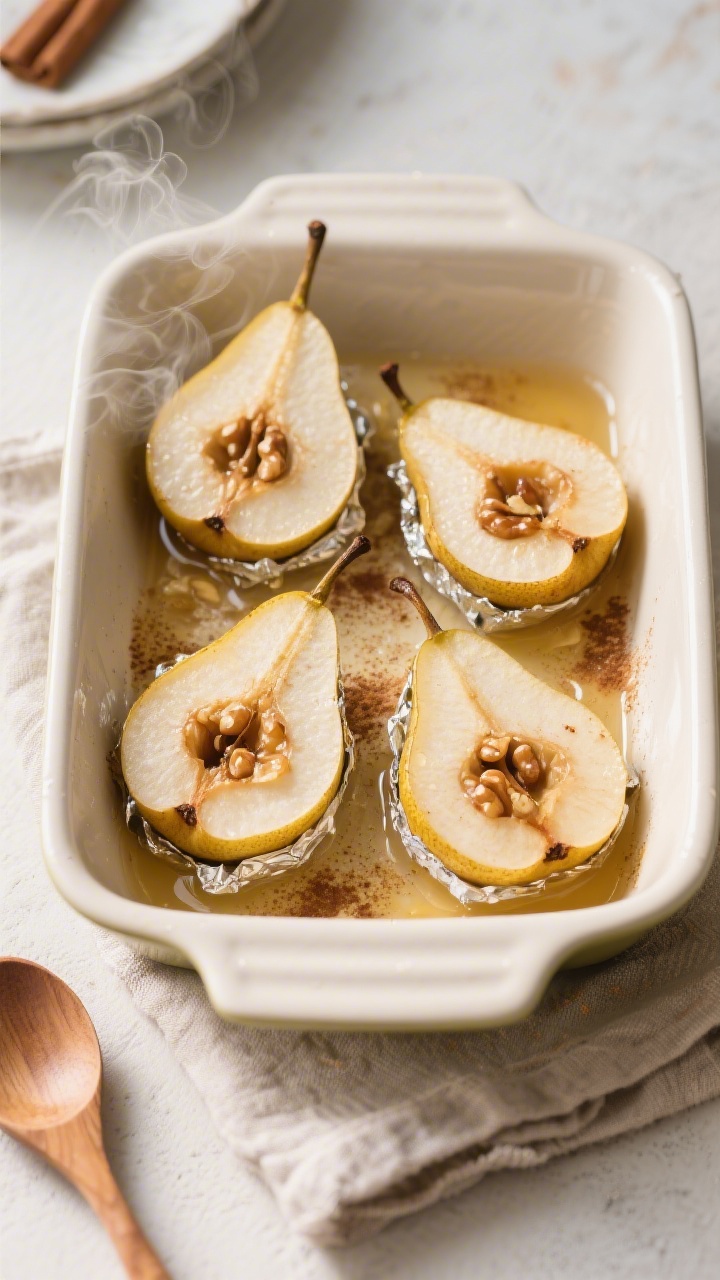
- Preheat the oven. Set it to 375°F (190°C). Lightly butter a baking dish large enough to hold the pears in a single layer.
- Prep the pears. Wash and dry them. Slice each pear in half lengthwise.
Use a spoon or melon baller to scoop out the core and seeds, creating a small hollow for the filling. Trim the bottoms slightly if they wobble so they sit flat. - Mix the filling. In a small bowl, combine the chopped walnuts, cinnamon, nutmeg, a pinch of salt, and 2 tablespoons of honey. If using vanilla, add it here.
Stir to coat the nuts. - Assemble. Place the pear halves cut-side up in the baking dish. Divide the walnut mixture among the hollows. Dot the pears with small pieces of butter. Drizzle the remaining honey over the tops.
- Add liquid to the dish. Pour the water or apple cider into the baking dish around the pears. This helps them steam and stay tender, and it creates a light syrup.
- Bake. Cover the dish loosely with foil and bake for 15 minutes. Remove the foil and bake another 15–20 minutes, until the pears are tender when pierced with a knife and the walnuts are toasty. Total time is 30–35 minutes, depending on the ripeness and variety of your pears.
- Finish and rest. Spoon some of the pan juices over the pears. Let them rest for 5 minutes to settle. If you like extra sweetness, drizzle a little more honey on top.
- Serve. Enjoy warm, either on their own or with a dollop of Greek yogurt for tang, a cloud of whipped cream for softness, or a small scoop of vanilla ice cream for a classic touch.
Storage Instructions
- Refrigerate: Store leftovers in an airtight container for up to 3 days. Keep the pan juices; they’re great for reheating.
- Reheat: Warm gently in a 300°F (150°C) oven for 10–12 minutes, or microwave in short bursts. Add a splash of water or cider if they look dry.
- Freeze: Not ideal. Pears can turn mushy after thawing, and the texture suffers.
Why This is Good for You
Pears are rich in fiber, which supports digestion and helps you feel satisfied.
Their natural sugars are balanced by that fiber, offering a gentler rise in blood sugar than many desserts.
Walnuts bring healthy fats and plant protein, along with omega-3s that support heart and brain health.
Honey adds sweetness with a little flavor complexity, so you can use less than refined sugar.
The spices—cinnamon and nutmeg—contribute aroma and warmth without extra calories. It’s a dessert that feels comforting but still leans wholesome.
What Not to Do
- Don’t use overripe pears. They’ll collapse and turn mushy in the oven. Choose pears that yield slightly to pressure but still feel firm.
- Don’t skip the liquid in the pan. Without it, the pears can dry out and the honey may burn.
- Don’t overload the honey. Too much sweetness masks the fruit. Start with less; you can always add a drizzle after baking.
- Don’t bake at too high a temperature. High heat browns the nuts before the pears soften. Stick to 375°F.
- Don’t crowd the dish. Give the pears space for even cooking and airflow.
Variations You Can Try
- Spice it differently: Swap cinnamon for cardamom, add a pinch of ginger, or use pumpkin pie spice for a fall vibe.
- Change the nuts: Pecans, hazelnuts, or almonds are all great. Toast them lightly first for extra crunch.
- Add dried fruit: Mix chopped dates, raisins, or cranberries into the walnut filling for chewy sweetness.
- Go dairy-free: Skip the butter and serve with coconut yogurt.
Use maple syrup instead of honey if needed.
- Make it savory-sweet: Add a small crumble of goat cheese or blue cheese after baking. Finish with a twist of black pepper.
- Boost the sauce: Replace the water with apple cider, orange juice, or a splash of dessert wine for deeper flavor.
- Granola topping: Sprinkle a little granola over the pears for extra crunch at serving time.
FAQ
Which pear variety is best for baking?
Bosc and Anjou hold their shape well and bake up tender without falling apart. Bartlett works too, but keep an eye on timing because they soften faster.
Whatever you choose, make sure the pears are ripe but still firm.
Can I make this ahead?
Yes. You can assemble the pears up to 6 hours in advance, cover, and refrigerate. Add the liquid to the baking dish right before baking.
Reheat gently if needed and spoon pan juices over to refresh.
Is there a way to reduce the sugar?
Absolutely. Use 2 tablespoons of honey in the filling and skip the extra drizzle. Serving with unsweetened Greek yogurt also balances the sweetness nicely.
What can I use instead of walnuts?
Pecans are the easiest swap.
Almonds or hazelnuts bring a different crunch and flavor. For a nut-free version, use toasted pumpkin or sunflower seeds.
How do I know when the pears are done?
Pierce the thickest part with a small knife. It should slide in easily with slight resistance near the skin.
If the nuts are browning too quickly, tent the dish with foil for the remaining time.
Can I peel the pears?
You can, but it’s not necessary. The skins help the pears hold their shape. If you prefer a softer, more delicate texture, peel them before halving and coring.
What should I serve with baked pears?
They’re great on their own, but a cool contrast makes them shine.
Try Greek yogurt for tang, crème fraîche for richness, or vanilla ice cream for a classic dessert finish.
Do I need to toast the walnuts first?
Not required. They’ll toast in the oven. If you love a very nutty flavor, you can lightly toast them in a dry pan for 3–4 minutes before mixing.
In Conclusion
Baked pears with honey and walnuts are proof that simple ingredients can feel special.
The fruit turns tender and fragrant, the nuts add crunch, and the honey ties it all together.
Keep this recipe in your back pocket for cozy weeknights, impromptu guests, or when you want dessert without fuss.
Warm, golden, and comforting—it’s a little bowl of calm at the end of the day.
Printable Recipe Card
Want just the essential recipe details without scrolling through the article? Get our printable recipe card with just the ingredients and instructions.