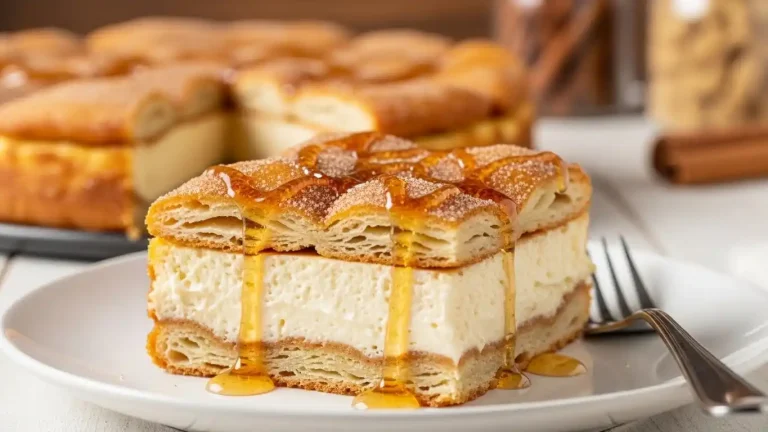
Peanut Butter Oreo Ice Cream Sandwiches – A Fun, No-Fuss Treat

If you love creamy, crunchy, salty-sweet desserts, these peanut butter Oreo ice cream sandwiches are going to hit the spot.
They’re easy to assemble, wildly satisfying, and perfect for parties or a low-effort weekend treat. No special tools, no fussy steps—just a few pantry staples and a little freezer time.
Kids love them, adults sneak seconds, and you’ll likely want to stock a stash in your freezer all summer long.

Peanut Butter Oreo Ice Cream Sandwiches
Ingredients
- Oreos: About 24–30 classic Oreos (or your favorite chocolate sandwich cookie).
- Peanut Butter: 1/2 cup creamy peanut butter (no-stir works best).
- Vanilla Ice Cream: 1 to 1.5 quarts, slightly softened.
- Optional Mix-Ins: Mini chocolate chips, crushed peanuts, or crushed Oreos for rolling the edges.
- Optional Drizzle: Melted chocolate or warm peanut butter for finishing.
- Tools: Baking sheet, parchment paper, small offset spatula or butter knife, spoon or small scoop, plastic wrap.
Instructions
- Prep your tray: Line a baking sheet with parchment paper. This prevents sticking and makes it easy to move the sandwiches to the freezer.
- Soften the ice cream: Let the vanilla ice cream sit at room temperature for 5–10 minutes until scoopable but not melted. It should hold its shape when pressed.
- Lay out the cookies: Twist about 24–30 Oreos to open them up. If a few break, set them aside for garnish or snacking.
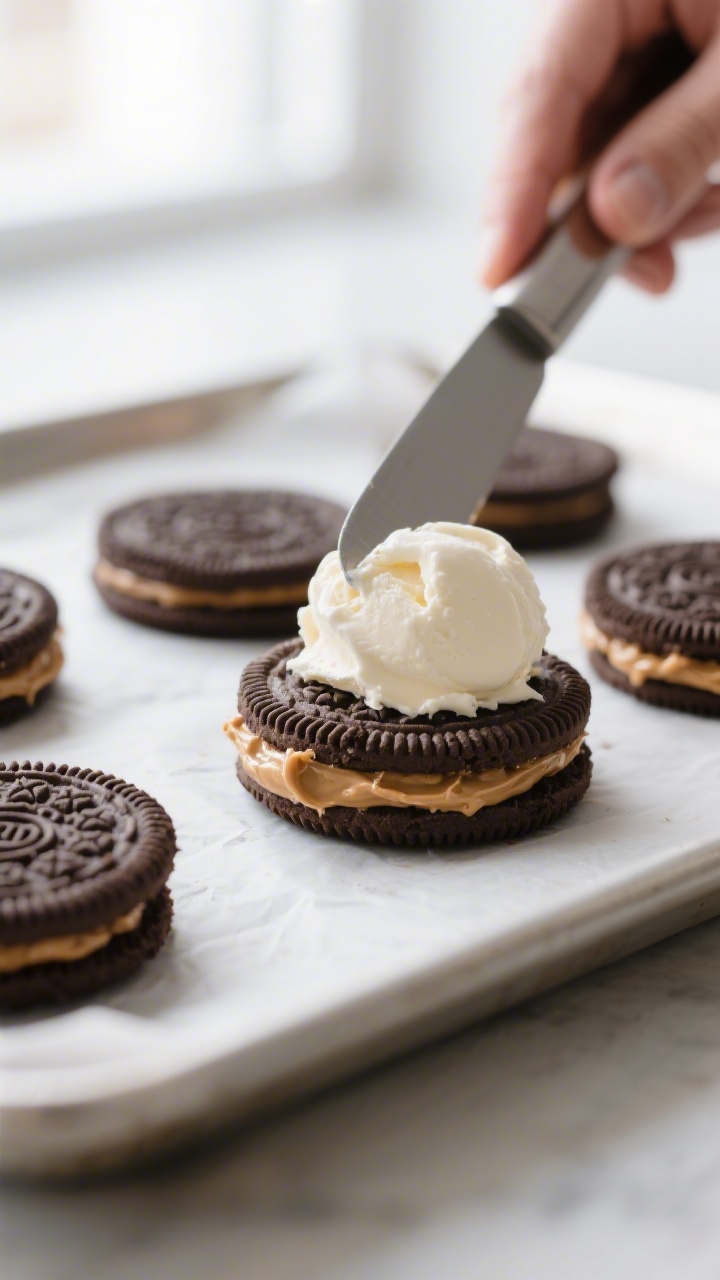
- Spread the peanut butter: On half the cookies (the bottoms), spread a thin, even layer of peanut butter—about 1 teaspoon each. Don’t overdo it; too much peanut butter makes them hard to bite and squeezes out the sides.
- Add the ice cream: Scoop a small mound of ice cream (about 2 tablespoons) onto the peanut-buttered side of each bottom cookie. Use an offset spatula or spoon to gently press and level it to the edges.
- Cap the sandwiches: Place the matching cookie tops over the ice cream and press lightly to seal. Wipe around the edges if needed for a clean look.
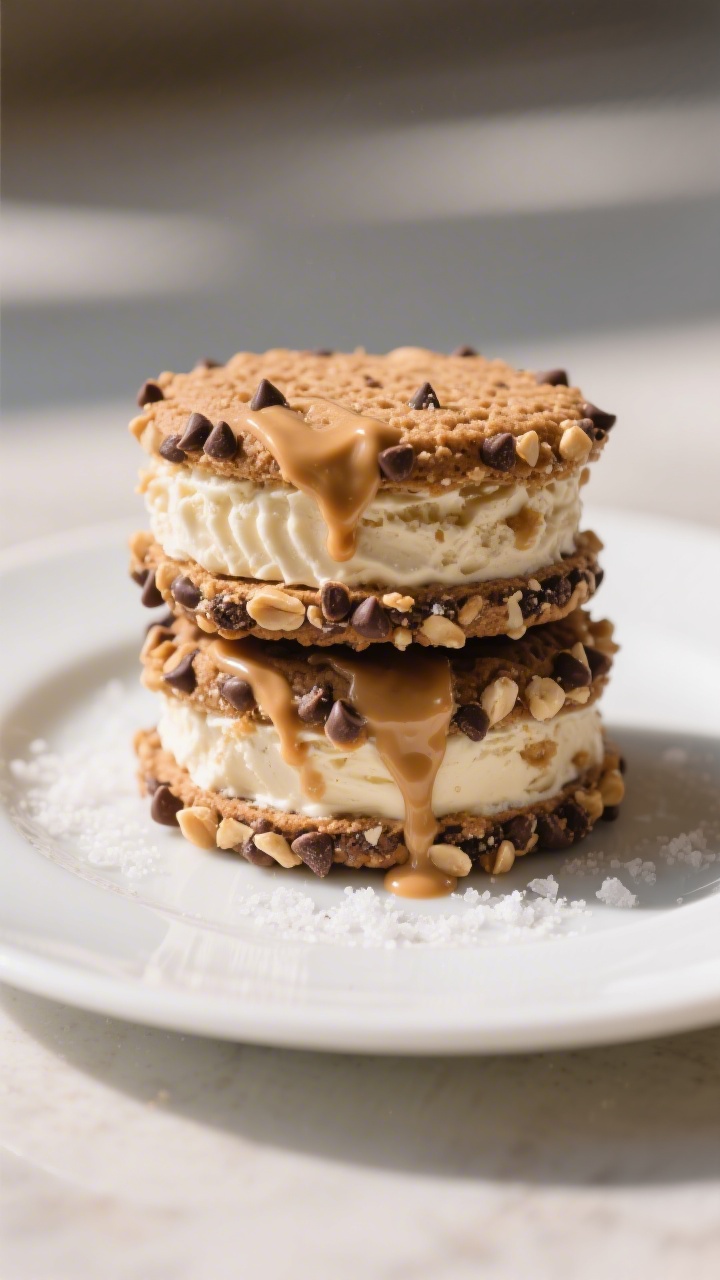
- Edge coating (optional): Roll the sides in mini chocolate chips, crushed peanuts, or crushed Oreos while the ice cream is still soft. This adds texture and helps seal the edges.
- Freeze to set: Arrange the sandwiches on the baking sheet and freeze for 1–2 hours, or until firm. For the cleanest bite, don’t skip this step.
- Optional finishing drizzle: Once set, you can drizzle with melted chocolate or warmed peanut butter. Return to the freezer briefly to set the drizzle.
- Serve or store: Enjoy immediately, or wrap individually in plastic wrap and place in a freezer bag or airtight container.
What Makes This Special
These sandwiches bring together three things people adore: Oreos, peanut butter, and ice cream. The contrast is what makes them amazing—crisp chocolate cookie, a cool creamy center, and a rich, nutty bite. They’re also completely customizable.
You can keep them classic or roll the edges in mini chocolate chips, peanuts, or crushed cookies for a little extra fun. Plus, they’re portioned, so you can grab one and go without any mess.
What You’ll Need
- Oreos: About 24–30 classic Oreos (or your favorite chocolate sandwich cookie).
- Peanut Butter: 1/2 cup creamy peanut butter (no-stir works best).
- Vanilla Ice Cream: 1 to 1.5 quarts, slightly softened.
- Optional Mix-Ins: Mini chocolate chips, crushed peanuts, or crushed Oreos for rolling the edges.
- Optional Drizzle: Melted chocolate or warm peanut butter for finishing.
- Tools: Baking sheet, parchment paper, small offset spatula or butter knife, spoon or small scoop, plastic wrap.
Instructions

- Prep your tray: Line a baking sheet with parchment paper. This prevents sticking and makes it easy to move the sandwiches to the freezer.
- Soften the ice cream: Let the vanilla ice cream sit at room temperature for 5–10 minutes until scoopable but not melted.It should hold its shape when pressed.
- Lay out the cookies: Twist about 24–30 Oreos to open them up. If a few break, set them aside for garnish or snacking.
- Spread the peanut butter: On half the cookies (the bottoms), spread a thin, even layer of peanut butter—about 1 teaspoon each. Don’t overdo it; too much peanut butter makes them hard to bite and squeezes out the sides.
- Add the ice cream: Scoop a small mound of ice cream (about 2 tablespoons) onto the peanut-buttered side of each bottom cookie. Use an offset spatula or spoon to gently press and level it to the edges.
- Cap the sandwiches: Place the matching cookie tops over the ice cream and press lightly to seal.Wipe around the edges if needed for a clean look.
- Edge coating (optional): Roll the sides in mini chocolate chips, crushed peanuts, or crushed Oreos while the ice cream is still soft. This adds texture and helps seal the edges.
- Freeze to set: Arrange the sandwiches on the baking sheet and freeze for 1–2 hours, or until firm. For the cleanest bite, don’t skip this step.
- Optional finishing drizzle: Once set, you can drizzle with melted chocolate or warmed peanut butter. Return to the freezer briefly to set the drizzle.
- Serve or store: Enjoy immediately, or wrap individually in plastic wrap and place in a freezer bag or airtight container.
How to Store
Keep the sandwiches wrapped individually in plastic wrap, then tuck them into a freezer-safe bag or container.
This double layer helps prevent freezer burn and keeps flavors fresh. They’re best within 2–3 weeks, though they’ll technically last longer. If they’ve been in the freezer for a while, let them sit at room temperature for 3–5 minutes before eating for the perfect texture.
Benefits of This Recipe
-
- Quick and no-bake: No oven, no stovetop—great for hot days or busy schedules.
- Kid-friendly assembly: Simple steps kids can help with, like spreading peanut butter and rolling edges.
- Budget-friendly: Uses basic ingredients you might already have.
- Customizable: Swap flavors, add coatings, or mix and match to fit your taste or dietary needs.
<li
Make-ahead friendly:
- Perfect for parties, cookouts, or holiday weekends—make them in advance and serve straight from the freezer.
Common Mistakes to Avoid
- Over-softening the ice cream: If it’s too melty, it will ooze out and make assembly messy.You want it scoopable, not liquid.
- Too much peanut butter: A thick layer can overpower the ice cream and squeeze out of the sides. Keep it thin and even.
- Skipping the chill: Not freezing after assembly leads to sloppy bites. A solid chill creates clean edges and a better texture.
- Using oily natural peanut butter: Stirred varieties with separated oil can make the cookies soggy.Choose a no-stir, creamy option for best results.
- Forgetting to wrap tightly: Loose wrapping invites freezer burn and off-flavors. Wrap each sandwich snugly.
Variations You Can Try
- Flavor switch: Use chocolate, peanut butter, or cookies-and-cream ice cream instead of vanilla.
- Different cookies: Try chocolate wafer cookies, chocolate chip cookies, or peanut butter sandwich cookies for a twist.
- Crunchy edges: Roll in crushed pretzels for a salty kick, or toasted coconut for a tropical note.
- Peanut butter swirl: Gently fold a few spoonfuls of peanut butter into softened vanilla ice cream before assembly.
- Gluten-free or dairy-free: Use gluten-free sandwich cookies and a dairy-free ice cream (almond, oat, or coconut-based). Many grocery stores carry both.
- Mini bites: Use mini Oreos and tiny scoops of ice cream for party-friendly, one-bite treats.
- Chocolate shell: Dip half the sandwich in magic shell or a quick chocolate coating for a crisp finish.
FAQ
Can I make these ahead of time?
Yes.
Assemble, freeze to set, then wrap individually. They’ll taste best within 2–3 weeks, and they’re ready to grab whenever you need a quick dessert.
What if my cookies keep breaking when I twist them?
Try microwaving the cookies for 5–7 seconds to soften the filling slightly, then twist. If they still break, don’t worry—use the broken ones for rolling the edges or as a crumb topping.
How do I prevent ice crystals from forming?
Freeze quickly after assembly and wrap each sandwich tightly in plastic wrap.
Stash them in an airtight bag or container and avoid frequent thawing and refreezing.
Can I use chunky peanut butter?
You can, but the texture won’t spread as smoothly. If you love the crunch, keep the layer extra thin or mix a spoonful into the ice cream instead.
What’s the best way to drizzle chocolate on top?
Melt chocolate chips with a tiny bit of coconut oil or butter until smooth. Drizzle with a spoon in thin lines over the chilled sandwiches, then return them to the freezer for a few minutes to set.
How do I make them less sweet?
Use a bittersweet chocolate drizzle, roll the edges in salted peanuts, or choose a lower-sugar ice cream.
A pinch of flaky salt on top also helps balance sweetness.
Can I add bananas or fruit?
Yes, but slice fruit very thin so it doesn’t make the sandwich slide apart. Frozen banana slices work well—assemble quickly and freeze right away.
What if I don’t have an offset spatula?
A butter knife or the back of a spoon works fine. You can also press the ice cream between two pieces of parchment to flatten, then sandwich it.
Wrapping Up
Peanut butter Oreo ice cream sandwiches are the kind of treat that feels special without any stress.
With just a few ingredients and a short chill, you get a crunchy, creamy dessert that’s easy to share and even easier to love. Keep a batch in your freezer and you’re always five minutes away from something sweet, familiar, and a little bit indulgent.
Printable Recipe Card
Want just the essential recipe details without scrolling through the article? Get our printable recipe card with just the ingredients and instructions.