Peanut Butter Chocolate Fudge Mug Cake – A Quick, Gooey Treat in Minutes

If you’re craving something warm, rich, and chocolatey right now, this mug cake is your new best friend.
It’s soft, fudgy, and swirled with creamy peanut butter that melts into every bite. You don’t need an oven, a mixer, or a lot of time—just a mug, a spoon, and a microwave.
It feels like dessert from a bakery, but it’s made in the time it takes to put on a kettle.
Perfect for late-night cravings, study breaks, or when you want just one portion without making a whole cake.
Peanut‑Butter Chocolate‑Fudge Mug Cake – A Quick, Gooey Treat in Minutes
Ingredients
- All-purpose flour: 4 tablespoons (about 30 g)
- Granulated sugar: 2 tablespoons
- Unsweetened cocoa powder: 1.5 tablespoons
- Baking powder: 1/4 teaspoon
- Fine salt: A small pinch (optional, but great for balance)
- Milk (dairy or unsweetened non-dairy): 3 tablespoons
- Neutral oil (canola, vegetable, or melted butter): 1.5 tablespoons
- Vanilla extract: 1/4 teaspoon
- Creamy peanut butter: 1.5 tablespoons
- Chocolate chips or chopped chocolate: 1–2 tablespoons (optional, for extra fudge)
- Hot water or brewed coffee: 1 tablespoon (optional, boosts moisture and chocolate flavor)
Instructions
- Choose the right mug. Use a sturdy, microwave-safe mug that holds at least 10 ounces. Anything smaller can overflow once the batter rises.
- Mix the dry ingredients. Add flour, sugar, cocoa powder, baking powder, and salt to the mug. Stir well, making sure there are no cocoa clumps left at the bottom.
- Stir in the wet ingredients. Add milk, oil, vanilla, and the hot water or coffee (if using). Mix until the batter is smooth and glossy. Scrape the edges so everything is incorporated.
- Add the chocolate. Fold in chocolate chips if you want extra richness. Save a few to sprinkle on top for a melty finish.
- Swirl the peanut butter. Drop the peanut butter in small dollops over the batter. Use the tip of a spoon or a butter knife to gently swirl it through—two or three swirls is enough. Don’t fully mix it in.
- Microwave carefully. Cook on high for 60–90 seconds, depending on your microwave’s power. Start at 70 seconds, then check. The top should look set around the edges but slightly glossy and soft in the center.
- Let it rest. Allow the mug cake to sit for 1 minute. It finishes cooking with residual heat and becomes extra tender.
- Top and serve. Enjoy as is, or finish with a pinch of flaky salt, a drizzle of extra peanut butter, a spoon of whipped cream, or a small scoop of ice cream.
What Makes This Special
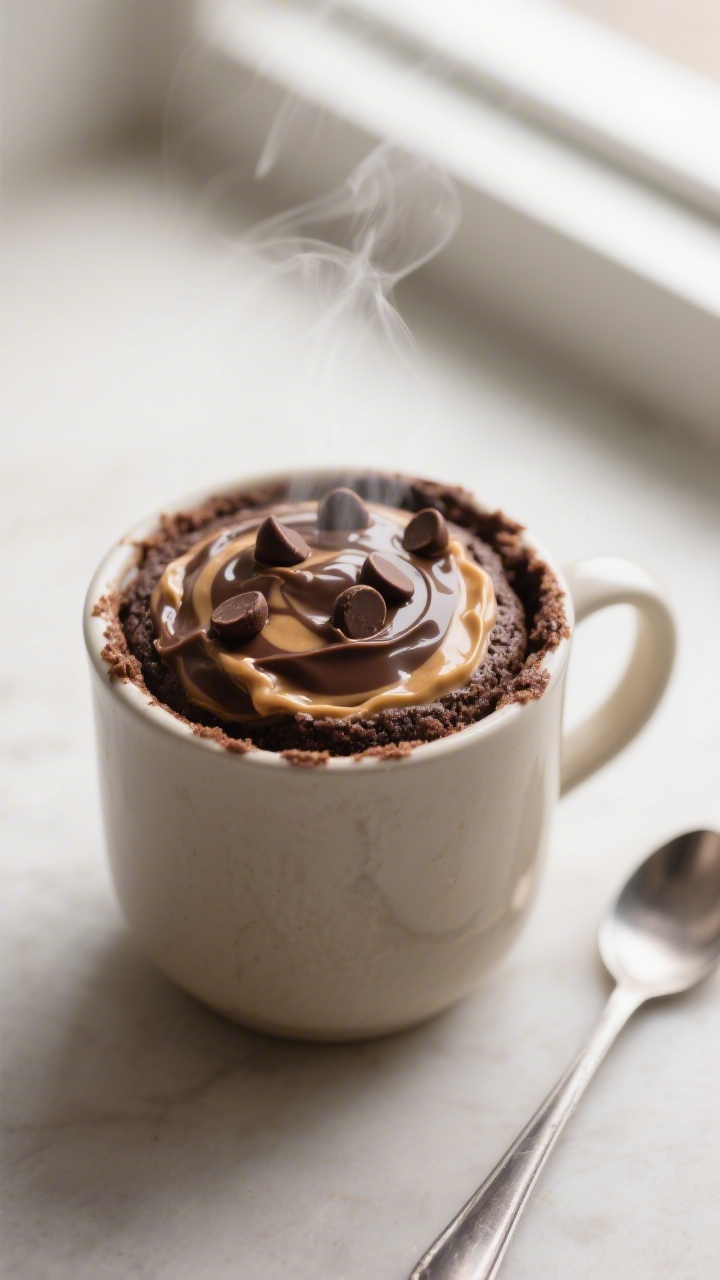
This mug cake nails that sweet spot between brownie and cake. It’s rich with cocoa, slightly salty from peanut butter, and stays moist thanks to milk and oil.
The texture is more fudge than fluff, which makes every spoonful feel decadent.
Plus, you can customize it endlessly—extra chocolate chips, a scoop of ice cream, or a drizzle of honey on top. It’s comfort dessert at microwave speed.
What You’ll Need
- All-purpose flour: 4 tablespoons (about 30 g)
- Granulated sugar: 2 tablespoons
- Unsweetened cocoa powder: 1.5 tablespoons
- Baking powder: 1/4 teaspoon
- Fine salt: A small pinch (optional, but great for balance)
- Milk (dairy or unsweetened non-dairy): 3 tablespoons
- Neutral oil (canola, vegetable, or melted butter): 1.5 tablespoons
- Vanilla extract: 1/4 teaspoon
- Creamy peanut butter: 1.5 tablespoons
- Chocolate chips or chopped chocolate: 1–2 tablespoons (optional, for extra fudge)
- Hot water or brewed coffee: 1 tablespoon (optional, boosts moisture and chocolate flavor)
- Equipment: A microwave-safe mug (10–12 oz capacity), spoon, measuring spoons.
Instructions
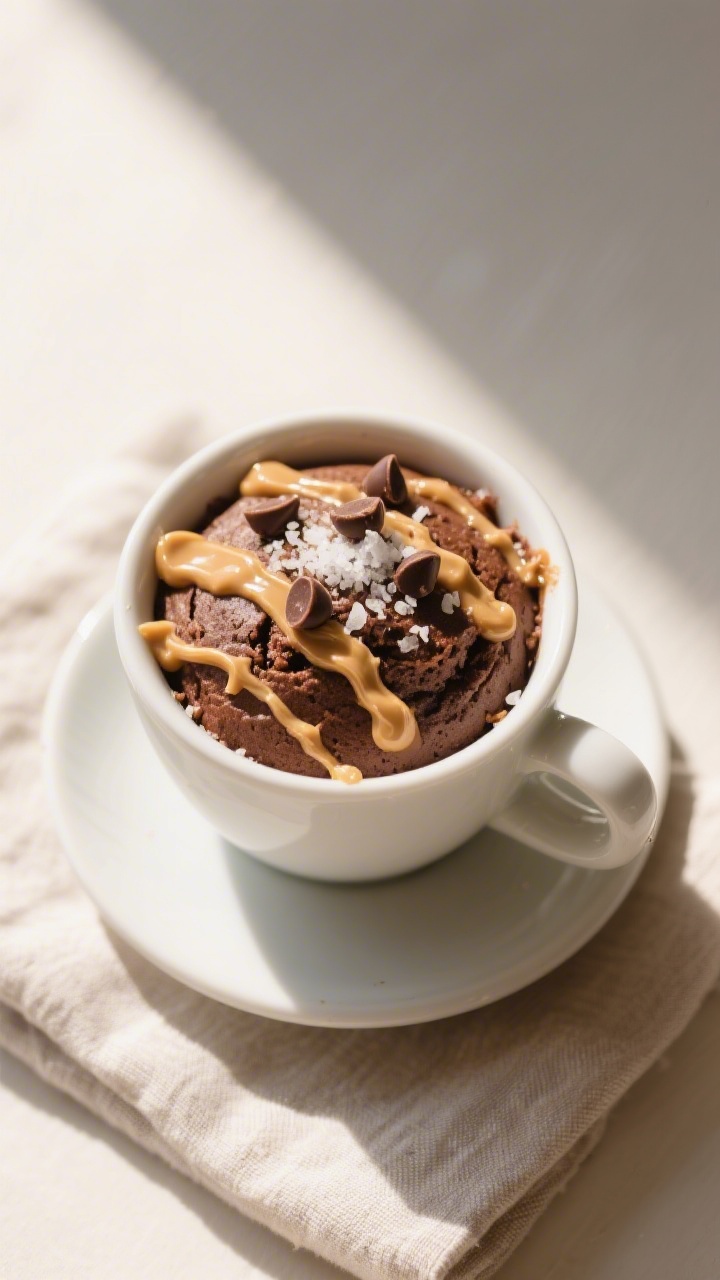
- Choose the right mug. Use a sturdy, microwave-safe mug that holds at least 10 ounces.
Anything smaller can overflow once the batter rises.
- Mix the dry ingredients. Add flour, sugar, cocoa powder, baking powder, and salt to the mug. Stir well, making sure there are no cocoa clumps left at the bottom.
- Stir in the wet ingredients. Add milk, oil, vanilla, and the hot water or coffee (if using). Mix until the batter is smooth and glossy.
Scrape the edges so everything is incorporated.
- Add the chocolate. Fold in chocolate chips if you want extra richness. Save a few to sprinkle on top for a melty finish.
- Swirl the peanut butter. Drop the peanut butter in small dollops over the batter. Use the tip of a spoon or a butter knife to gently swirl it through—two or three swirls is enough.
Don’t fully mix it in.
- Microwave carefully. Cook on high for 60–90 seconds, depending on your microwave’s power. Start at 70 seconds, then check. The top should look set around the edges but slightly glossy and soft in the center.
- Let it rest. Allow the mug cake to sit for 1 minute.
It finishes cooking with residual heat and becomes extra tender.
- Top and serve. Enjoy as is, or finish with a pinch of flaky salt, a drizzle of extra peanut butter, a spoon of whipped cream, or a small scoop of ice cream.
Storage Instructions
This dessert is best eaten fresh while warm and gooey. If you need to save it, cover the mug and keep it at room temperature for up to 4 hours. Reheat in 10–15 second bursts until just warm.
For next-day leftovers, wrap and refrigerate, then warm gently. Note that the texture becomes more cake-like and less fudgy after chilling.
Benefits of This Recipe
- Speed and simplicity: From start to finish, it takes about 5 minutes, and uses one mug and one spoon.
- Single-serving control: You get dessert without a whole pan of brownies tempting you all week.
- Customizable: Works with dairy-free milk, gluten-free flour blends, and different nut butters.
- Budget-friendly: Uses pantry staples in small amounts—no special ingredients.
- Comfort factor: Warm, melty, and deeply chocolatey with a salty-sweet peanut butter swirl.
Common Mistakes to Avoid
- Overcooking: The biggest culprit. Stop when the edges are set but the center still looks slightly glossy.
Overcooked mug cakes turn tough and dry fast.
- Using a tiny mug: Batter needs room to rise. Choose a 10–12 oz mug to prevent overflow.
- Skipping the salt: A small pinch makes the chocolate and peanut butter pop. Don’t overdo it, but don’t skip it.
- Overmixing the peanut butter: Swirl gently.
If you blend it fully, you’ll lose those creamy pockets.
- Ignoring microwave differences: Wattage varies. Start low on time and add in short bursts as needed.
Alternatives
- Nut-free: Swap peanut butter for sunflower seed butter or tahini. Choose chocolate without trace nuts if needed.
- Gluten-free: Use a 1:1 gluten-free all-purpose flour blend.
Add a teaspoon of extra milk if the batter seems thick.
- Dairy-free: Use almond, oat, or soy milk and dairy-free chocolate chips. Oil works better than butter for moisture.
- Protein boost: Replace 1 tablespoon of flour with 1 tablespoon of chocolate or vanilla protein powder. Add a splash more milk if the batter thickens too much.
- Extra fudge: Stir in an additional teaspoon of oil and an extra tablespoon of chocolate chips.
You can also tuck a small chocolate square in the center as a molten core.
- Less sweet: Reduce sugar to 1 tablespoon and add a touch more vanilla. The peanut butter will still bring richness.
- Mocha twist: Use brewed coffee instead of water and add a pinch of instant espresso powder.
FAQ
Can I bake this in the oven instead of the microwave?
Yes. Transfer the batter to an oven-safe ramekin and bake at 350°F (175°C) for 10–14 minutes, until the edges are set and the center is slightly soft.
Keep an eye on it to avoid drying out.
What if I only have natural peanut butter?
Natural peanut butter works, but give it a good stir to blend the oil. Because it’s looser, swirl gently and microwave on the lower end of the time range to avoid greasy spots.
How do I make it even more fudgy?
Use coffee instead of water, add an extra teaspoon of oil, and fold in more chocolate chips. Also, stop the microwave while the center is still slightly glossy and let it rest for a minute.
Can I use a sugar substitute?
Granulated sugar substitutes that are 1:1 for baking generally work.
Expect a slightly different texture and sweetness level. If using a liquid sweetener, reduce the milk by a teaspoon to keep the batter balanced.
Why did my mug cake turn rubbery?
It was likely overcooked or the mug was too small, causing uneven heating. Next time, reduce the cook time, use a larger mug, and let it rest for a minute before eating.
Is cocoa powder the same as hot chocolate mix?
No.
Hot chocolate mix contains sugar and milk powder and will make the cake very sweet and less chocolatey. Stick with unsweetened cocoa powder for best results.
Can I add a filling?
Absolutely. Spoon half the batter into the mug, add a teaspoon of peanut butter or a small chocolate square in the center, then top with the remaining batter.
Microwave as directed.
What size mug should I use?
Choose a 10–12 oz microwave-safe mug. It gives the batter room to rise and helps prevent overflow and uneven cooking.
Wrapping Up
This peanut‑butter chocolate‑fudge mug cake checks every box: quick, simple, and wildly satisfying.
With a few pantry staples and a minute in the microwave, you’ve got a warm, gooey dessert that tastes like it took real effort.
Keep this recipe handy for those moments when you want something sweet now—not in an hour—and enjoy every melty, peanut‑butter‑swirled bite.
Printable Recipe Card
Want just the essential recipe details without scrolling through the article? Get our printable recipe card with just the ingredients and instructions.