One Pan Chocolate Pudding – Simple, Silky, and Satisfying

This one pan chocolate pudding is the kind of dessert you make when you want something rich and comforting without a lot of effort.
It cooks on the stovetop, sets in the fridge, and delivers deep chocolate flavor with a creamy, spoonable texture. No tempering eggs, no double boiler, no fuss.
Just whisk, simmer, and chill. It’s perfect for weeknights, dinner parties, or anytime you need a reliable chocolate fix.

One Pan Chocolate Pudding
Ingredients
- Whole milk – 3 cups (for creaminess and body)
- Granulated sugar – 1/2 cup
- Unsweetened cocoa powder – 1/3 cup
- Cornstarch – 1/4 cup (for thickening)
- Salt – a pinch (balances sweetness)
- Egg yolks – 2 large (adds richness and stability)
- Semisweet chocolate – 4 ounces, chopped (or good-quality chips)
- Unsalted butter – 2 tablespoons
- Vanilla extract – 2 teaspoons
- Optional add-ins: instant espresso powder, orange zest, peppermint extract, flaky sea salt for topping, or whipped cream for serving
Instructions
- Set up your pan. Choose a medium, heavy-bottomed saucepan. Heavy pans prevent scorching, which keeps the pudding smooth.
- Whisk the dry base. Off the heat, whisk together sugar, cocoa powder, cornstarch, and a pinch of salt in the saucepan until no cocoa lumps remain.
- Add milk and yolks. Gradually whisk in the milk, a little at a time, until the mixture is smooth. Whisk in the egg yolks until fully combined. The mixture should be uniform with no dry spots.
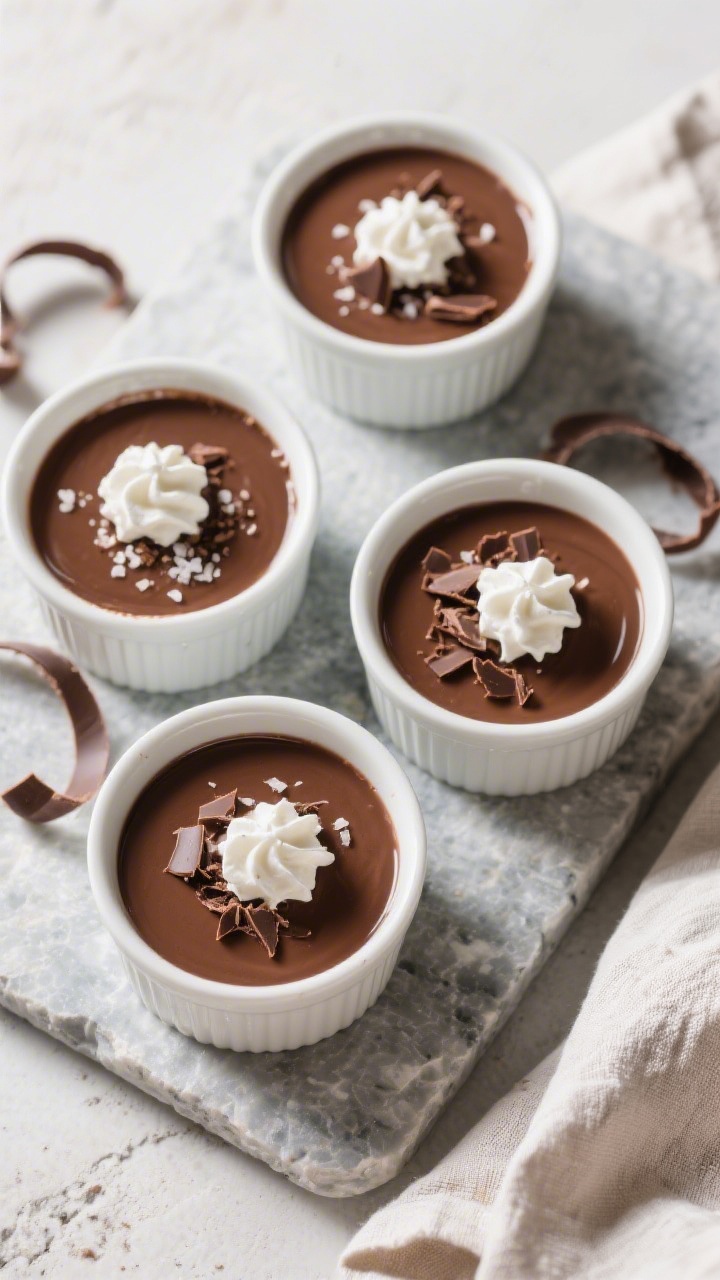
- Heat gently. Place the pan over medium heat. Whisk constantly, making sure to reach the edges and corners. As it warms, the mixture will loosen, then start to thicken after 5–7 minutes.
- Thicken to pudding. Once the mixture begins to bubble, reduce to medium-low and cook for 1–2 minutes, whisking the whole time. It should be thick enough to coat the back of a spoon and hold a line when you drag a finger across.
- Stir in chocolate and butter. Remove from heat. Add the chopped semisweet chocolate and butter. Let stand for 30 seconds, then whisk until glossy and fully melted. Stir in vanilla. If using espresso powder or zest, add it now.
- Optional: Strain. For the silkiest pudding, pour through a fine mesh sieve into a bowl or large measuring cup to catch any tiny bits of egg or cocoa clumps.
- Portion and cover. Divide into ramekins or cups, or keep it in one large container. Press plastic wrap directly onto the surface to prevent a skin unless you prefer one.
- Chill. Refrigerate at least 2 hours to set. For the best texture and flavor, chill 4 hours or overnight.
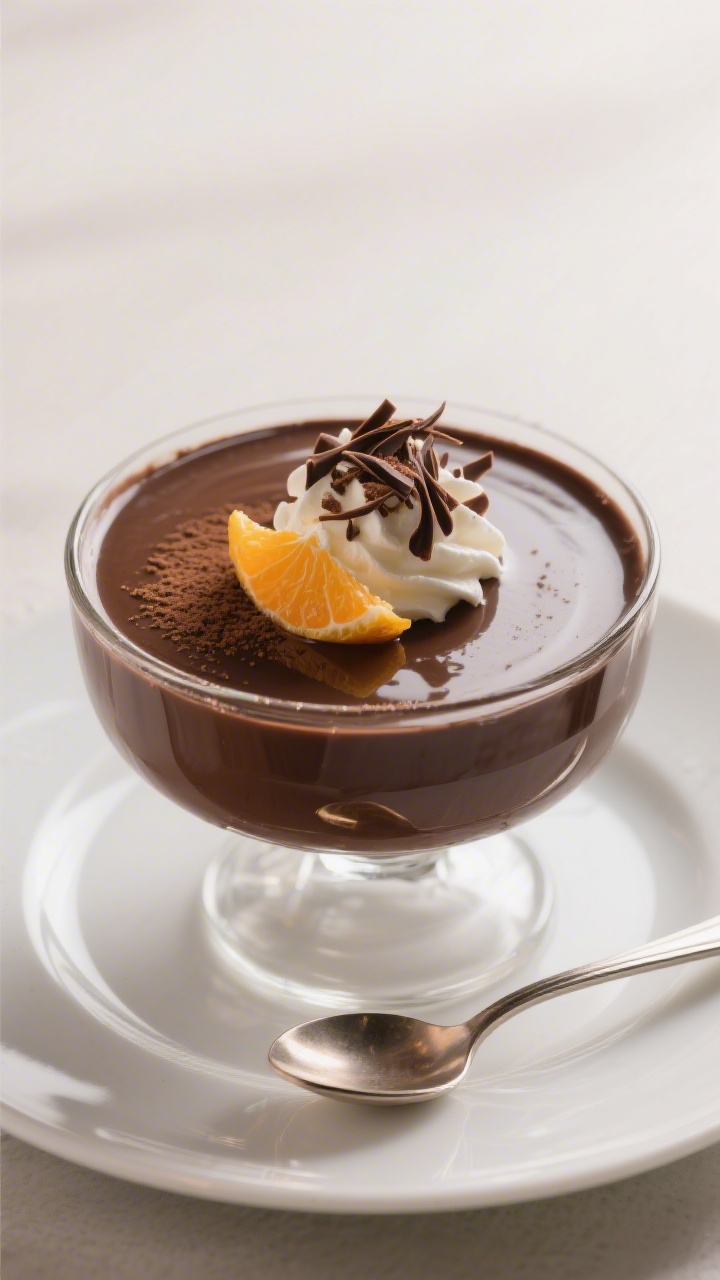
- Serve. Top with a dollop of whipped cream, a sprinkle of flaky sea salt, shaved chocolate, or fresh berries. Enjoy cold.
What Makes This Recipe So Good
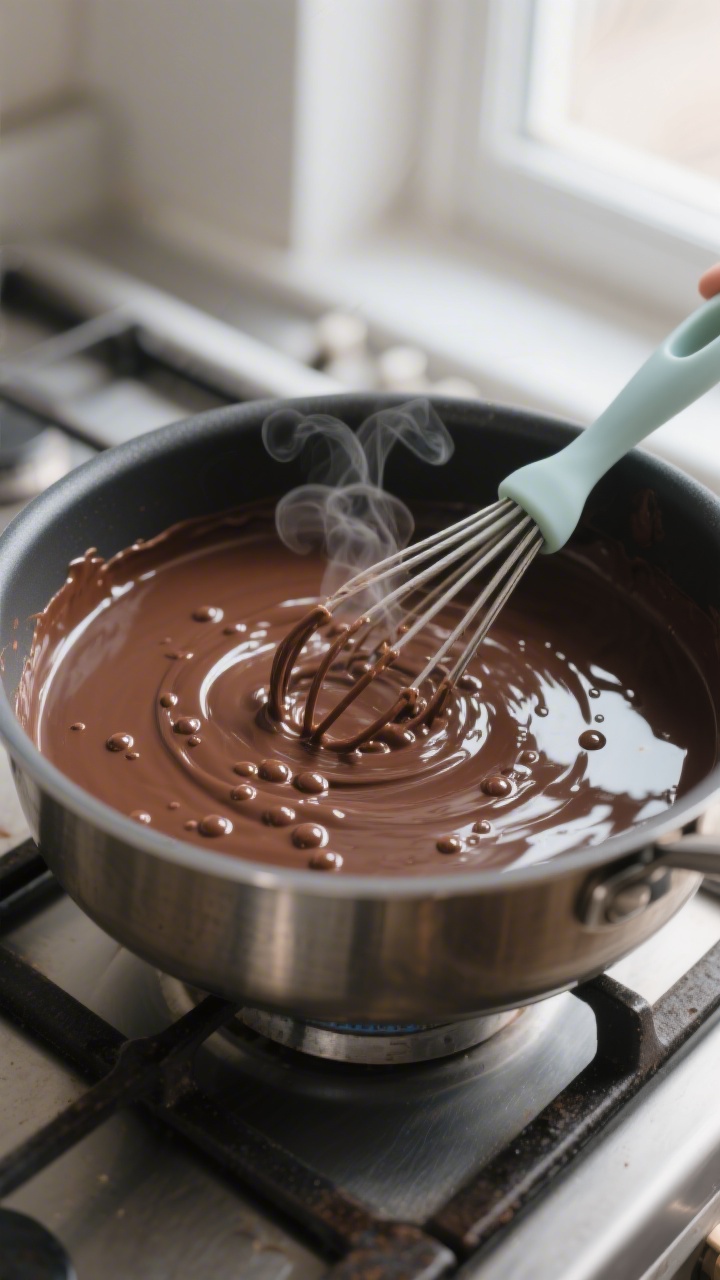
There’s beauty in keeping things simple. This pudding uses pantry staples and makes a glossy, rich dessert in one pot with minimal cleanup.
The cocoa and chocolate combine for a balanced, dark flavor that isn’t overly sweet.
The texture is silky thanks to cornstarch and whole milk, with a little butter for shine. It also sets up beautifully, which means neat spoonfuls and clean edges if you’re portioning it into cups.
Best of all, you can customize it—add espresso, swap milk types, or top with whipped cream.
Shopping List
- Whole milk – 3 cups (for creaminess and body)
- Granulated sugar – 1/2 cup
- Unsweetened cocoa powder – 1/3 cup
- Cornstarch – 1/4 cup (for thickening)
- Salt – a pinch (balances sweetness)
- Egg yolks – 2 large (adds richness and stability)
- Semisweet chocolate – 4 ounces, chopped (or good-quality chips)
- Unsalted butter – 2 tablespoons
- Vanilla extract – 2 teaspoons
- Optional add-ins: instant espresso powder, orange zest, peppermint extract, flaky sea salt for topping, or whipped cream for serving
Instructions
- Set up your pan. Choose a medium, heavy-bottomed saucepan. Heavy pans prevent scorching, which keeps the pudding smooth.
- Whisk the dry base. Off the heat, whisk together sugar, cocoa powder, cornstarch, and a pinch of salt in the saucepan until no cocoa lumps remain.
- Add milk and yolks. Gradually whisk in the milk, a little at a time, until the mixture is smooth. Whisk in the egg yolks until fully combined. The mixture should be uniform with no dry spots.
- Heat gently. Place the pan over medium heat. Whisk constantly, making sure to reach the edges and corners. As it warms, the mixture will loosen, then start to thicken after 5–7 minutes.
- Thicken to pudding. Once the mixture begins to bubble, reduce to medium-low and cook for 1–2 minutes, whisking the whole time. It should be thick enough to coat the back of a spoon and hold a line when you drag a finger across.
- Stir in chocolate and butter. Remove from heat. Add the chopped semisweet chocolate and butter. Let stand for 30 seconds, then whisk until glossy and fully melted. Stir in vanilla. If using espresso powder or zest, add it now.
- Optional: Strain. For the silkiest pudding, pour through a fine mesh sieve into a bowl or large measuring cup to catch any tiny bits of egg or cocoa clumps.
- Portion and cover. Divide into ramekins or cups, or keep it in one large container. Press plastic wrap directly onto the surface to prevent a skin unless you prefer one.
- Chill. Refrigerate at least 2 hours to set. For the best texture and flavor, chill 4 hours or overnight.
- Serve. Top with a dollop of whipped cream, a sprinkle of flaky sea salt, shaved chocolate, or fresh berries. Enjoy cold.
Keeping It Fresh
Chocolate pudding keeps well in the fridge for up to 4 days. Always store it covered so it doesn’t absorb fridge odors. Pressing wrap directly onto the surface helps prevent moisture beads and a skin.
If the pudding firms up more than you’d like, whisk it briefly before serving.
For pre-portioned cups, just give each a quick stir. Avoid freezing—freezing breaks the silky texture and can turn it grainy.
Benefits of This Recipe
- One pan, minimal mess: Everything happens in one saucepan, from whisking to thickening.
- Reliable texture: Cornstarch and yolks deliver a silky set that’s not rubbery.
- Balanced chocolate flavor: Cocoa adds depth; real chocolate adds richness and shine.
- Make-ahead friendly: Chill it hours before guests arrive and serve when you’re ready.
- Customizable: Swap flavors, adjust sweetness, or try dairy alternatives with a few tweaks.
Pitfalls to Watch Out For
- Scorching the bottom: Use a heavy pan and steady, moderate heat. Keep whisking, especially along the edges.
- Overcooking after thickening: Once it bubbles and thickens, cook just 1–2 minutes more. Longer can make it gummy.
- Skipping the tempering step: Here, tempering isn’t separate—you start cold. But don’t add yolks to hot liquid or you’ll get curdles.
- Lumpy pudding: Whisk dry ingredients thoroughly, add milk gradually, and strain at the end if needed.
- Too sweet or too bitter: Taste after adding chocolate. Adjust with a pinch more salt or a teaspoon of sugar as needed while still warm.
Alternatives
- Dairy-free: Use full-fat coconut milk or a barista-style oat milk.
Replace butter with coconut oil or vegan butter. Note: Coconut milk yields a thicker, richer set; oat milk may be slightly looser—add an extra teaspoon of cornstarch if needed. - Egg-free: Omit egg yolks and increase cornstarch to 1/3 cup. Texture will be a touch lighter but still lush.
- Deep dark: Use bittersweet chocolate (70%) and add 1 tablespoon more sugar if needed to balance.
- Mocha: Add 1–2 teaspoons instant espresso powder with the vanilla.
It sharpens the chocolate flavor beautifully. - Orange-chocolate: Stir in 1 teaspoon orange zest and a splash of orange extract.
- Peppermint: Add 1/4 teaspoon peppermint extract for a cool finish. Go easy—peppermint is potent.
- Gluten-free: This recipe is naturally gluten-free as written, provided your cornstarch and cocoa are certified GF.
FAQ
Can I make this ahead for a party?
Yes. Make it the day before and chill overnight.
Right before serving, top with whipped cream or chocolate shavings for a fresh look.
Why did my pudding turn grainy?
Graininess can come from scorching, overcooking, or cocoa lumps. Use medium heat, whisk constantly, and strain at the end. If using chocolate chips, choose a good-quality brand that melts smoothly.
Can I use low-fat milk?
You can, but expect a slightly thinner, less creamy texture.
If using 2% milk, add an extra teaspoon of cornstarch. Skim milk isn’t recommended here.
How do I avoid a skin on top?
Press plastic wrap directly onto the surface while it chills. If a skin does form, you can whisk the top layer back in before serving, though it may slightly loosen the set.
What’s the best cocoa powder to use?
Natural or Dutch-process both work.
Dutch-process gives a smoother, darker flavor and color; natural cocoa tastes a bit brighter. Use what you have and adjust sugar to taste if needed.
Can I double the recipe?
Yes, but use a larger, heavy pot and stir diligently. It will take a bit longer to thicken.
Avoid crowding the pan to prevent hot spots.
How do I know when it’s thick enough?
Look for slow, glossy bubbles and a texture that coats the back of a spoon. Drag a finger across the spoon—if the line holds, you’re there. Then cook 1–2 minutes more to set the starch.
Is there a way to make it lighter in calories?
Use 2% milk, reduce butter to 1 tablespoon, and keep the chocolate at 3 ounces.
The result is still satisfying, just less rich.
What can I use if I don’t have cornstarch?
Use 1/3 cup of flour instead, whisked into the dry ingredients. Cook an extra 2–3 minutes after bubbling to remove any raw flour taste. The texture will be slightly less glossy.
Can I serve it warm?
You can eat it warm right away, and it will be softer and more pudding-custard-like.
For classic, scoopable pudding, let it chill for a couple of hours.
Final Thoughts
This one pan chocolate pudding is the sweet spot of easy technique and big payoff.
With basic ingredients, a steady whisk, and a short chill, you get a dessert that feels special any night of the week. Keep it classic or make it your own with a few smart twists.
Either way, you’ll have a creamy, rich bowl of comfort ready when the craving hits.
Printable Recipe Card
Want just the essential recipe details without scrolling through the article? Get our printable recipe card with just the ingredients and instructions.