3 Ingredient Banana Ice Cream – Easy, Creamy, and Naturally Sweet

If you’ve got ripe bananas on the counter and a sweet tooth calling, this recipe is your shortcut to a cold, creamy treat.
No ice cream machine, no eggs, and no fancy steps—just three basic ingredients and a blender. It tastes like soft-serve, but it’s made with simple, wholesome staples you probably already have.
You can enjoy it as-is or dress it up with toppings, and it works for both kids and adults. It’s the kind of dessert that feels indulgent but still light and fresh.
3 Ingredient Banana Ice Cream – Easy, Creamy, and Naturally Sweet
Ingredients
- Ripe bananas (4 large), peeled, sliced, and frozen
- Milk or dairy-free milk (2–4 tablespoons) such as almond, oat, coconut, or regular cow’s milk
- Optional flavor boost: 1 teaspoon vanilla extract or 1–2 tablespoons maple syrup or honey (use maple syrup for vegan)
- 2 tablespoons peanut butter or almond butter
- 1–2 tablespoons unsweetened cocoa powder
- 1/4 teaspoon cinnamon
- 1/3 cup frozen berries or chopped dark chocolate
Instructions
- Prep your bananas: Peel ripe bananas, slice into coins, and freeze on a parchment-lined tray for at least 2–3 hours, or until solid. Transfer to a freezer bag if prepping ahead.
- Set up your blender or food processor: Use a powerful machine to handle the frozen fruit. Add the banana slices to the bowl or jar.
- Add liquid and flavor: Pour in 2 tablespoons of milk to start and add vanilla or sweetener if using. Don’t overdo the liquid—you can add more if needed.
- Blend in pulses: Pulse a few times to break up the bananas. Scrape down the sides as needed. Then blend until smooth and creamy. Add a splash more milk if the blades get stuck.
- Adjust texture and taste: Once silky, taste and add a bit more sweetener or a pinch of salt to enhance flavor. If using cocoa or nut butter, blend it in now.
- Serve soft-serve style: For immediate enjoyment, scoop into bowls. It will have a soft, airy texture.
- For scoopable ice cream: Transfer to a lidded container and freeze 1–2 hours. Let it sit at room temperature for 5–10 minutes before scooping.
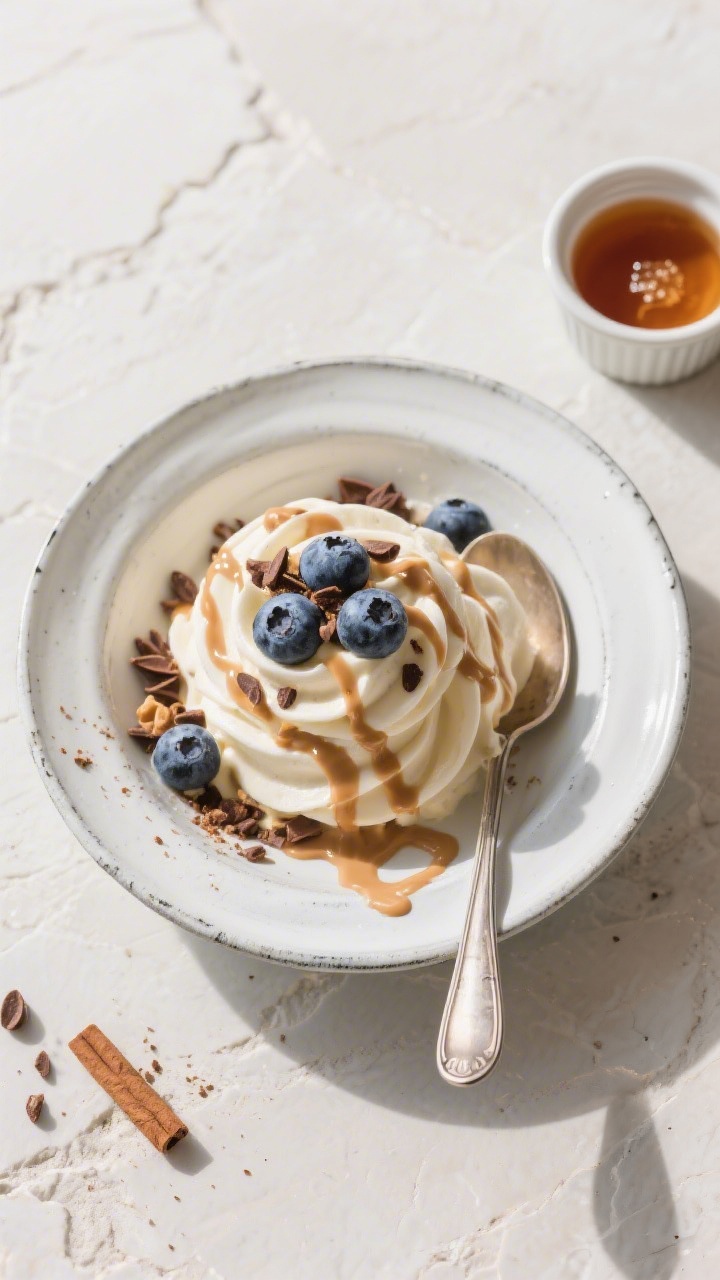
- Add toppings: Finish with chopped nuts, chocolate shavings, toasted coconut, or fresh berries for extra texture.
What Makes This Special
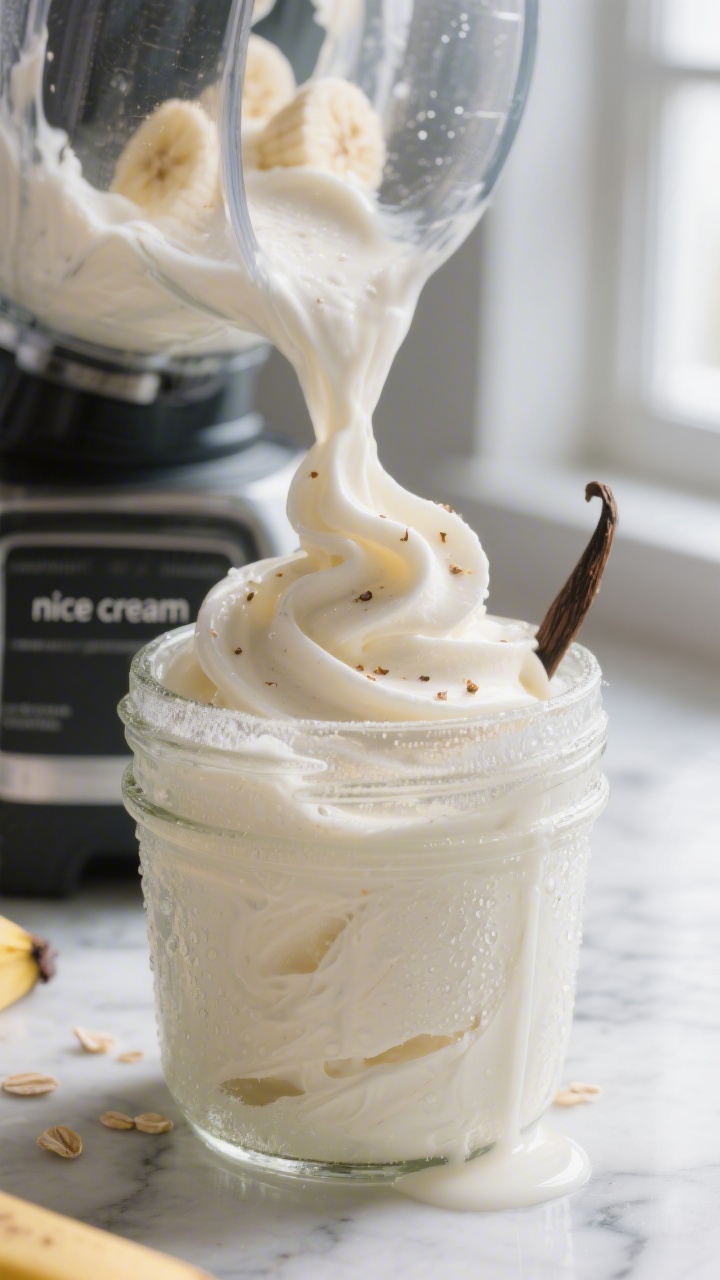
This banana ice cream—often called “nice cream”—gets its rich, scoopable texture from frozen bananas. They blend into a naturally creamy base without dairy, making it ideal for many diets.
- Only three ingredients: Bananas, milk (or dairy-free milk), and a touch of sweetener or vanilla.
- No churn needed: A food processor or blender does the work.
- Easy to customize: Add cocoa, peanut butter, cinnamon, or fruit mix-ins.
- Light but satisfying: Naturally sweet with no heavy creams required.
Shopping List
- Ripe bananas (4 large), peeled, sliced, and frozen
- Milk or dairy-free milk (2–4 tablespoons) such as almond, oat, coconut, or regular cow’s milk
- Optional flavor boost: 1 teaspoon vanilla extract or 1–2 tablespoons maple syrup or honey (use maple syrup for vegan)
Optional add-ins (choose one or two):
- 2 tablespoons peanut butter or almond butter
- 1–2 tablespoons unsweetened cocoa powder
- 1/4 teaspoon cinnamon
- 1/3 cup frozen berries or chopped dark chocolate
Instructions
- Prep your bananas: Peel ripe bananas, slice into coins, and freeze on a parchment-lined tray for at least 2–3 hours, or until solid. Transfer to a freezer bag if prepping ahead.
- Set up your blender or food processor: Use a powerful machine to handle the frozen fruit. Add the banana slices to the bowl or jar.
- Add liquid and flavor: Pour in 2 tablespoons of milk to start and add vanilla or sweetener if using. Don’t overdo the liquid—you can add more if needed.
- Blend in pulses: Pulse a few times to break up the bananas. Scrape down the sides as needed. Then blend until smooth and creamy. Add a splash more milk if the blades get stuck.
- Adjust texture and taste: Once silky, taste and add a bit more sweetener or a pinch of salt to enhance flavor. If using cocoa or nut butter, blend it in now.
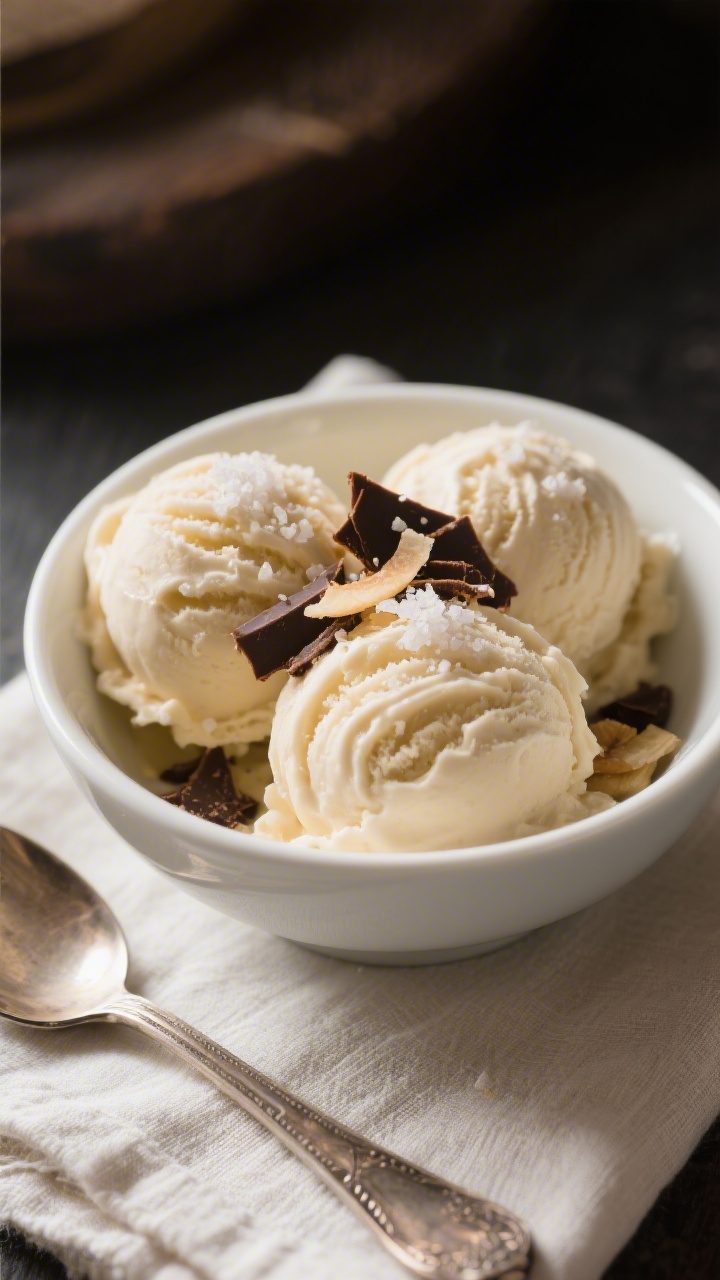
- Serve soft-serve style: For immediate enjoyment, scoop into bowls. It will have a soft, airy texture.
- For scoopable ice cream: Transfer to a lidded container and freeze 1–2 hours. Let it sit at room temperature for 5–10 minutes before scooping.
- Add toppings: Finish with chopped nuts, chocolate shavings, toasted coconut, or fresh berries for extra texture.
Storage Instructions
- Short-term: Store in an airtight, freezer-safe container for up to 1 week.
Press a piece of parchment directly on the surface to reduce ice crystals. - Before serving: Let it thaw on the counter for 5–15 minutes, depending on your freezer, to soften for easier scooping.
- Re-blending: If it gets icy over time, let it soften and give it a quick blitz in the food processor to restore creaminess.
Health Benefits
- Fruit-forward sweetness: Bananas offer natural sugars along with fiber, which can help balance how your body absorbs them.
- Potassium and vitamins: Bananas are rich in potassium and vitamin B6, and they provide small amounts of vitamin C and magnesium.
- Dairy-free option: By choosing a plant-based milk, this dessert can be fully vegan and friendly for lactose intolerance.
- Lower in saturated fat: Compared to traditional ice cream, this version can be significantly lower in saturated fat and added sugar.
Common Mistakes to Avoid
- Using underripe bananas: Green or barely yellow bananas won’t be sweet enough, and the texture can be chalky. Use spotty, ripe bananas.
- Adding too much liquid: Extra milk makes the mixture runny and icy once frozen. Start with the least amount and add only as needed.
- Over-blending after smooth: Once creamy, stop.
Overworking can warm the mixture and lead to a softer, soupy texture.
- Not freezing bananas flat: Clumped slices are harder to blend. Freeze in a single layer first for best results.
- Skipping the pinch of salt: A tiny pinch (even 1/16 teaspoon) brightens flavors and balances sweetness.
Alternatives
- Milk swaps: Use coconut milk for a richer, tropical vibe; oat milk for a neutral, creamy base; almond milk for lighter body.
- Flavor twists: Add cocoa and a spoon of peanut butter for a “chocolate peanut butter” version, or cinnamon and a drizzle of maple for “banana bread” vibes.
- Fruit mix-ins: Blend in strawberries for a strawberry-banana swirl or fold in blueberries at the end to keep their shape.
- Texture boosts: Stir in crushed cookies, granola, toasted nuts, or mini chocolate chips after blending for crunch.
- Sweetener choices: Maple syrup is smooth and vegan-friendly; honey adds floral notes; dates (soaked and blended) bring a caramel-like sweetness.
FAQ
Can I make this without a food processor?
Yes. A high-speed blender works well.
Stop and scrape the sides often, and use the tamper if your blender has one. Add the minimum amount of milk to keep it moving.
Do I have to freeze the bananas first?
Yes, freezing is key for a creamy, ice-cream-like texture. Fresh bananas will blend into a smoothie, not ice cream.
How ripe should the bananas be?
Use bananas with lots of brown spots and a soft feel.
The riper they are, the sweeter and more flavorful your ice cream will be.
How do I keep it from getting icy in the freezer?
Use the least amount of liquid possible, press parchment onto the surface before sealing, and freeze in a shallow container. Let it rest at room temp a few minutes before scooping.
Is this recipe vegan?
It can be. Use a plant-based milk like almond, oat, or coconut, and choose maple syrup instead of honey for sweetening.
What if my blender keeps jamming?
Let the bananas sit out for 2–3 minutes to soften slightly, then blend in short pulses.
Add a tiny splash more milk and scrape down the sides until it runs smoothly.
Can I double the recipe?
Yes, as long as your machine can handle the volume. Avoid overfilling; blend in batches if needed so the texture stays smooth.
What toppings go well with it?
Try chopped nuts, cacao nibs, dark chocolate shavings, toasted coconut, granola, or a drizzle of warm peanut butter. Fresh berries also pair nicely with banana.
How long does it last in the freezer?
For best texture, enjoy within 1 week.
It’s still safe after that, but it may develop more ice crystals and lose creaminess.
Can I make it sugar-free?
Yes. Skip added sweeteners and rely on very ripe bananas. A dash of vanilla and a pinch of salt help enhance sweetness without sugar.
Wrapping Up
3 Ingredient Banana Ice Cream is simple, fast, and endlessly adaptable.
With ripe bananas and a splash of milk, you get a creamy dessert that feels special without a lot of work.
Keep a stash of frozen banana slices on hand, and you’re never more than a few minutes away from a bowl of soft-serve goodness.
Add your favorite spin, top it how you like, and enjoy a sweet treat that’s as easy as it is delicious.
Printable Recipe Card
Want just the essential recipe details without scrolling through the article? Get our printable recipe card with just the ingredients and instructions.