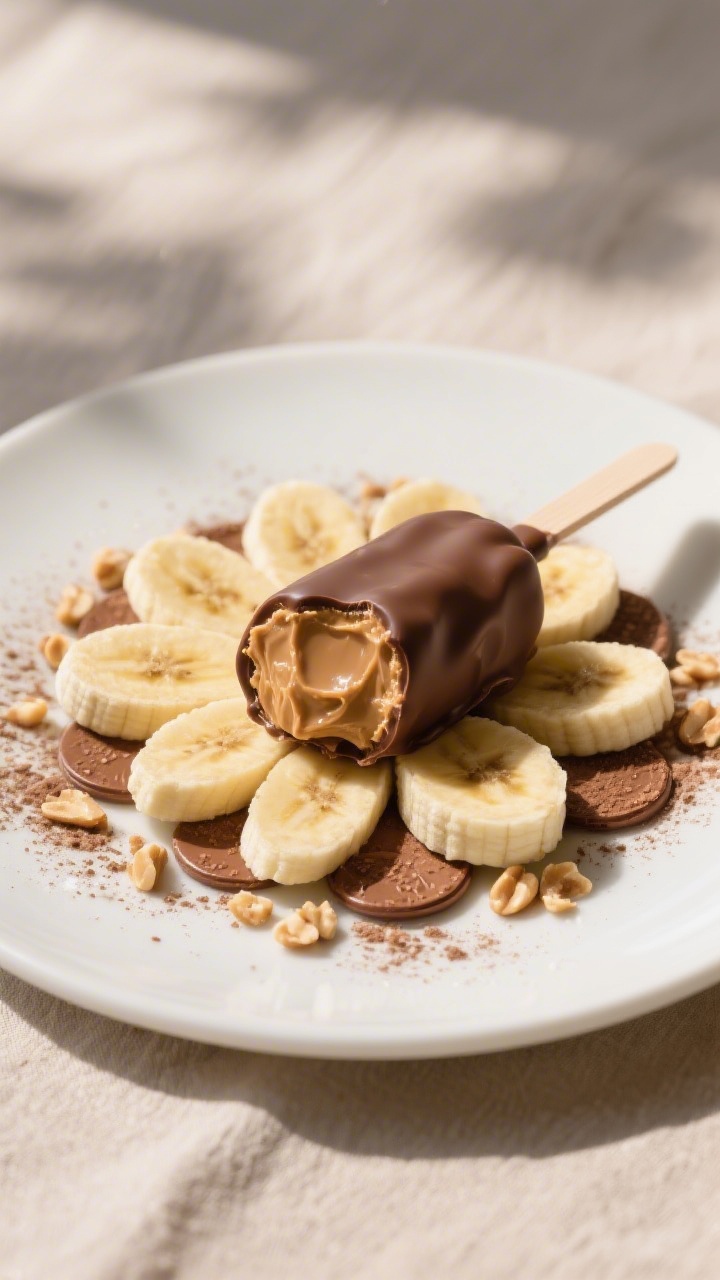
Nutella Peanut Butter Banana Pops – A Fun, No-Bake Treat

If you love quick treats that feel special without a lot of fuss, these Nutella peanut butter banana pops are for you.
They’re creamy, crunchy, and perfectly sweet, with a little salty hit from the peanut butter. You don’t need to turn on the oven or buy fancy tools.
Just grab a few pantry staples, slice some bananas, and let the freezer do the work. They’re kid-friendly, great for parties, and just as nice for a late-night snack.
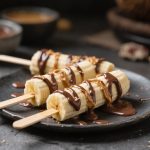
Nutella Peanut Butter Banana Pops
Instructions
- Prep the tray: Line a baking sheet with parchment paper and clear a flat space in your freezer.
- Slice the bananas: Peel and cut into 1/2-inch thick coins. Aim for uniform slices so they freeze evenly.
- Make the filling: In a small bowl, stir together the Nutella and peanut butter. If it’s too stiff, warm it for 10–15 seconds in the microwave and stir until smooth.
- Assemble sandwiches: Spread about 1 teaspoon of the Nutella-peanut butter mixture on half the banana coins. Top with the remaining coins to make little sandwiches.
- Insert sticks: Gently push a stick into the center of each sandwich. If the bananas are slippery, chill the sandwiches for 10 minutes first.
- Freeze: Place the banana pops on the lined sheet and freeze for 30–45 minutes, until firm. This helps them hold up during dipping.
- Melt the chocolate: In a microwave-safe bowl, combine chocolate chips and coconut oil. Heat in 20–30 second bursts, stirring after each, until smooth and glossy. Don’t overheat.
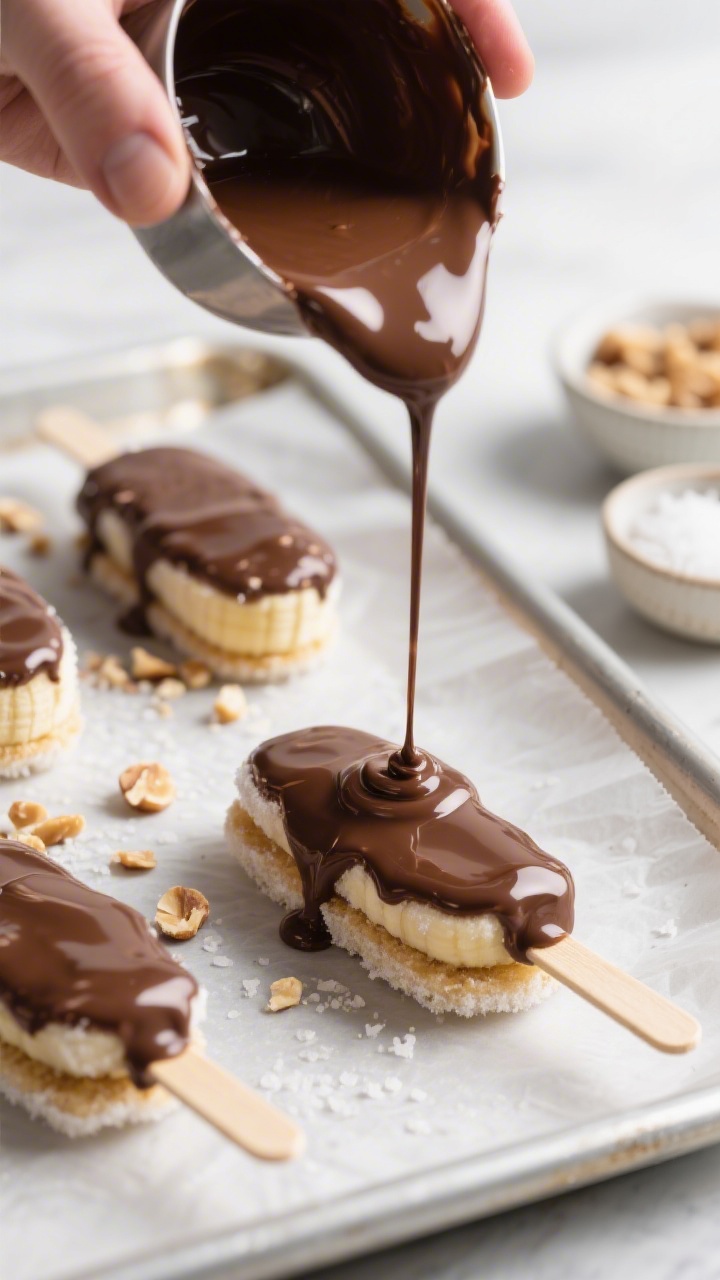
- Dip and decorate: Working quickly, dip each frozen pop into the melted chocolate, letting excess drip off. Sprinkle with crushed peanuts and a light pinch of sea salt if using.
- Set and store: Return coated pops to the lined sheet and freeze 15–20 minutes, or until the chocolate hardens. Serve right away or transfer to an airtight container.
What Makes This Special
There’s something about the combo of chocolate, peanut butter, and banana that hits all the right notes.
These pops balance flavors and textures—smooth inside, crisp outside, with a cool, fudgy bite.
They also come together fast and use simple ingredients you probably already have. Plus, they’re customizable.
You can go heavy on the crunch, switch the nut butter, or add a pinch of sea salt for a gourmet twist.
Ingredients
- 3–4 ripe but firm bananas (yellow with small brown specks; avoid mushy)
- 1/2 cup Nutella (or any chocolate-hazelnut spread)
- 1/2 cup creamy peanut butter (natural or regular, your choice)
- 1 tablespoon coconut oil (optional, helps with dipping consistency)
- 1 cup dark or milk chocolate chips (for coating)
- 1/3 cup crushed peanuts (or almonds, hazelnuts, or pretzels)
- Pinch of flaky sea salt (optional, for finishing)
- 12–16 small wooden sticks (popsicle sticks or lollipop sticks)
- Parchment paper and a baking sheet
Instructions
- Prep the tray: Line a baking sheet with parchment paper and clear a flat space in your freezer.
- Slice the bananas: Peel and cut into 1/2-inch thick coins.Aim for uniform slices so they freeze evenly.
- Make the filling: In a small bowl, stir together the Nutella and peanut butter. If it’s too stiff, warm it for 10–15 seconds in the microwave and stir until smooth.
- Assemble sandwiches: Spread about 1 teaspoon of the Nutella-peanut butter mixture on half the banana coins. Top with the remaining coins to make little sandwiches.
- Insert sticks: Gently push a stick into the center of each sandwich.If the bananas are slippery, chill the sandwiches for 10 minutes first.
- Freeze: Place the banana pops on the lined sheet and freeze for 30–45 minutes, until firm. This helps them hold up during dipping.
- Melt the chocolate: In a microwave-safe bowl, combine chocolate chips and coconut oil. Heat in 20–30 second bursts, stirring after each, until smooth and glossy.Don’t overheat.
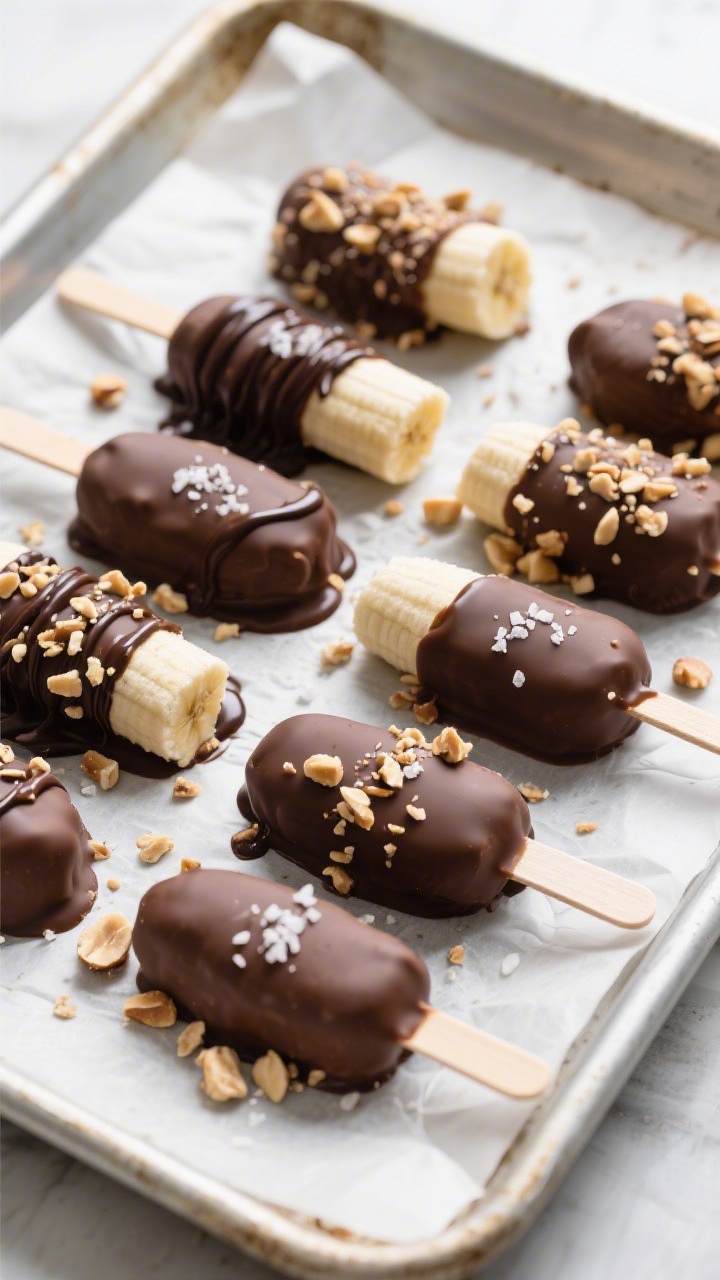
- Dip and decorate: Working quickly, dip each frozen pop into the melted chocolate, letting excess drip off. Sprinkle with crushed peanuts and a light pinch of sea salt if using.
- Set and store: Return coated pops to the lined sheet and freeze 15–20 minutes, or until the chocolate hardens. Serve right away or transfer to an airtight container.
Keeping It Fresh
For best texture, keep the pops in an airtight container or zip-top bag in the freezer.
Add parchment between layers to prevent sticking. They’ll stay at their best for up to 2 weeks. If you’re serving to a crowd, take them out 2–3 minutes before eating to soften slightly.
Avoid storing near strong-smelling foods in the freezer; bananas can absorb odors.
Health Benefits
- Potassium and fiber: Bananas support heart health and digestion.
- Protein and healthy fats: Peanut butter adds staying power and helps curb sugar spikes.
- Antioxidants: Dark chocolate and hazelnuts offer polyphenols that support overall wellness.
- Portion control: These are naturally bite-sized, making it easier to enjoy a treat without going overboard.
Want to lighten things up? Use dark chocolate (70% cacao), choose a no-added-sugar peanut butter, and keep toppings minimal. You still get flavor and satisfaction with fewer added sugars.
Common Mistakes to Avoid
- Using overripe bananas: Very soft bananas get mushy and slide off the sticks.Pick firm, spotty-yellow bananas.
- Skipping the freeze step: If you don’t chill the sandwiches before dipping, they’ll fall apart in the warm chocolate.
- Overheating chocolate: Burnt chocolate gets grainy. Melt gently and stir often.
- Too-thick coating: Thick chocolate makes biting hard. Add a little coconut oil for a thinner, snappier shell.
- Overloading toppings: Heavy toppings slide off or make the pops messy.Sprinkle lightly.
Recipe Variations
- Almond Twist: Swap peanut butter for almond butter and top with toasted sliced almonds.
- Salty Pretzel Crunch: Crush pretzels and sprinkle over the chocolate for extra snap and a salty note.
- Coconut Crunch: Add unsweetened shredded coconut to the filling or as a topping.
- Berry Drizzle: After the chocolate sets, drizzle with warmed raspberry jam for tart contrast.
- Protein Boost: Mix a scoop of chocolate or vanilla protein powder into the Nutella-peanut butter blend. Add a splash of milk to loosen if needed.
- Dairy-Free: Use dairy-free chocolate chips and a plant-based hazelnut spread.
- No-Stick Bites: Skip the sticks and make bite-size sandwiches for a party-friendly tray.
FAQ
Can I make these without Nutella?
Yes. Use straight peanut butter and add a little honey or maple syrup for sweetness.
You can also use another chocolate-hazelnut spread, or mix cocoa powder and a touch of sugar into peanut butter for a similar vibe.
How long do they take to freeze?
About 30–45 minutes for the banana sandwiches to firm up, plus 15–20 minutes for the chocolate to set after dipping. If your freezer is very full, give them a bit longer.
Why is my chocolate cracking off?
If the chocolate coating is too thick or the bananas are extremely cold, the shell can crack. Thin the chocolate with a little coconut oil and let the bananas sit at room temp for 1 minute before dipping.
Can I use chunky peanut butter?
Absolutely.
Chunky peanut butter adds texture. If it makes spreading difficult, warm it slightly to soften.
What’s the best way to store leftovers?
Freeze them in a single layer until solid, then transfer to an airtight container with parchment between layers. They’ll keep well for up to 2 weeks.
Do I have to use sticks?
No.
They’re convenient for dipping and eating, but you can make small sandwich bites and use a fork to dip, or drizzle the chocolate instead.
Can I make them nut-free?
Try sunflower seed butter or tahini in place of peanut butter, and skip nut toppings. Use chocolate that’s certified nut-free if allergies are a concern.
How can I cut the sweetness?
Use dark chocolate, a no-sugar-added peanut butter, and balance with a small pinch of sea salt on top. You can also reduce the amount of Nutella in the filling.
Final Thoughts
Nutella peanut butter banana pops are an easy win—no oven, minimal cleanup, and big flavor.
With a few simple steps, you get a creamy center, a crisp chocolate shell, and just the right crunch on top.
Keep a batch in the freezer for quick desserts, after-school snacks, or a sweet finish to a casual dinner.
They’re the kind of treat that makes everyday moments feel a little more special.
Printable Recipe Card
Want just the essential recipe details without scrolling through the article? Get our printable recipe card with just the ingredients and instructions.