Nashville Hot Chicken Tenders – Spicy, Crispy, and Full of Flavor

Nashville Hot Chicken Tenders bring bold heat, crunchy texture, and a little sweet-savory magic to your plate.
They’re everything you love about classic hot chicken, scaled down into easy-to-eat strips. You get a tender, juicy center, a shatter-crisp crust, and that signature fiery oil brushed on top.
Make them for game day, a weekend craving, or a fun dinner that wakes up your taste buds. Serve with pickles and white bread, and you’re set.
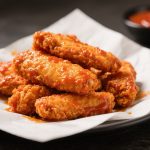
Nashville Hot Chicken Tenders
Ingredients
- 1.5 pounds chicken tenders (or boneless, skinless chicken breasts cut into strips)
- 1 cup buttermilk
- 1 large egg
- 1 tablespoon hot sauce (your favorite brand)
- 1.5 cups all-purpose flour
- 1/2 cup cornstarch
- 2 teaspoons kosher salt, divided
- 1 teaspoon black pepper
- 1 teaspoon garlic powder
- 1 teaspoon onion powder
- 1 teaspoon smoked paprika
- Neutral oil for frying (peanut, canola, or vegetable)
- 1/2 cup hot frying oil (scooped from the pot after frying)
- 2–3 tablespoons cayenne pepper (start with 2; add more for extra heat)
- 1 tablespoon brown sugar
- 1 teaspoon smoked paprika
- 1/2 teaspoon garlic powder
- 1/2 teaspoon kosher salt
- 1/4 teaspoon ground cumin (optional, for warmth)
Instructions
- Marinate the chicken: In a bowl, whisk buttermilk, egg, hot sauce, and 1 teaspoon salt. Add chicken tenders, toss to coat, and chill for at least 30 minutes. For extra tender meat, marinate up to 4 hours.
- Mix the dredge: In a shallow dish, combine flour, cornstarch, black pepper, garlic powder, onion powder, smoked paprika, and 1 teaspoon salt. Stir well so the spices are evenly distributed.
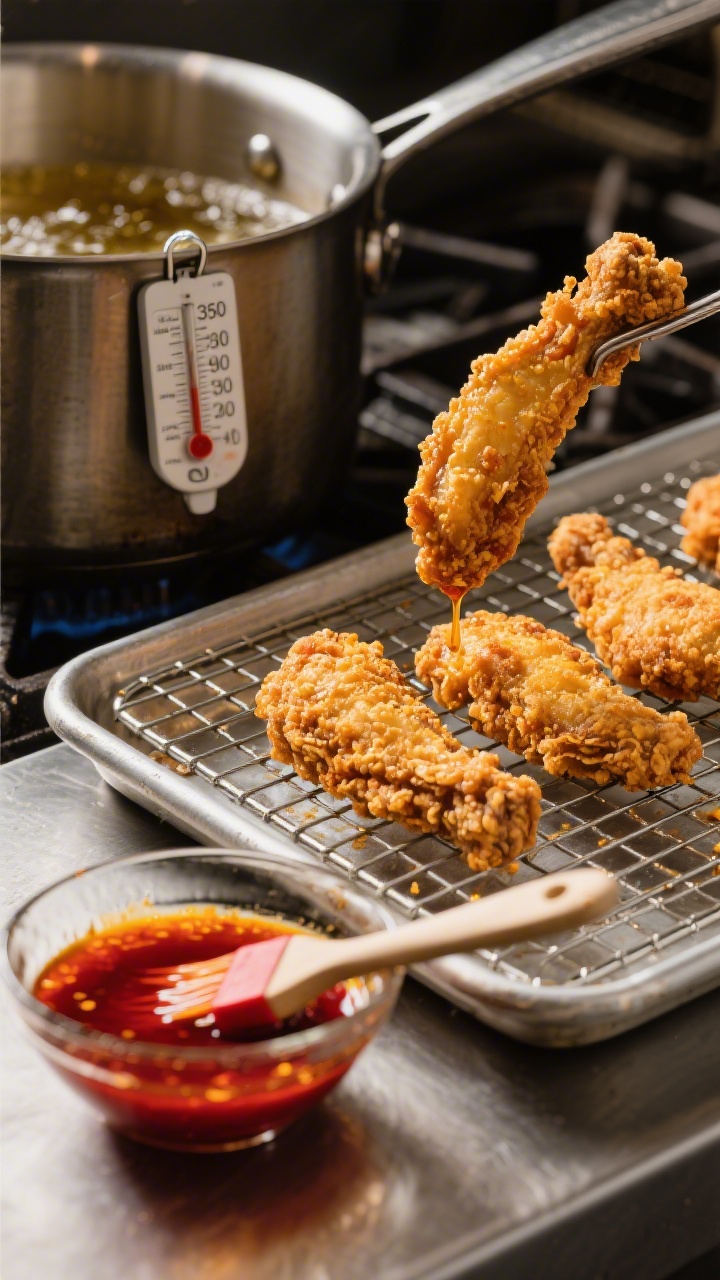
- Heat the oil: Fill a heavy pot with 2 inches of oil. Heat to 350°F (175°C). Use a thermometer for accuracy. Keep the heat steady to avoid greasy or soggy results.
- Dredge the tenders: Lift chicken from the buttermilk, letting excess drip off. Press each piece into the flour mixture, coat fully, then dip back into the buttermilk, and dredge in flour again for a double coat. Place on a rack to rest 5–10 minutes. This helps the crust set.
- Fry in batches: Fry 3–5 tenders at a time for 4–6 minutes, turning once, until golden and crisp. Internal temperature should reach 165°F (74°C). Move cooked tenders to a rack set over a sheet pan. Let the oil return to 350°F between batches.
- Make the hot oil: Carefully ladle 1/2 cup of the hot frying oil into a heatproof bowl. Stir in cayenne, brown sugar, smoked paprika, garlic powder, salt, and cumin. The spices will bloom in the hot oil, turning deep red and aromatic.
- Coat the tenders: Brush or spoon the hot oil over the fried tenders while they’re still warm. For extra punch, coat both sides. Adjust heat by adding more or less cayenne to the oil.
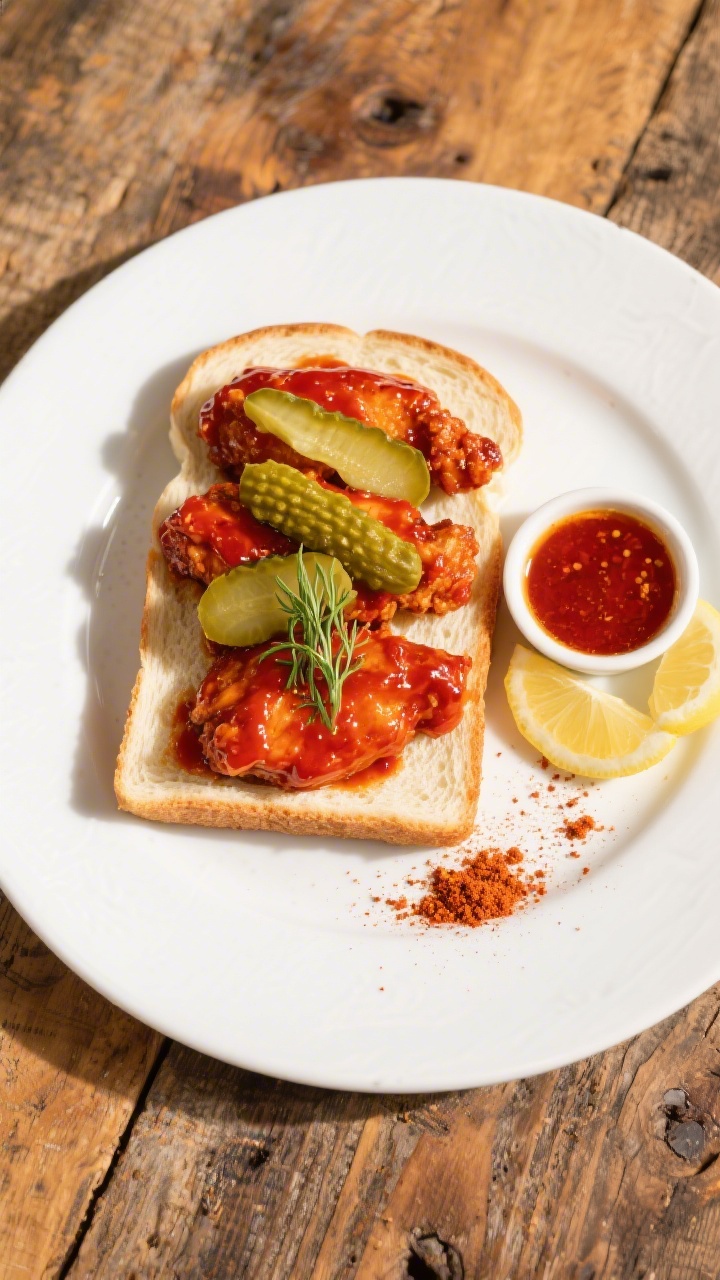
- Serve: Lay slices of white bread on a plate, top with tenders, and finish with crisp dill pickles. A squeeze of lemon brightens the heat if you like.
Why This Recipe Works
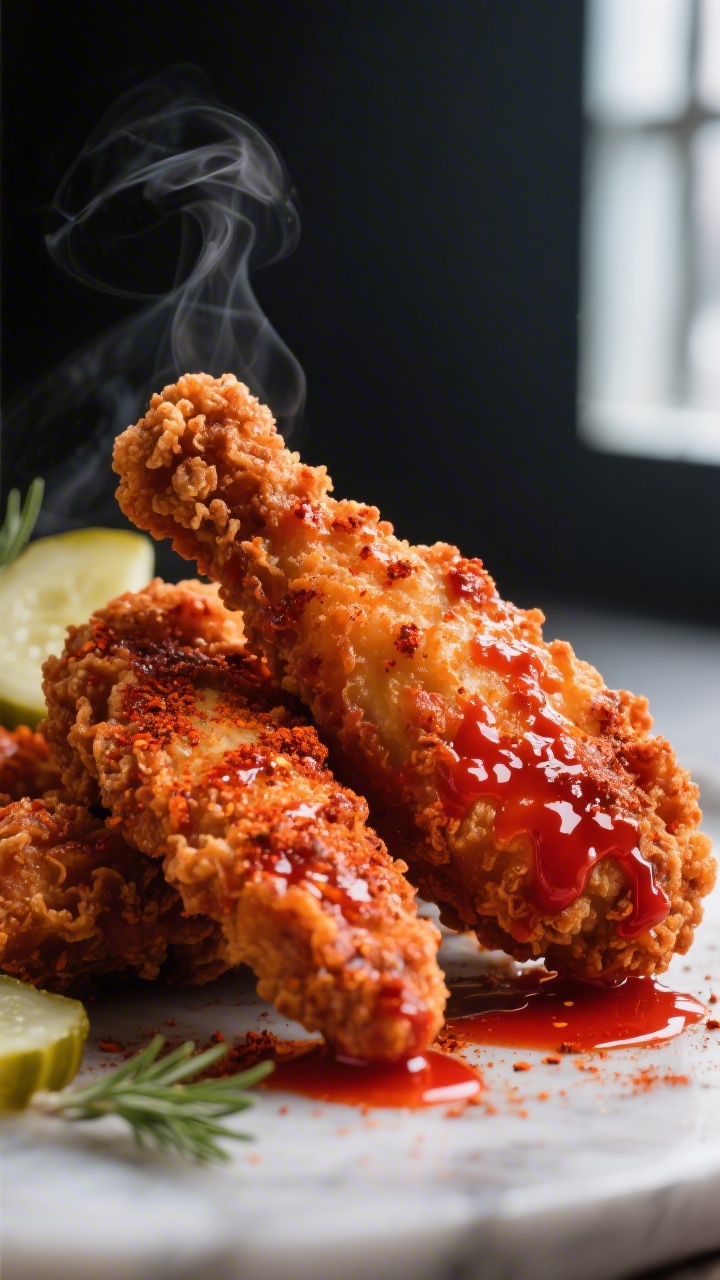
This recipe leans on a simple but effective method: a buttermilk brine for tenderness and a spiced flour dredge for crunch.
The cornstarch in the coating helps create that ultra-crispy shell without getting heavy.
The hot oil glaze is the real star—cayenne, paprika, brown sugar, and garlic bloom in warm frying oil, giving you deep flavor without burning the spices.
You’ll get heat that builds, not just a one-note blast. It’s balanced, it’s bold, and it tastes like the real deal.
Ingredients
- 1.5 pounds chicken tenders (or boneless, skinless chicken breasts cut into strips)
- 1 cup buttermilk
- 1 large egg
- 1 tablespoon hot sauce (your favorite brand)
- 1.5 cups all-purpose flour
- 1/2 cup cornstarch
- 2 teaspoons kosher salt, divided
- 1 teaspoon black pepper
- 1 teaspoon garlic powder
- 1 teaspoon onion powder
- 1 teaspoon smoked paprika
- Neutral oil for frying (peanut, canola, or vegetable)
For the Nashville Hot Oil:
- 1/2 cup hot frying oil (scooped from the pot after frying)
- 2–3 tablespoons cayenne pepper (start with 2; add more for extra heat)
- 1 tablespoon brown sugar
- 1 teaspoon smoked paprika
- 1/2 teaspoon garlic powder
- 1/2 teaspoon kosher salt
- 1/4 teaspoon ground cumin (optional, for warmth)
To Serve: Sliced white bread, dill pickles, lemon wedges (optional)
How to Make It
- Marinate the chicken: In a bowl, whisk buttermilk, egg, hot sauce, and 1 teaspoon salt.Add chicken tenders, toss to coat, and chill for at least 30 minutes. For extra tender meat, marinate up to 4 hours.
- Mix the dredge: In a shallow dish, combine flour, cornstarch, black pepper, garlic powder, onion powder, smoked paprika, and 1 teaspoon salt. Stir well so the spices are evenly distributed.
- Heat the oil: Fill a heavy pot with 2 inches of oil.Heat to 350°F (175°C). Use a thermometer for accuracy. Keep the heat steady to avoid greasy or soggy results.
- Dredge the tenders: Lift chicken from the buttermilk, letting excess drip off.Press each piece into the flour mixture, coat fully, then dip back into the buttermilk, and dredge in flour again for a double coat. Place on a rack to rest 5–10 minutes. This helps the crust set.
- Fry in batches: Fry 3–5 tenders at a time for 4–6 minutes, turning once, until golden and crisp.Internal temperature should reach 165°F (74°C). Move cooked tenders to a rack set over a sheet pan. Let the oil return to 350°F between batches.
- Make the hot oil: Carefully ladle 1/2 cup of the hot frying oil into a heatproof bowl.Stir in cayenne, brown sugar, smoked paprika, garlic powder, salt, and cumin. The spices will bloom in the hot oil, turning deep red and aromatic.
- Coat the tenders: Brush or spoon the hot oil over the fried tenders while they’re still warm. For extra punch, coat both sides.Adjust heat by adding more or less cayenne to the oil.
- Serve: Lay slices of white bread on a plate, top with tenders, and finish with crisp dill pickles. A squeeze of lemon brightens the heat if you like.
Keeping It Fresh
Leftover tenders keep well if you store them right. Let them cool completely on a rack, then refrigerate in an airtight container for up to 3 days.
Reheat in a 400°F (205°C) oven or air fryer for 6–10 minutes until hot and crisp.
For longer storage, freeze on a baking sheet until solid, then transfer to a freezer bag. Reheat from frozen in a 400°F oven or air fryer until warmed through.
Avoid microwaving if you want to keep that crunchy crust.
Why This is Good for You
This isn’t a “health food,” but you can still make smart choices. Lean chicken tenders offer high-quality protein without the extra fat you’d get from dark meat or skin-on cuts.
The heat from cayenne and paprika encourages portion satisfaction—you won’t need to eat as much to feel content.
You can also control the oil quality and the salt level.
Frying at the right temperature means less oil absorption and a lighter finish. Pair with a simple slaw or cucumber salad to balance richness and add fiber.
What Not to Do
- Don’t skip the rest after dredging. A quick rest helps the crust cling, preventing it from sliding off in the oil.
- Don’t fry too hot or too cold. Above 365°F, the crust burns before the center cooks. Below 325°F, the coating soaks up oil and turns greasy.
- Don’t pour cold spices into warm oil. Use hot frying oil to bloom spices properly and unlock that classic deep-red color.
- Don’t overcrowd the pot. Too many tenders drop the temperature fast and lead to soggy crust.
- Don’t coat with hot oil long before serving. The crust softens if it sits.Brush right before eating.
Recipe Variations
- Air Fryer Version: Spray dredged tenders lightly with oil. Air fry at 390°F (200°C) for 10–12 minutes, flipping halfway. Brush with hot oil after cooking.
- Oven-Baked: Set dredged tenders on a wire rack over a sheet pan.Mist with oil. Bake at 425°F (220°C) for 16–20 minutes until crisp. Brush with hot oil.
- Sweet Heat Honey: Whisk 1–2 teaspoons honey into the hot oil for a sweet-spicy glaze.
- Extra-Crunch Cornflake Crust: Swap 1/2 cup of flour for crushed cornflakes or panko for more texture.
- Mild Version: Reduce cayenne to 1 tablespoon and add 1 teaspoon paprika for color without too much fire.
- Gluten-Free: Use a 1:1 gluten-free flour blend and cornstarch.Double-check your hot sauce is gluten-free.
FAQ
How spicy are these tenders?
They’re classic Nashville hot, which means noticeable heat. Start with 2 tablespoons of cayenne in the oil, taste, and add more if you want a bigger kick. You can also serve extra hot oil on the side for spice lovers.
Can I make them ahead?
You can dredge the tenders and keep them on a rack in the fridge for up to 4 hours.
Fry just before serving, then brush with the hot oil. Reheated tenders are good, but nothing beats fresh from the fryer.
What oil is best for frying?
Choose a neutral, high-smoke-point oil like peanut, canola, or vegetable oil. Peanut oil gives great flavor and steady heat control.
Avoid olive oil for deep frying.
Why use cornstarch in the coating?
Cornstarch reduces gluten development and helps create a lighter, crisper crust. It also promotes beautiful golden browning without getting tough.
How do I know when the tenders are done?
They should be deep golden and reach an internal temperature of 165°F (74°C). If you don’t have a thermometer, cut into the thickest piece—juices should run clear and the meat should be opaque.
Can I use chicken thighs?
Yes.
Cut boneless, skinless thighs into strips. They’ll be extra juicy but may need an extra minute in the oil. Keep an eye on temperature and color.
What should I serve with them?
Classic white bread and dill pickles are non-negotiable for the Nashville vibe.
Add creamy slaw, fries, or a simple salad. A cool ranch or blue cheese dip helps balance the heat.
In Conclusion
Nashville Hot Chicken Tenders are all about contrast: juicy meat, crunchy crust, and a fiery glaze that keeps you coming back for another bite.
With a good marinade, a smart dredge, and properly bloomed spices, you’ll get restaurant-level flavor at home.
Keep the oil hot, don’t rush the process, and finish with pickles and bread. It’s a simple path to big Southern flavor—spicy, satisfying, and unforgettable.
Printable Recipe Card
Want just the essential recipe details without scrolling through the article? Get our printable recipe card with just the ingredients and instructions.