Frozen Peanut Butter Nutella Cups – A Creamy, Crunchy, No-Bake Treat

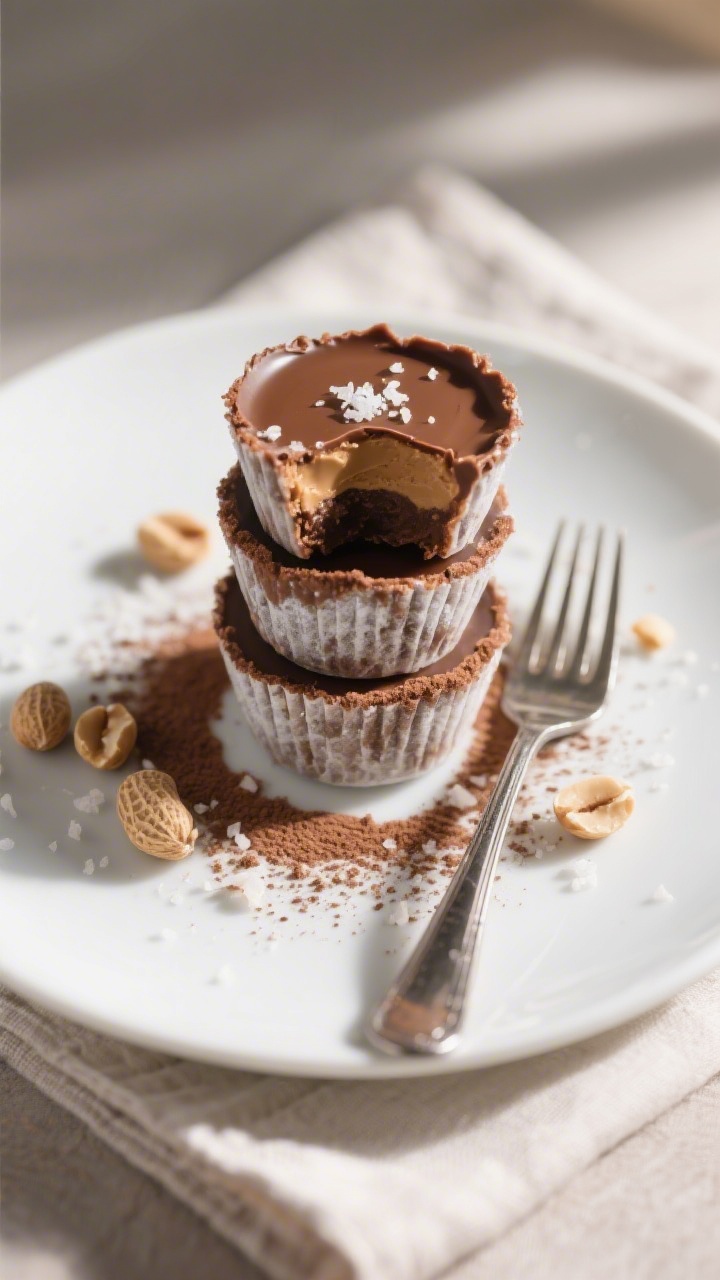
These frozen peanut butter Nutella cups are the kind of treat you make once and keep coming back to.
They’re creamy, chocolatey, salty-sweet, and satisfy that “I want dessert now” craving without much effort. No baking, no fancy equipment, and just a handful of everyday ingredients.
You can customize them to your taste, make them as small or big as you like, and keep them on hand in the freezer for whenever the mood strikes.
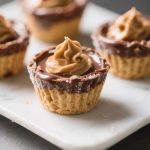
Frozen Peanut Butter Nutella Cups
Ingredients
- Peanut butter: Creamy, unsweetened if you like it less sweet; choose your favorite brand.
- Nutella (or chocolate-hazelnut spread): The star of the top layer.
- Dark or milk chocolate chips: For a touch of chocolate richness and structure.
- Coconut oil: Helps the chocolate layer set smoothly (refined for no coconut flavor, unrefined for a hint of coconut).
- Maple syrup or honey (optional): For sweetening the peanut butter layer if needed.
- Vanilla extract (optional): Adds a warm, rounded flavor to the peanut layer.
- Flaky sea salt: A pinch on top makes the flavors pop.
- Chopped roasted peanuts (optional): For crunch.
- Mini muffin tin + paper liners: Easiest for portioning and clean removal.
Instructions
- Prep your pan: Line a mini muffin tin with paper liners. This recipe makes about 18–24 mini cups, depending on how generously you fill them.
- Make the peanut base: In a small bowl, stir together 3/4 cup creamy peanut butter with 1–2 teaspoons maple syrup or honey (optional) and 1/2 teaspoon vanilla (optional). The mixture should be soft but not runny.
- Portion the first layer: Spoon about 1 teaspoon of the peanut mixture into each liner. Use the back of the spoon to press it into an even layer. Freeze for 10 minutes to firm up.
- Prepare the Nutella-chocolate top: In a microwave-safe bowl, combine 1/2 cup Nutella, 1/2 cup chocolate chips, and 1 tablespoon coconut oil. Microwave in 20–30 second bursts, stirring between each, until smooth and glossy. Alternatively, melt gently over a double boiler.
- Add the Nutella layer: Remove the tray from the freezer and spoon about 1 to 1 1/2 teaspoons of the warm Nutella mixture over each peanut base. Tap the tray lightly on the counter to level the tops.
- Finish with texture: While still soft, sprinkle a few chopped roasted peanuts and a small pinch of flaky sea salt over each cup.
- Freeze to set: Return the tray to the freezer for 30–45 minutes, or until the cups are firm enough to peel from the liners cleanly.
- Serve: Let the cups sit at room temperature for 2–3 minutes before eating for the best texture—cool and fudgy, not rock-hard.
Why This Recipe Works
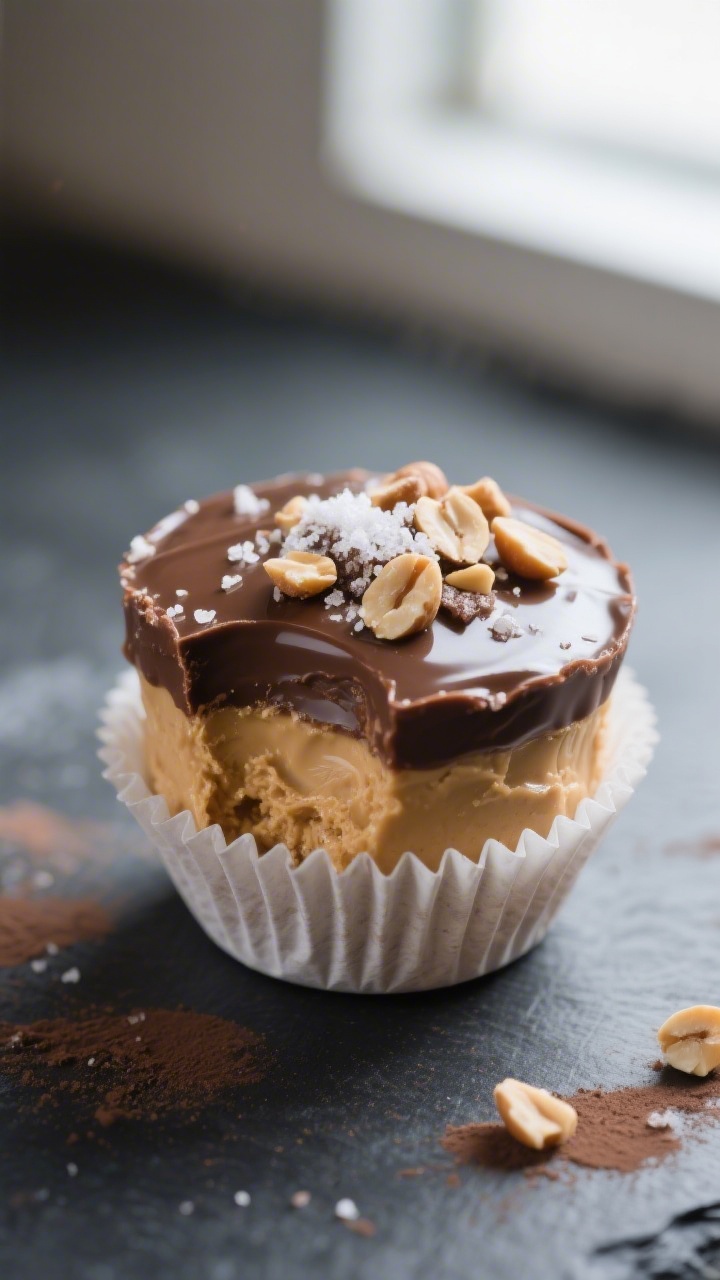
This recipe is all about balance. You get the smooth richness of Nutella paired with the salty creaminess of peanut butter, and the cold snap from the freezer brings out the fudgy texture that makes each bite feel extra indulgent. The layers set quickly and hold together well, so you get clean bites with distinct flavors.
A tiny bit of coconut oil helps the chocolate set with a pleasant, firm bite—no waxy texture. Plus, the no-bake method makes it easy and nearly foolproof, even if you’re not confident in the kitchen.
What You’ll Need
- Peanut butter: Creamy, unsweetened if you like it less sweet; choose your favorite brand.
- Nutella (or chocolate-hazelnut spread): The star of the top layer.
- Dark or milk chocolate chips: For a touch of chocolate richness and structure.
- Coconut oil: Helps the chocolate layer set smoothly (refined for no coconut flavor, unrefined for a hint of coconut).
- Maple syrup or honey (optional): For sweetening the peanut butter layer if needed.
- Vanilla extract (optional): Adds a warm, rounded flavor to the peanut layer.
- Flaky sea salt: A pinch on top makes the flavors pop.
- Chopped roasted peanuts (optional): For crunch.
- Mini muffin tin + paper liners: Easiest for portioning and clean removal.
Instructions
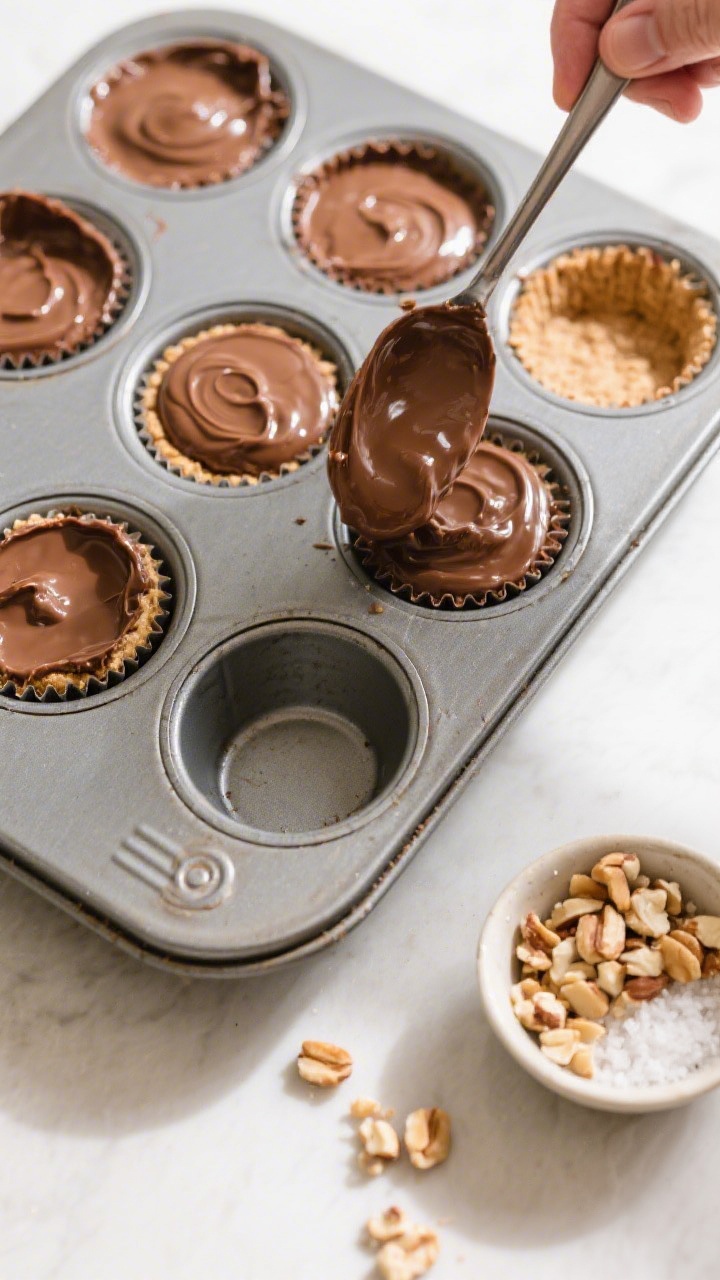
- Prep your pan: Line a mini muffin tin with paper liners. This recipe makes about 18–24 mini cups, depending on how generously you fill them.
- Make the peanut base: In a small bowl, stir together 3/4 cup creamy peanut butter with 1–2 teaspoons maple syrup or honey (optional) and 1/2 teaspoon vanilla (optional).The mixture should be soft but not runny.
- Portion the first layer: Spoon about 1 teaspoon of the peanut mixture into each liner. Use the back of the spoon to press it into an even layer. Freeze for 10 minutes to firm up.
- Prepare the Nutella-chocolate top: In a microwave-safe bowl, combine 1/2 cup Nutella, 1/2 cup chocolate chips, and 1 tablespoon coconut oil.Microwave in 20–30 second bursts, stirring between each, until smooth and glossy. Alternatively, melt gently over a double boiler.
- Add the Nutella layer: Remove the tray from the freezer and spoon about 1 to 1 1/2 teaspoons of the warm Nutella mixture over each peanut base. Tap the tray lightly on the counter to level the tops.
- Finish with texture: While still soft, sprinkle a few chopped roasted peanuts and a small pinch of flaky sea salt over each cup.
- Freeze to set: Return the tray to the freezer for 30–45 minutes, or until the cups are firm enough to peel from the liners cleanly.
- Serve: Let the cups sit at room temperature for 2–3 minutes before eating for the best texture—cool and fudgy, not rock-hard.
Keeping It Fresh
Once set, transfer the cups to an airtight container or a freezer bag.
Separate layers with parchment if stacking to avoid sticking. They’ll keep their flavor and texture for up to 2 months in the freezer. For short-term storage, the fridge is fine for 3–4 days, but they’ll be softer.
If serving to guests, pull them from the freezer 5 minutes ahead so they soften just enough to bite easily.
Why This is Good for You
These cups aren’t a health food, but they do offer a few perks. Peanut butter brings protein and healthy fats, which help keep you satisfied and can curb the urge to eat more sugary desserts. Dark chocolate adds a touch of antioxidants, and a small serving can be surprisingly satisfying thanks to the mix of textures and flavors.
You’re also in control of sweetness—use unsweetened peanut butter and less added syrup if you prefer a lower-sugar treat. Portion size matters, and these mini cups make that easy.
Pitfalls to Watch Out For
- Layers mixing together: If the peanut layer isn’t chilled, the warm Nutella mixture can swirl into it. Freeze the base for the full 10 minutes.
- Too hard to bite: If they’re rock-solid, let them sit for a couple of minutes.Or reduce the chocolate chips slightly and increase Nutella for a softer set.
- Greasy or separating texture: Overheating chocolate can cause separation. Melt in short bursts and stir well.
- Sticking to liners: Paper liners are key. If you used silicone and they’re stubborn, warm the outside gently with your hands to release.
- Overly sweet: Skip the added syrup if your peanut butter is already sweetened.Balance with a bigger pinch of flaky salt.
Recipe Variations
- Almond twist: Swap peanut butter for almond butter and top with sliced almonds.
- Crunchy base: Stir crushed rice cereal or crushed graham crackers into the peanut layer for texture.
- Protein boost: Mix in a scoop of vanilla or chocolate protein powder with the peanut layer; add a teaspoon of milk if it gets too thick.
- Nut-free option: Use sunflower seed butter and a chocolate-hazelnut–style spread made without nuts, or a dairy-free chocolate spread.
- Espresso upgrade: Stir 1/2 teaspoon instant espresso powder into the melted chocolate for a mocha vibe.
- Salted caramel: Add a tiny dollop of store-bought caramel between the peanut and Nutella layers, then freeze.
- Bigger cups: Use a standard muffin tin and double the amounts per cup. Increase freezing time by 10–15 minutes.
FAQ
Can I make these dairy-free?
Yes. Choose dairy-free chocolate chips and a dairy-free chocolate-hazelnut spread.
Use unrefined coconut oil or a neutral oil that firms up when chilled, like cocoa butter. The method stays the same.
What if I don’t have coconut oil?
You can skip it, but the top layer will be slightly softer and may not have the same clean snap. A small pat of butter works if you’re not avoiding dairy.
For a firmer finish, add an extra tablespoon of chocolate chips.
How sweet are these?
They’re moderately sweet, mostly from the Nutella. If you like less sweetness, use unsweetened peanut butter and avoid extra syrup. Dark chocolate chips will also tone down the sugar level.
Can I store them at room temperature?
No.
They’re best kept in the freezer so the layers stay firm and the chocolate doesn’t melt. If left out too long, they’ll soften and lose their shape.
How do I prevent chocolate bloom or white streaks?
Melt the chocolate gently and avoid temperature shocks. Once set, keep the cups frozen and avoid repeated thawing and refreezing.
Storing in an airtight container limits moisture exposure, which also helps.
Can I add a whole peanut or hazelnut inside?
Absolutely. Press one into the peanut layer before freezing, then cover with the Nutella mixture. It adds a nice crunch and a little surprise in the center.
Do I need a food processor or mixer?
No equipment needed beyond bowls, a spoon, and a microwave or stovetop for melting.
This is a low-effort, low-mess dessert.
In Conclusion
Frozen peanut butter Nutella cups are the kind of simple treat that checks all the boxes: easy to make, easy to store, and always satisfying.
With a creamy peanut base, a silky Nutella-chocolate top, and a sprinkle of salt and crunch, each bite delivers big flavor without fuss.
Keep a batch in your freezer and you’ve got a go-to dessert, snack, or sweet reward ready whenever you want it.
Printable Recipe Card
Want just the essential recipe details without scrolling through the article? Get our printable recipe card with just the ingredients and instructions.