Crusty Artisan Bread – Simple, Rustic, and Flavorful

Nothing beats the smell of fresh bread coming out of your oven. This crusty artisan loaf has a crisp, shattering crust and a tender, chewy interior that’s perfect for soups, sandwiches, or just butter and jam.
You don’t need a mixer or fancy tools—just a bowl, patience, and a hot oven.
With a few simple steps and a little resting time, you’ll get bakery-quality results at home. If you’ve been nervous about bread baking, this is the recipe to change that.
Crusty Artisan Bread
Ingredients
- Bread flour (or all-purpose flour), about 3 1/4 cups (400 g)
- Warm water, 1 1/2 cups (360 ml), around 95–100°F (35–38°C)
- Instant or active dry yeast, 1/2 teaspoon
- Fine sea salt, 1 1/4 teaspoons
- Optional add-ins: Fresh rosemary, garlic, grated Parmesan, seeds (sesame, poppy, sunflower), or chopped olives
- Cornmeal or parchment paper for handling the dough
Instructions
- Mix the dough: In a large bowl, whisk flour, yeast, and salt. Add warm water and stir with a spoon until a shaggy, sticky dough forms. It will look rough—this is right.
- First rest (bulk rise): Cover the bowl with plastic wrap or a damp towel and let it sit at room temperature for 8–12 hours, or until doubled and bubbly on the surface. A cooler kitchen might need 14–16 hours.
- Chill for easier handling (optional): If the dough is very sticky, refrigerate it for 30–60 minutes. Cooler dough is easier to shape.
- Shape the loaf: Lightly flour your counter and hands. Gently turn out the dough and fold the edges into the center a few times to create surface tension. Flip seam-side down and cup your hands to form a tight round ball.
- Second rise: Place the dough seam-side down on a piece of parchment dusted with flour or cornmeal. Cover loosely and let rise 45–60 minutes, until puffy. It should spring back slowly when poked.
- Preheat the oven and pot: About 30 minutes before baking, put a Dutch oven (with lid) in the oven and preheat to 450°F (230°C). The pot needs to be very hot.
- Score the dough: Using a sharp knife or razor, make a 1/2-inch deep slash across the top. This controls the expansion and gives that artisan look.
- Bake covered: Carefully remove the hot pot. Lift the dough on the parchment and lower it into the pot. Cover and bake for 30 minutes. The steam will build the crust.
- Finish uncovered: Remove the lid and bake another 12–18 minutes, until the crust is a deep golden-brown and the internal temperature reaches about 205–210°F (96–99°C).
- Cool completely: Transfer to a rack and let cool at least 1 hour before slicing. This sets the crumb and prevents gumminess.
What Makes This Recipe So Good
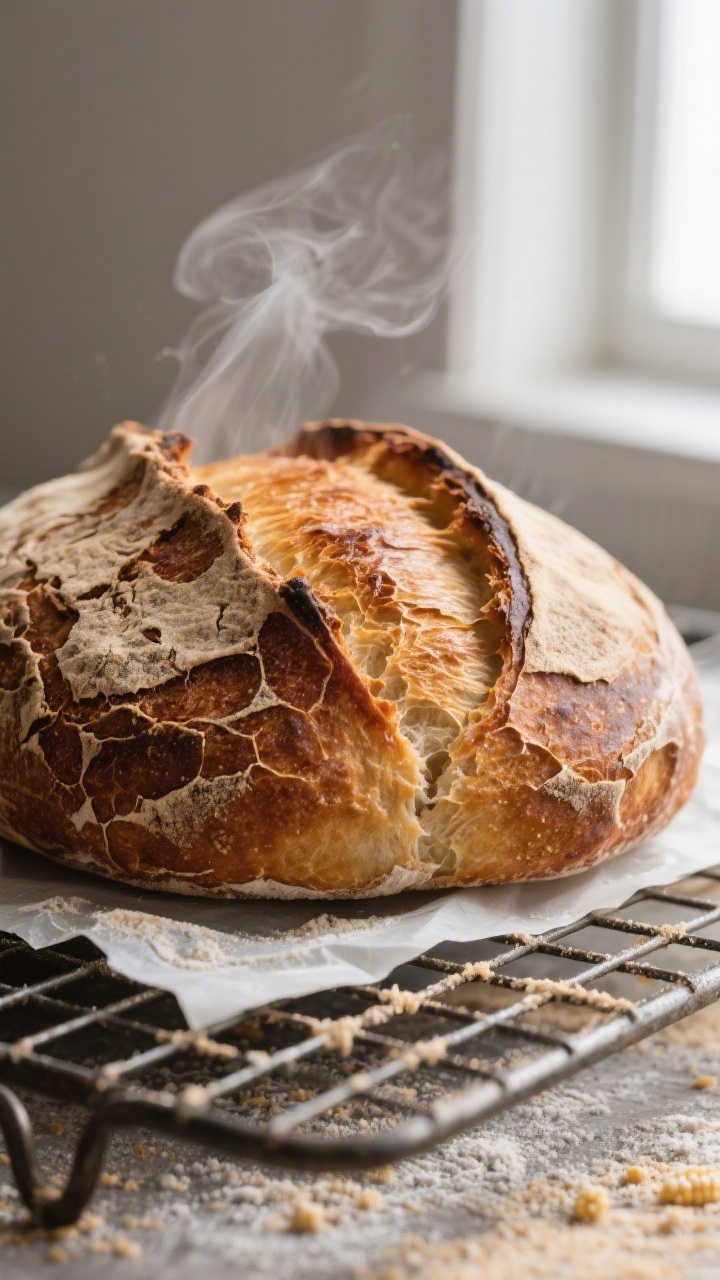
- Minimal ingredients, big flavor: Just flour, water, yeast, and salt. Slow fermentation does the rest.
- No-knead method: Time develops gluten for you, so there’s less effort and more reliability.
- Crackly crust: Baking in a hot, covered pot traps steam, giving you that classic artisan crust.
- Flexible timing: The dough can rest in the fridge if your schedule shifts.
- Versatile base: Add herbs, cheeses, seeds, or whole grains without changing the method.
Shopping List
- Bread flour (or all-purpose flour), about 3 1/4 cups (400 g)
- Warm water, 1 1/2 cups (360 ml), around 95–100°F (35–38°C)
- Instant or active dry yeast, 1/2 teaspoon
- Fine sea salt, 1 1/4 teaspoons
- Optional add-ins: Fresh rosemary, garlic, grated Parmesan, seeds (sesame, poppy, sunflower), or chopped olives
- Cornmeal or parchment paper for handling the dough
How to Make It
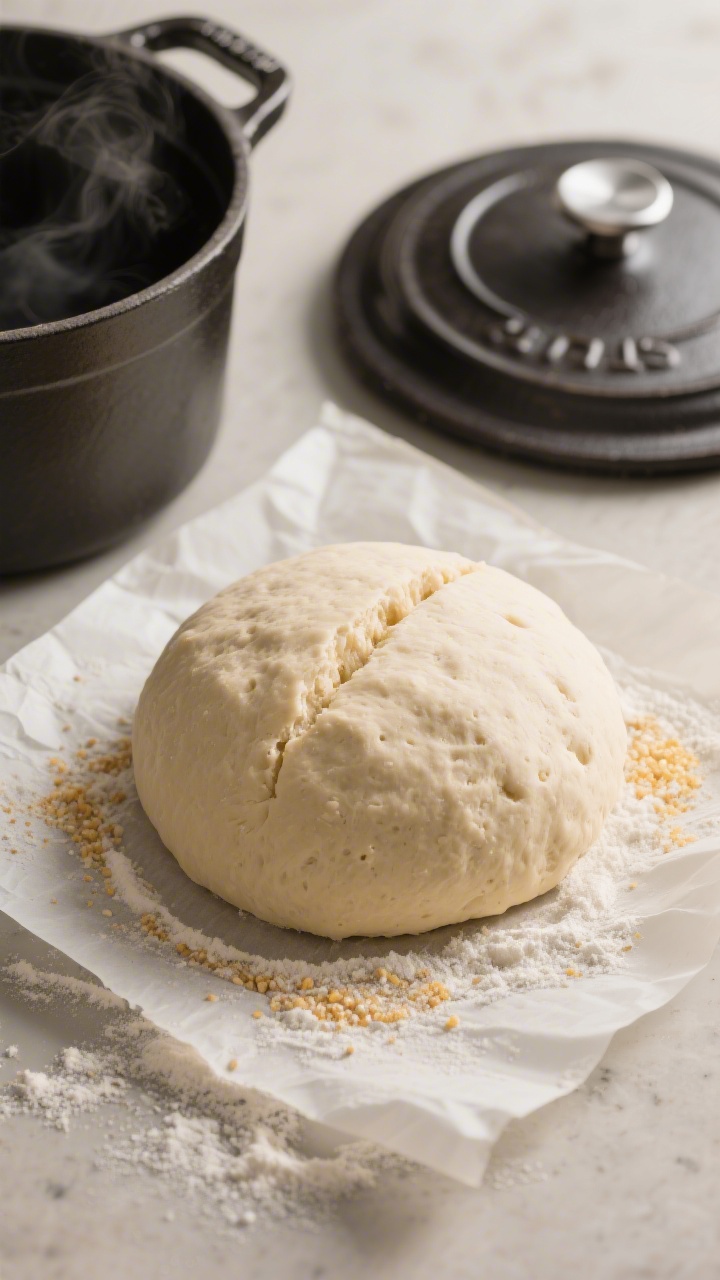
- Mix the dough: In a large bowl, whisk flour, yeast, and salt.Add warm water and stir with a spoon until a shaggy, sticky dough forms. It will look rough—this is right.
- First rest (bulk rise): Cover the bowl with plastic wrap or a damp towel and let it sit at room temperature for 8–12 hours, or until doubled and bubbly on the surface. A cooler kitchen might need 14–16 hours.
- Chill for easier handling (optional): If the dough is very sticky, refrigerate it for 30–60 minutes.Cooler dough is easier to shape.
- Shape the loaf: Lightly flour your counter and hands. Gently turn out the dough and fold the edges into the center a few times to create surface tension. Flip seam-side down and cup your hands to form a tight round ball.
- Second rise: Place the dough seam-side down on a piece of parchment dusted with flour or cornmeal.Cover loosely and let rise 45–60 minutes, until puffy. It should spring back slowly when poked.
- Preheat the oven and pot: About 30 minutes before baking, put a Dutch oven (with lid) in the oven and preheat to 450°F (230°C). The pot needs to be very hot.
- Score the dough: Using a sharp knife or razor, make a 1/2-inch deep slash across the top.This controls the expansion and gives that artisan look.
- Bake covered: Carefully remove the hot pot. Lift the dough on the parchment and lower it into the pot. Cover and bake for 30 minutes.The steam will build the crust.
- Finish uncovered: Remove the lid and bake another 12–18 minutes, until the crust is a deep golden-brown and the internal temperature reaches about 205–210°F (96–99°C).
- Cool completely: Transfer to a rack and let cool at least 1 hour before slicing. This sets the crumb and prevents gumminess.
Storage Instructions
- Room temperature: Keep the cooled loaf in a paper bag or wrapped in a clean towel for up to 2 days. Avoid sealed plastic; it softens the crust.
- Revive the crust: If it softens, bake at 350°F (175°C) for 8–10 minutes to re-crisp.
- Freezer: Slice, then freeze in a zip-top bag for up to 2 months.Toast straight from frozen or reheat in a 300°F (150°C) oven for 12–15 minutes.
- Do not refrigerate: The fridge dries bread and makes it stale faster.
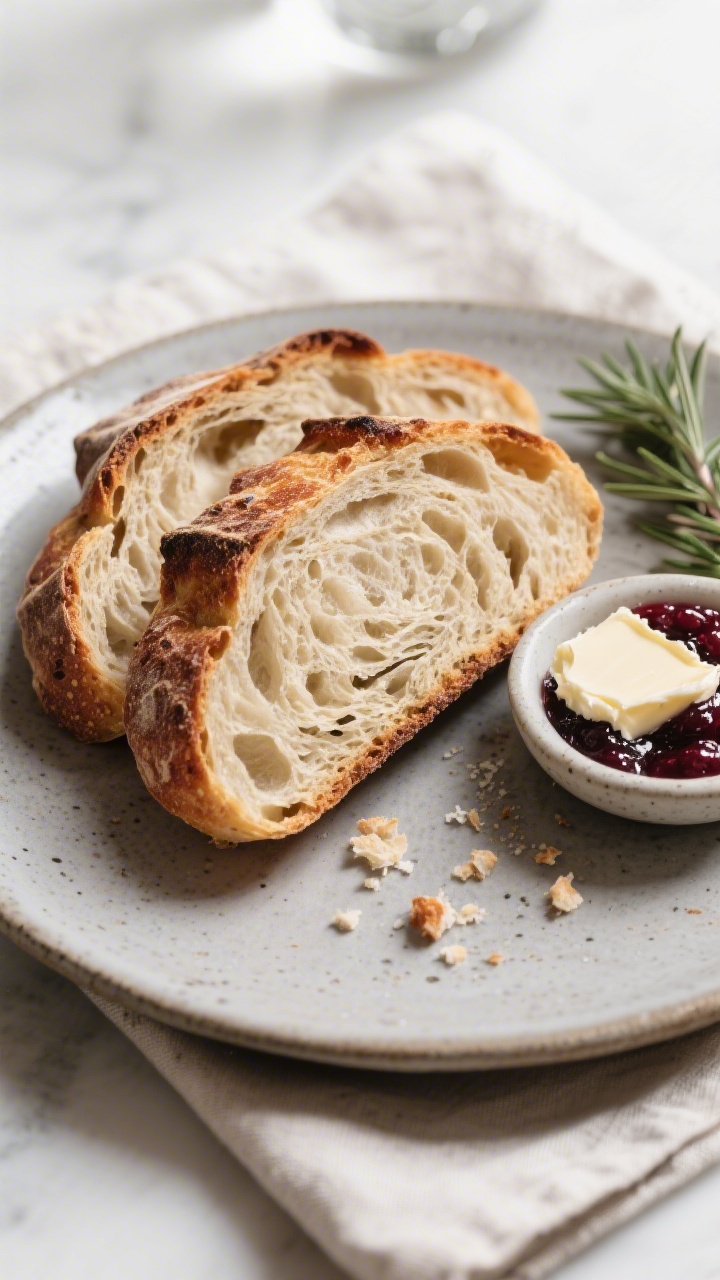
Health Benefits
- Short ingredient list: No preservatives or additives—just the basics.
- Slow fermentation: The long rise can improve flavor and may make the bread easier to digest for some people.
- Complex carbs: Provides steady energy, especially when paired with protein or healthy fats.
- Customizable nutrition: Add whole grains, seeds, or nuts for extra fiber, minerals, and healthy fats.
- Portion-friendly: A small slice goes a long way thanks to the chewy texture and deep flavor.
Common Mistakes to Avoid
- Water that’s too hot: Hot water kills yeast. Aim for warm, not hot—about 95–100°F (35–38°C).
- Rushing the first rise: Flavor and structure develop over time. Wait for bubbles and doubling.
- Over-flouring the dough: Sticky is normal.Too much flour leads to a dense, dry loaf.
- Skipping the preheat: The Dutch oven must be scorching to get that blistered crust.
- Cutting too soon: Let the loaf cool so the interior sets. Slicing early compresses the crumb.
Recipe Variations
- Seeded Artisan: Mix 3 tablespoons mixed seeds into the dough and sprinkle more on top after scoring.
- Rosemary-Garlic: Add 1 tablespoon chopped fresh rosemary and 2 grated garlic cloves during mixing.
- Olive and Herb: Fold in 1/2 cup chopped pitted olives and 1 teaspoon dried Italian herbs during shaping.
- Whole Wheat Blend: Use 1 1/2 cups bread flour and 1 3/4 cups whole wheat flour. Add 1–2 tablespoons extra water if needed.
- Cheddar-Jalapeño: Add 3/4 cup shredded sharp cheddar and 1 chopped jalapeño (seeded) for a savory kick.
FAQ
Can I use all-purpose flour instead of bread flour?
Yes.
All-purpose flour works well and makes a slightly softer crumb. If your dough seems too sticky, dust lightly with flour during shaping rather than adding a lot upfront.
Do I need a Dutch oven?
It helps, but you have options. Use a heavy oven-safe pot with a tight lid, a cloche, or bake on a preheated stone with a pan of hot water on the lower rack to create steam.
How do I know the dough has risen enough?
Look for a doubled volume and a bouncy, jiggly surface with visible bubbles.
During the second rise, a gentle poke should spring back slowly, leaving a slight indentation.
What if I only have active dry yeast?
Use the same amount. Stir it into the warm water and let it sit 5–10 minutes until foamy, then mix with the dry ingredients.
Why is my crust too pale?
The oven or pot may not have been hot enough. Bake uncovered a few extra minutes, or raise the temperature by 10–15°F near the end.
A deeper bake boosts flavor and color.
Can I refrigerate the dough overnight?
Absolutely. After the initial mix, cover and refrigerate up to 24 hours. Let it warm at room temperature for about an hour before shaping.
How do I keep the bottom from burning?
Use parchment and sprinkle a little cornmeal.
If your pot runs hot, place a baking sheet on a lower rack to shield the bottom or reduce the last 10 minutes by 10–15°F.
Wrapping Up
Crusty artisan bread doesn’t need fancy gear or a bakery schedule—just simple ingredients and a hot pot. With a long, easy rise and a quick bake, you get a golden crust and a soft, open crumb every time. Keep the method, play with flavors, and make it your own.
Once you taste that first warm slice, you’ll want this loaf on regular rotation.
Printable Recipe Card
Want just the essential recipe details without scrolling through the article? Get our printable recipe card with just the ingredients and instructions.