No Bake Chocolate Peanut Butter Bars – Easy, Rich, and Ready Fast

If you love the flavor of a peanut butter cup but want something you can make at home without turning on the oven, these bars are for you.
They’re sweet, salty, chocolatey, and satisfyingly dense, with a soft peanut butter base and a smooth chocolate top. The best part: they come together in minutes with common pantry ingredients.
Whether you’re hosting friends, packing lunchbox treats, or just craving a late-night bite, this recipe delivers. Make a batch today and keep them in the fridge for whenever that chocolate-peanut butter craving hits.
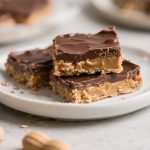
No Bake Chocolate Peanut Butter Bars – Easy, Rich, and Ready Fast
Ingredients
- Peanut butter: 1 cup creamy peanut butter for the base, plus 1/4 cup for the chocolate topping. Use shelf-stable for best texture.
- Unsalted butter: 1/2 cup (1 stick), melted and slightly cooled.
- Powdered sugar: 1 3/4 to 2 cups, sifted if lumpy. Start with less, add more to taste and texture.
- Graham cracker crumbs: 1 3/4 cups. About 14 full sheets crushed finely.
- Chocolate chips: 1 1/2 cups (semi-sweet or dark).
- Vanilla extract: 1 teaspoon (optional, but nice).
- Fine salt: A pinch, especially if your peanut butter is unsalted.
- Flaky sea salt: Optional, for garnish.
- 8×8-inch pan: Lined with parchment paper for easy lifting and clean slices.
Instructions
- Prep the pan: Line an 8×8-inch baking pan with parchment, leaving overhang on two sides. This makes it simple to lift out the slab later.
- Make the base: In a bowl, stir together melted butter, 1 cup peanut butter, vanilla, and a pinch of salt until smooth.
- Add the dry ingredients: Mix in graham cracker crumbs until evenly moistened. Add 1 3/4 cups powdered sugar and stir until a thick, dough-like mixture forms. If it’s sticky, add the remaining 1/4 cup sugar.
- Press into the pan: Transfer the mixture to the lined pan. Press it down firmly and evenly using the back of a spoon or a flat-bottomed measuring cup. A tight pack helps the bars slice cleanly.
- Make the chocolate topping: In a microwave-safe bowl, combine chocolate chips and 1/4 cup peanut butter. Microwave in 20–30 second bursts, stirring after each, until smooth and glossy. Or melt gently over a double boiler.
- Top and smooth: Pour the melted chocolate over the peanut butter base. Tilt the pan and use a spatula to spread it into an even layer.
- Optional garnish: Sprinkle flaky sea salt over the chocolate while it’s still warm for a craveable sweet-salty finish.
- Chill: Refrigerate for 1–2 hours, or until the chocolate is set and the base is firm.
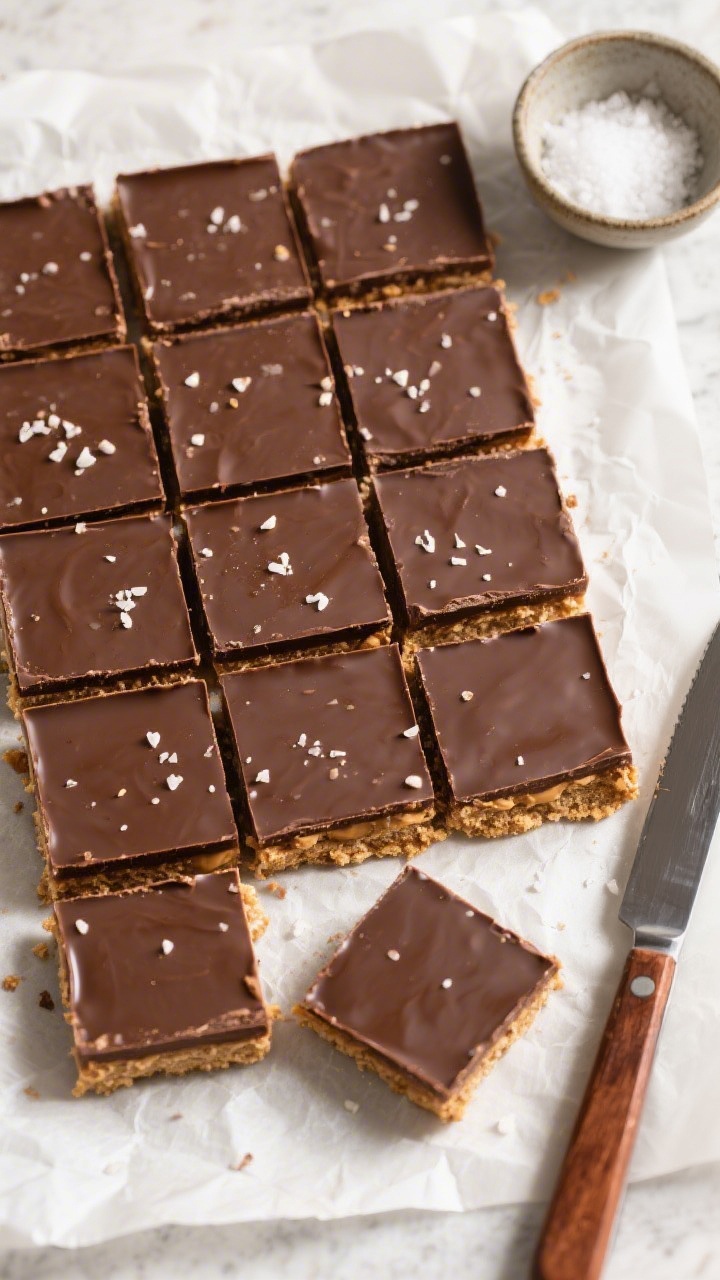
- Slice and serve: Lift the slab out using the parchment. Warm a knife under hot water, dry it, and cut into 16 squares (or smaller bites). Clean the knife between cuts for neat edges.
Why This Recipe Works
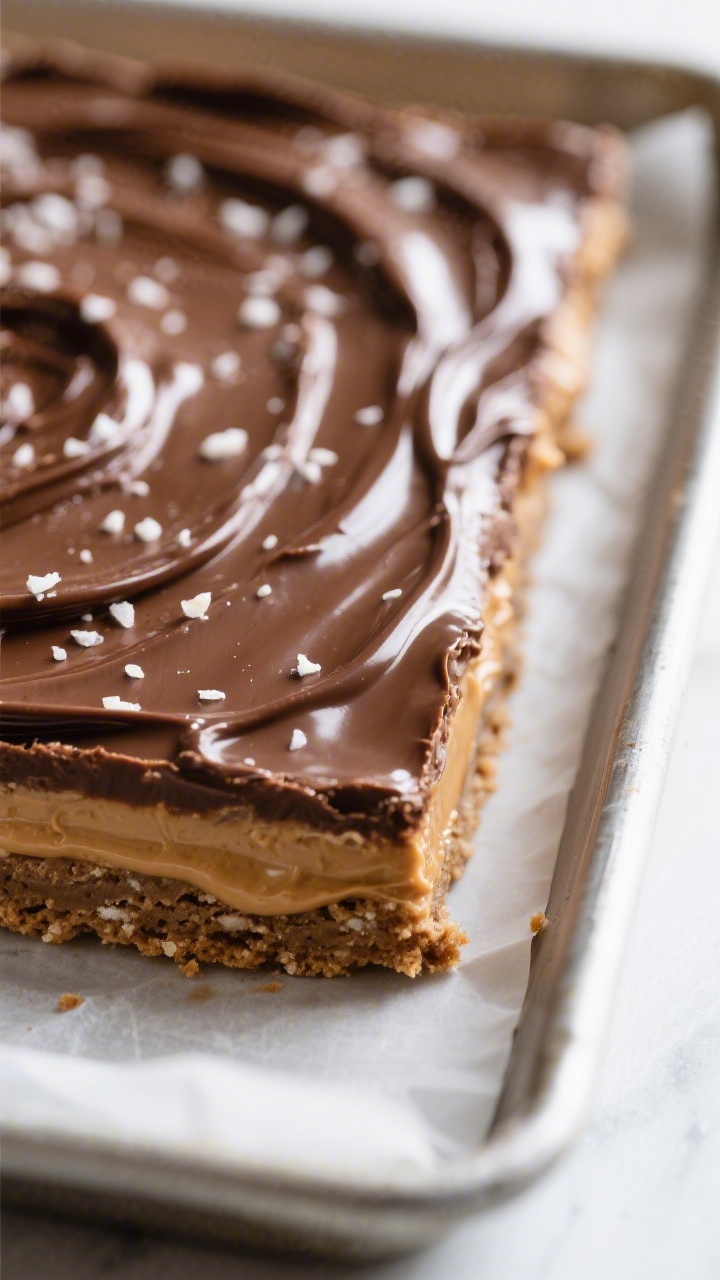
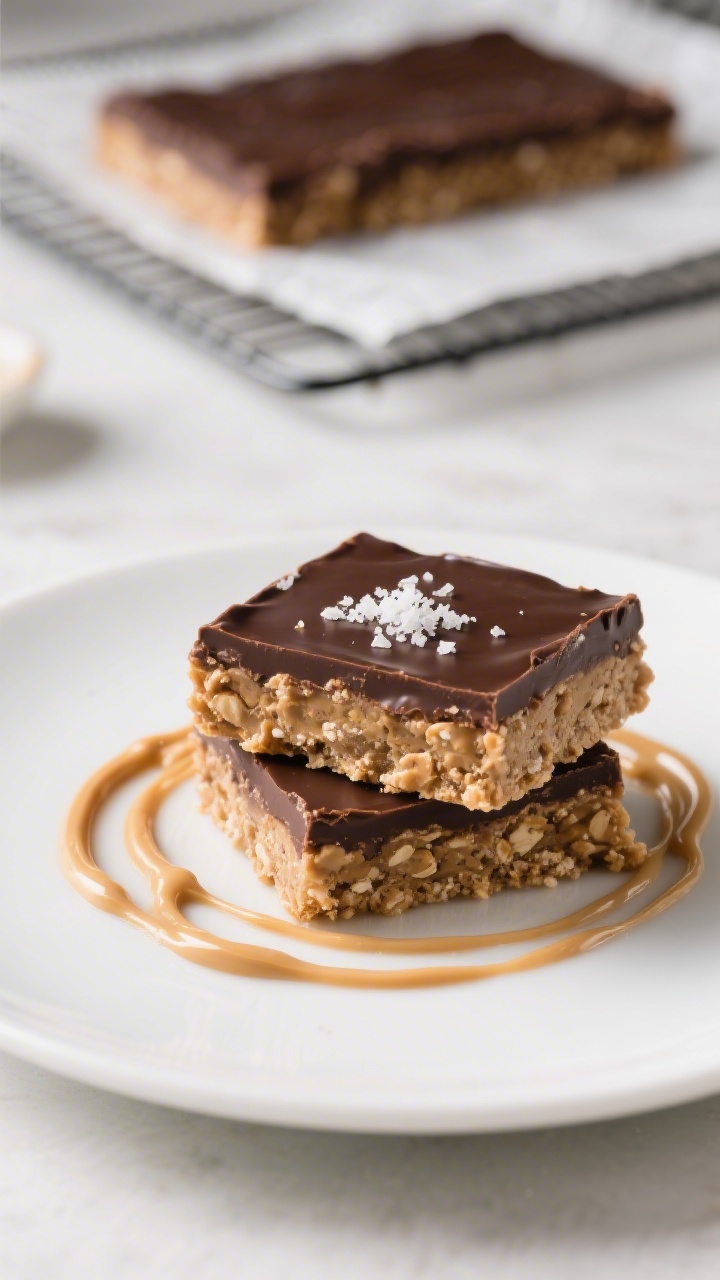
These bars rely on a tried-and-true combo: peanut butter, butter, and powdered sugar for a soft, fudgy base. Crushed graham crackers add structure and a light crunch so the bars hold their shape.
A simple chocolate topping made from chocolate chips and peanut butter sets into a silky layer that slices cleanly. No baking means fewer chances to mess up, and chilling guarantees a firm, dessert-shop finish.
Everything mixes by hand, so there’s no special equipment to fuss with. The ingredients are flexible too, making it easy to tailor sweetness, texture, and thickness to your taste.
What You’ll Need
- Peanut butter: 1 cup creamy peanut butter for the base, plus 1/4 cup for the chocolate topping. Use shelf-stable for best texture.
- Unsalted butter: 1/2 cup (1 stick), melted and slightly cooled.
- Powdered sugar: 1 3/4 to 2 cups, sifted if lumpy. Start with less, add more to taste and texture.
- Graham cracker crumbs: 1 3/4 cups. About 14 full sheets crushed finely.
- Chocolate chips: 1 1/2 cups (semi-sweet or dark).
- Vanilla extract: 1 teaspoon (optional, but nice).
- Fine salt: A pinch, especially if your peanut butter is unsalted.
- Flaky sea salt: Optional, for garnish.
- 8×8-inch pan: Lined with parchment paper for easy lifting and clean slices.
How to Make It
- Prep the pan: Line an 8×8-inch baking pan with parchment, leaving overhang on two sides. This makes it simple to lift out the slab later.
- Make the base: In a bowl, stir together melted butter, 1 cup peanut butter, vanilla, and a pinch of salt until smooth.
- Add the dry ingredients: Mix in graham cracker crumbs until evenly moistened. Add 1 3/4 cups powdered sugar and stir until a thick, dough-like mixture forms. If it’s sticky, add the remaining 1/4 cup sugar.
- Press into the pan: Transfer the mixture to the lined pan. Press it down firmly and evenly using the back of a spoon or a flat-bottomed measuring cup. A tight pack helps the bars slice cleanly.
- Make the chocolate topping: In a microwave-safe bowl, combine chocolate chips and 1/4 cup peanut butter. Microwave in 20–30 second bursts, stirring after each, until smooth and glossy. Or melt gently over a double boiler.
- Top and smooth: Pour the melted chocolate over the peanut butter base. Tilt the pan and use a spatula to spread it into an even layer.
- Optional garnish: Sprinkle flaky sea salt over the chocolate while it’s still warm for a craveable sweet-salty finish.
- Chill: Refrigerate for 1–2 hours, or until the chocolate is set and the base is firm.
- Slice and serve: Lift the slab out using the parchment. Warm a knife under hot water, dry it, and cut into 16 squares (or smaller bites). Clean the knife between cuts for neat edges.
Keeping It Fresh
These bars keep well and taste even better the next day. Store them in an airtight container in the fridge for up to 1 week. For longer storage, freeze for up to 2 months and thaw in the fridge before serving.
Tip: Layer the bars with parchment to prevent sticking.
If serving outdoors or in warm rooms, keep them chilled until the last minute so the chocolate doesn’t soften too much.
Benefits of This Recipe
- No oven needed: Perfect for hot days or small kitchens.
- Quick and simple: Minimal steps, approachable for beginners, and fast for busy days.
- Make-ahead friendly: Chill, slice, and store—great for parties and potlucks.
- Customizable: Easy to swap ingredients or adjust sweetness and texture.
- Consistent results: The base sets reliably and the topping slices cleanly once chilled.
Common Mistakes to Avoid
- Using natural peanut butter without adjusting: Drippy, oil-on-top peanut butter can make the base greasy or soft. If you use it, stir very well and consider adding extra graham crumbs or powdered sugar for structure.
- Skipping the chill time: Cutting too soon leads to smudged chocolate and uneven slices. Give it the full hour or more.
- Overheating the chocolate: Scorched chocolate turns grainy. Melt low and slow, stirring often.
- Forgetting the parchment: Lining the pan is key for clean removal and sharp edges.
- Uneven pressing: If the base isn’t level, the chocolate pools and sets unevenly. Take a minute to smooth it out.
Recipe Variations
- Crunchy twist: Use crunchy peanut butter or fold in 1/2 cup chopped roasted peanuts to the base.
- Oatmeal swap: Replace half the graham crumbs with quick oats for a heartier texture.
- Almond or cashew version: Use almond or cashew butter, and swap graham crumbs for crushed vanilla wafers or almond flour (add extra powdered sugar as needed for structure).
- Gluten-free: Use certified gluten-free graham crackers or crushed gluten-free cookies.
- Dark and less sweet: Choose 70% chocolate and reduce powdered sugar slightly.
- Peanut butter swirl top: Reserve 2 tablespoons of melted peanut butter and drizzle over the chocolate. Swirl with a toothpick for a marbled look.
- Mini-bars or bites: Press into a 9×9 pan for thinner bars or a lined mini muffin tin for easy pop-out bites.
FAQ
Can I make these dairy-free?
Yes.
Use a vegan butter alternative and dairy-free chocolate chips. Check labels to make sure they’re certified dairy-free, and proceed with the same steps.
What if I don’t have graham crackers?
Try crushed digestive biscuits, vanilla wafers, shortbread cookies, or even pretzels for a salty kick. Adjust powdered sugar slightly if the mixture feels too loose or too stiff.
Why are my bars crumbly?
The base likely needs more moisture or binding.
Add a tablespoon or two more melted butter or peanut butter, or reduce powdered sugar slightly. Pack the base firmly into the pan.
Why is the chocolate layer separating from the base?
If the base is very dry or not pressed firmly, the layers may separate. Make sure the base is tightly packed and not dusty with excess crumbs.
Spreading the chocolate while the base is cool but not icy-cold can also help adhesion.
How do I get clean slices without cracking the chocolate?
Use a sharp knife warmed under hot water and wiped dry. Press straight down rather than sawing, and wipe the blade between cuts. If the chocolate is very firm, let the bars sit at room temp for 5 minutes before slicing.
Can I cut the sugar?
Yes, to a point.
Powdered sugar adds sweetness and structure. Try 1 1/2 cups, taste, and add more only if needed. Using darker chocolate up top also reduces overall sweetness.
Do these travel well?
They do if kept cool.
Transport in a snug container with an ice pack. If they warm up, the chocolate may smudge, but the flavor will still be great.
Can I double the recipe?
Absolutely. Use a 9×13-inch pan and increase chill time by 15–20 minutes.
Slice into small squares since the bars are rich.
Is there a nut-free option?
Use sunflower seed butter and confirm all ingredients are nut-free. The flavor will be slightly different but still delicious.
How long can they sit out?
At cool room temperature, about 2 hours. In warm conditions, the chocolate softens quickly, so keep them chilled until serving.
In Conclusion
No bake chocolate peanut butter bars are the kind of dessert you can count on: quick to make, rich without being fussy, and endlessly adaptable.
With a handful of pantry staples and a little chill time, you get a treat that tastes like a candy bar but feels homemade.
Keep the method simple, press the base well, and let the fridge do the work. Slice, share, and enjoy that perfect chocolate-peanut butter bite whenever the mood strikes.
Printable Recipe Card
Want just the essential recipe details without scrolling through the article? Get our printable recipe card with just the ingredients and instructions.